Contents
In the previous sections, we talked about Docker and we saw how we can download an image and launch a container.
Here, we are going to explain how to interact with the Docker daemon using the Docker CLI and how we can create our custom images.
The Docker CLI
The Docker Engine is shipped out with a docker CLI client application. You can interact with docker using the docker command:
~/Projects/sw-arch/docker docker

Usage:  docker [OPTIONS] COMMAND

A self-sufficient runtime for containers

Common Commands:
  run         Create and run a new container from an image
  exec        Execute a command in a running container
  ps          List containers
  build       Build an image from a Dockerfile
  pull        Download an image from a registry
  push        Upload an image to a registry
  images      List images
  login       Log in to a registry
  logout      Log out from a registry
  search      Search Docker Hub for images
  version     Show the Docker version information
  info        Display system-wide information

Management Commands:
  builder     Manage builds
  buildx*     Docker Buildx (Docker Inc., v0.11.2-desktop.1)
  compose*    Docker Compose (Docker Inc., v2.20.2-desktop.1)
  container   Manage containers
  context     Manage contexts
  dev*        Docker Dev Environments (Docker Inc., v0.1.0)
  extension*  Manages Docker extensions (Docker Inc., v0.2.20)
  image       Manage images
  init*       Creates Docker-related starter files for your project (Docker Inc., v0.1.0-beta.6)
  manifest    Manage Docker image manifests and manifest lists
  network     Manage networks
  plugin      Manage plugins
  sbom*       View the packaged-based Software Bill Of Materials (SBOM) for an image (Anchore Inc., 0.6.0)
  scan*       Docker Scan (Docker Inc., v0.26.0)
  scout*      Command line tool for Docker Scout (Docker Inc., 0.20.0)
  system      Manage Docker
  trust       Manage trust on Docker images
  volume      Manage volumes

Swarm Commands:
  swarm       Manage Swarm

Commands:
  attach      Attach local standard input, output, and error streams to a running container
  commit      Create a new image from a container's changes
  cp          Copy files/folders between a container and the local filesystem
  create      Create a new container
  diff        Inspect changes to files or directories on a container's filesystem
  events      Get real time events from the server
  export      Export a container's filesystem as a tar archive
  history     Show the history of an image
  import      Import the contents from a tarball to create a filesystem image
  inspect     Return low-level information on Docker objects
  kill        Kill one or more running containers
  load        Load an image from a tar archive or STDIN
  logs        Fetch the logs of a container
  pause       Pause all processes within one or more containers
  port        List port mappings or a specific mapping for the container
  rename      Rename a container
  restart     Restart one or more containers
  rm          Remove one or more containers
  rmi         Remove one or more images
  save        Save one or more images to a tar archive (streamed to STDOUT by default)
  start       Start one or more stopped containers
  stats       Display a live stream of container(s) resource usage statistics
  stop        Stop one or more running containers
  tag         Create a tag TARGET_IMAGE that refers to SOURCE_IMAGE
  top         Display the running processes of a container
  unpause     Unpause all processes within one or more containers
  update      Update configuration of one or more containers
  wait        Block until one or more containers stop, then print their exit codes

Global Options:
      --config string      Location of client config files (default "/Users/giacomo/.docker")
  -c, --context string     Name of the context to use to connect to the daemon (overrides DOCKER_HOST env var and default context set with "docker context use")
  -D, --debug              Enable debug mode
  -H, --host list          Daemon socket to connect to
  -l, --log-level string   Set the logging level ("debug", "info", "warn", "error", "fatal") (default "info")
      --tls                Use TLS; implied by --tlsverify
      --tlscacert string   Trust certs signed only by this CA (default "/Users/giacomo/.docker/ca.pem")
      --tlscert string     Path to TLS certificate file (default "/Users/giacomo/.docker/cert.pem")
      --tlskey string      Path to TLS key file (default "/Users/giacomo/.docker/key.pem")
      --tlsverify          Use TLS and verify the remote
  -v, --version            Print version information and quit

Run 'docker COMMAND --help' for more information on a command.

For more help on how to use Docker, head to https://docs.docker.com/go/guides/
Docker CLI commands are self-explanatory: however, we will see briefly the most important ones.
Show all the downloaded images
You can get a list of all the images that you have downloaded with the command docker images (or docker image ls):
~/Projects/sw-arch/docker docker images
REPOSITORY               TAG       IMAGE ID       CREATED        SIZE
golang                   latest    57ca605b665e   12 hours ago   814MB
httpd                    latest    7860e7628717   31 hours ago   168MB
docker/getting-started   latest    3e4394f6b72f   8 months ago   47MB
Download an image from the Docker Hub
What about downloading an image? Just type docker pull <name-of-image:tag> (example: docker pull nodejs:latest).
Tag permits you to specify which version of the Docker image you want to use. If you don’t specify a tag, the latest available image will be pulled.
You can see all the available tags for an image directly from the Docker Hub (for example, for node: hub.docker.com/_/node/tags).
~/Projects/sw-arch/docker docker pull node:latest
latest: Pulling from library/node
012c0b3e998c: Already exists
00046d1e755e: Already exists
9f13f5a53d11: Already exists
e13e76ad6279: Pull complete
95103e803d28: Pull complete
c3ef23edee6c: Pull complete
cde810d34647: Pull complete
cfeacc2c3f89: Pull complete
Digest: sha256:69cf8e7dcc78e63db74ca6ed570e571e41029accdac21b219b6ac57e9aca63cf
Status: Downloaded newer image for node:latest
docker.io/library/node:latest
What's Next?
View summary of image vulnerabilities and recommendations → docker scout quickview node:latest
~/Projects/sw-arch/docker docker images
REPOSITORY TAG IMAGE ID CREATED SIZE
node latest add6f751ed2b 11 hours ago 1.1GB
golang latest 57ca605b665e 13 hours ago 814MB
httpd latest 7860e7628717 32 hours ago 168MB
docker/getting-started latest 3e4394f6b72f 8 months ago 47MB
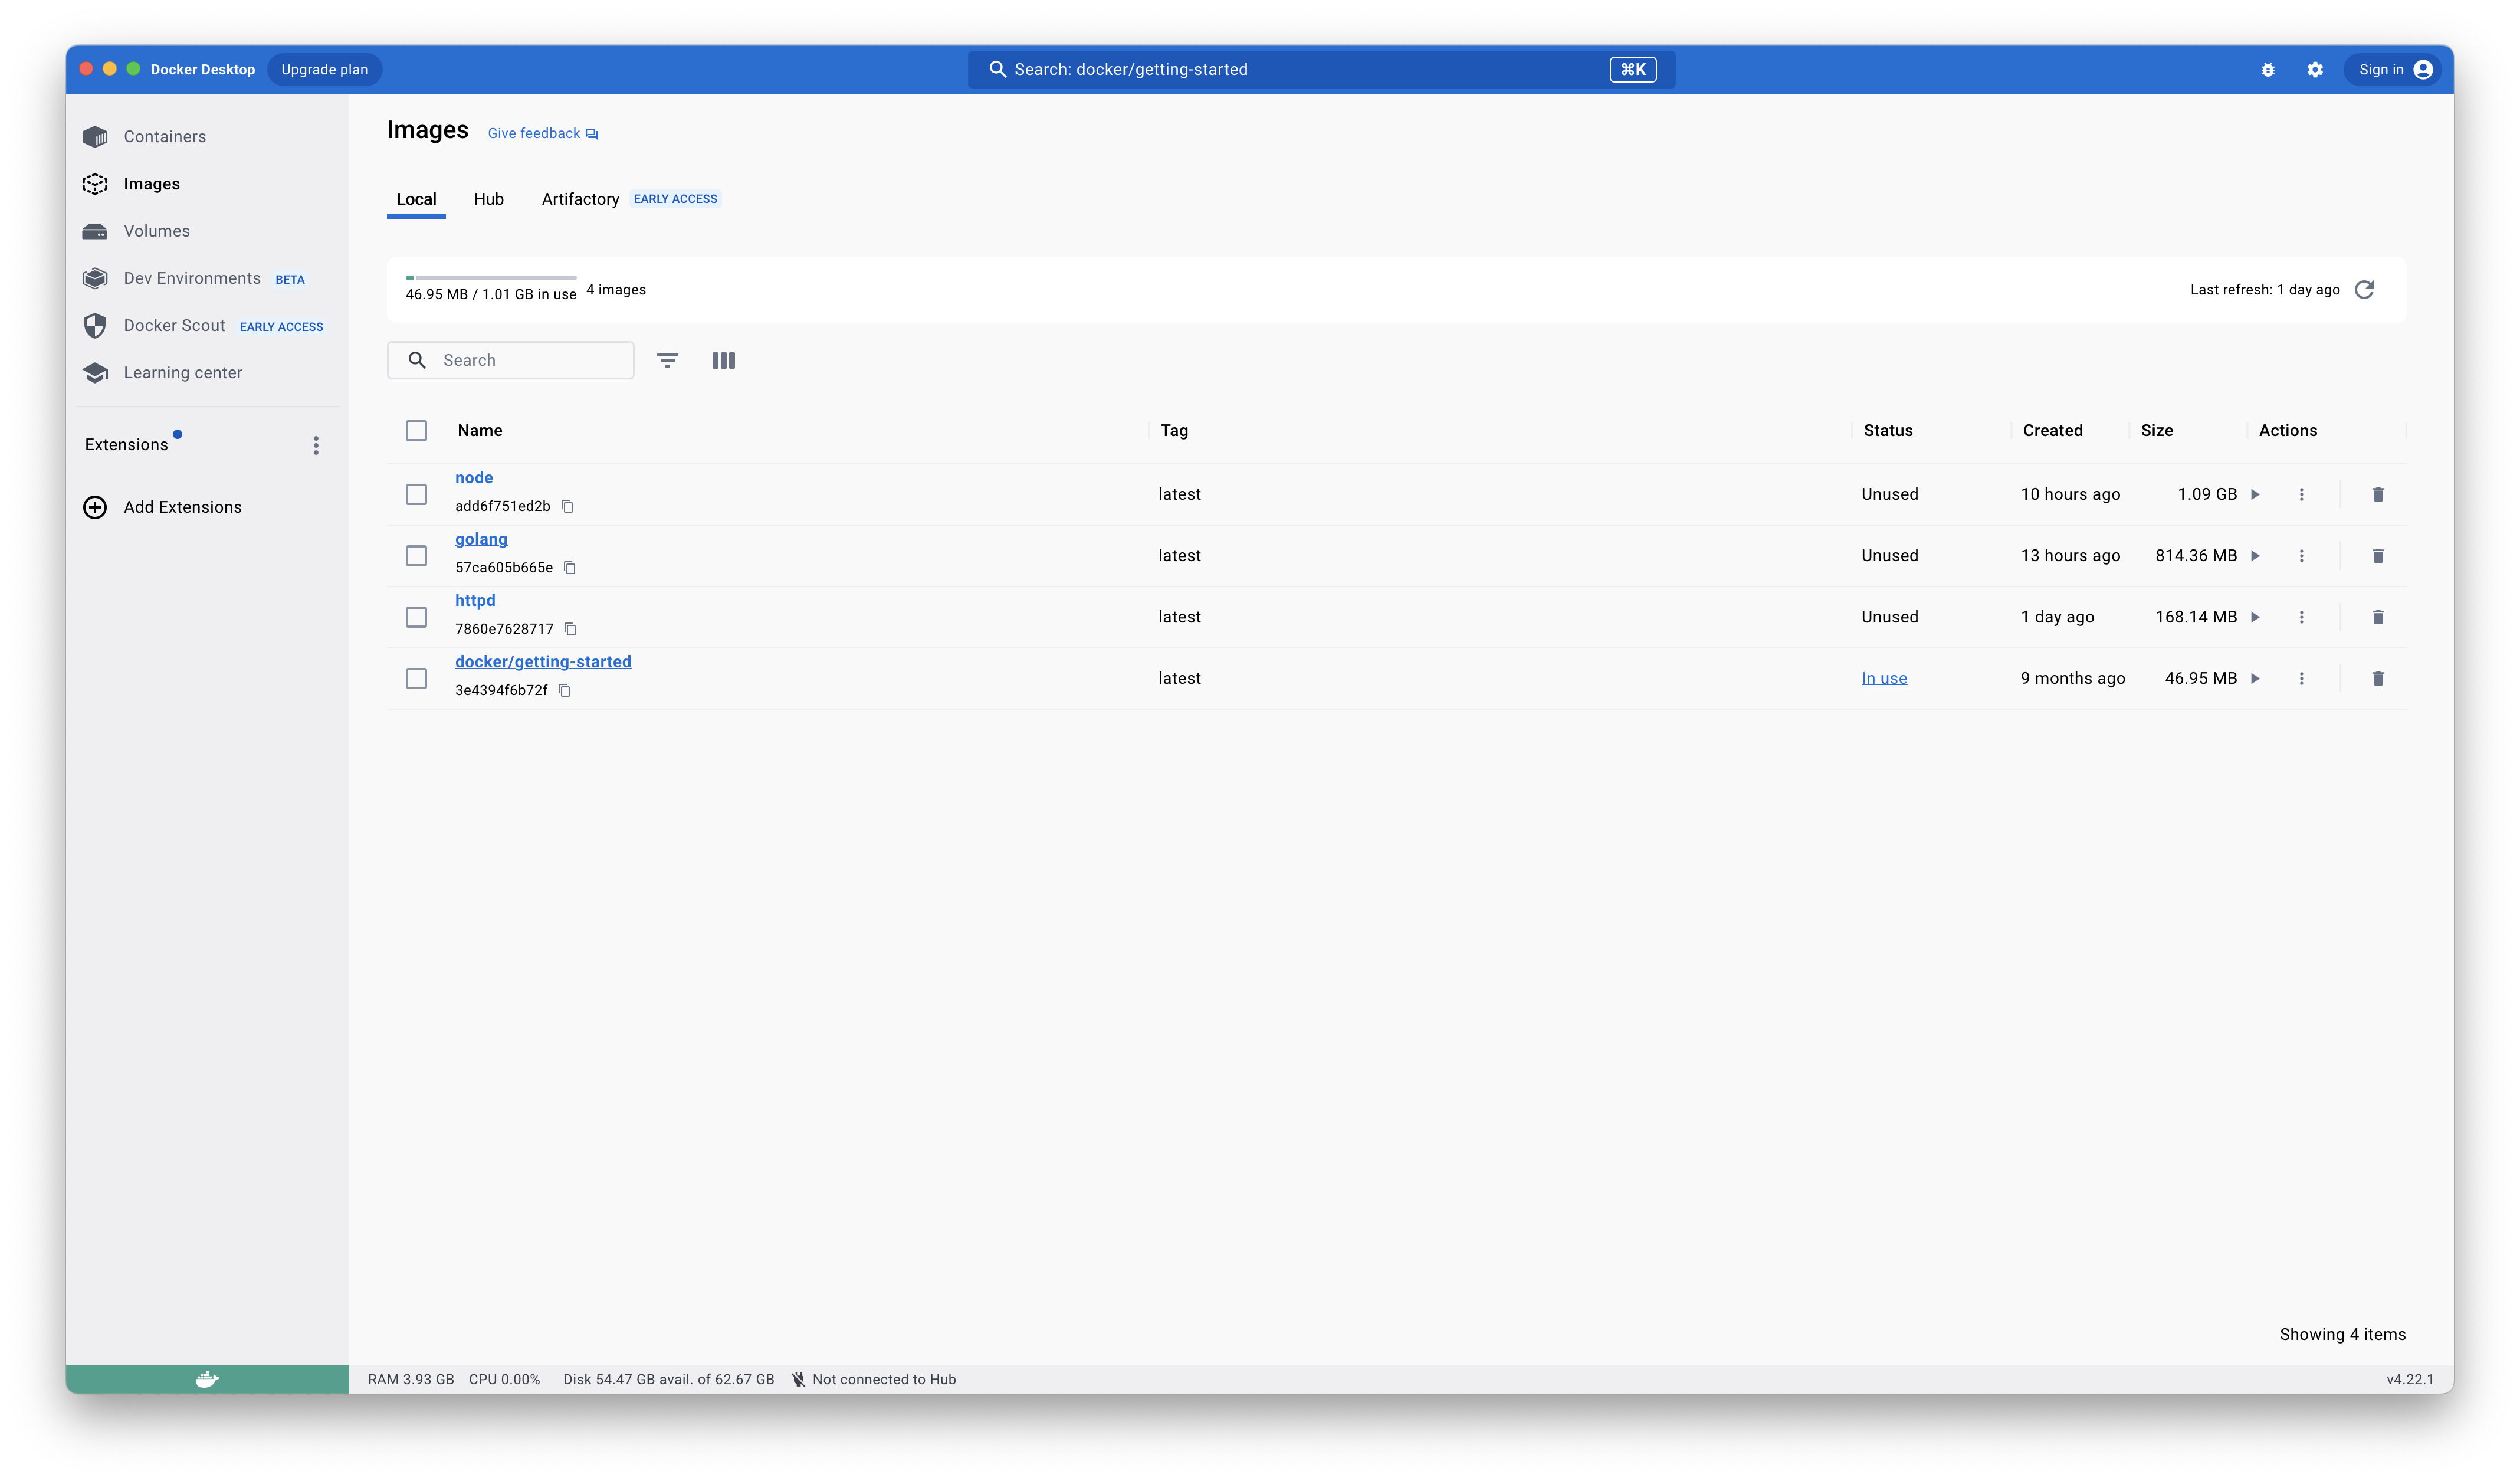
~/Projects/sw-arch/docker As we mentioned before, an image is composed of layers, that are images themselves. When you download an image, you download the layers that compose that image and this is visible by the logs of the docker pull command (i.e., 012c0b3e998c, 00046d1e755e, 9f13f5a53d11 are the first three layers that compose this image). This permits you to avoid redownloading a layer if you have already pulled it for another image. In the example above, we have that the first three layers already exist locally, so Docker skips the download of these layers.
The downloaded image is then visible inside Docker Desktop:
List, create, and run containers
To create a container from an image, you can use the docker create command:
~/Projects/sw-arch/docker docker create -p 8080:80 httpd
597372a315efb6465d2900a2cabb7b570b6cee884cf87781927443365435cd75
With the -p flag you can specify the port mapping: in the example, we map port 8080 of the host to port 80 in the container.
 If you want to see all the available containers in your docker environment, you can use docker ps -a command:
~/Projects/sw-arch/docker docker ps -a
CONTAINER ID   IMAGE                           COMMAND                  CREATED          STATUS                       PORTS                  NAMES
597372a315ef   httpd                           "httpd-foreground"       50 seconds ago   Created                                             tender_banzai
7e1bd280a489   node:18                         "docker-entrypoint.s…"   3 days ago       Exited (0) 3 days ago                               happy_lalande
c9338f41f0dc   docker/getting-started          "/docker-entrypoint.…"   3 days ago       Exited (255) 6 minutes ago   0.0.0.0:80->80/tcp     great_lehmann
7d7fb37297b2   docker/getting-started:latest   "/docker-entrypoint.…"   4 days ago       Up About a minute            0.0.0.0:1234->80/tcp   romantic_elgamal
c39fccc5e710   docker/getting-started:latest   "/docker-entrypoint.…"   4 days ago       Exited (0) 3 days ago
~/Projects/sw-arch/docker
To start a container, you can use the docker start command, passing the ID of the desired container:
~/Projects/sw-arch/docker docker start 597372a315ef
597372a315ef
~/Projects/sw-arch/docker
You can also create and start a container in a single step, by using docker run:
~/Projects/sw-arch/docker docker run -d -p 8081:80 httpd
5a3280c5fc90340419f8f17603580e1c46fb5349a786f0ff837908f0ccfb623b
Build an image
We can use the docker build command to build an image. We will explain this command in the next section.
Other commands
An exhaustive list of all the Docker CLI commands can be found here..
The Dockerfile
But how we can create an image from scratch? In Docker exists a special file, called Dockerfile, that permits the definition of an image in a script way. Let’s see how it works.
The first step involves creating a new text file named Dockerfile, without extension. In this file, we are going to describe all the step-by-step commands that the Docker Engine needs to run to assemble a Docker image.
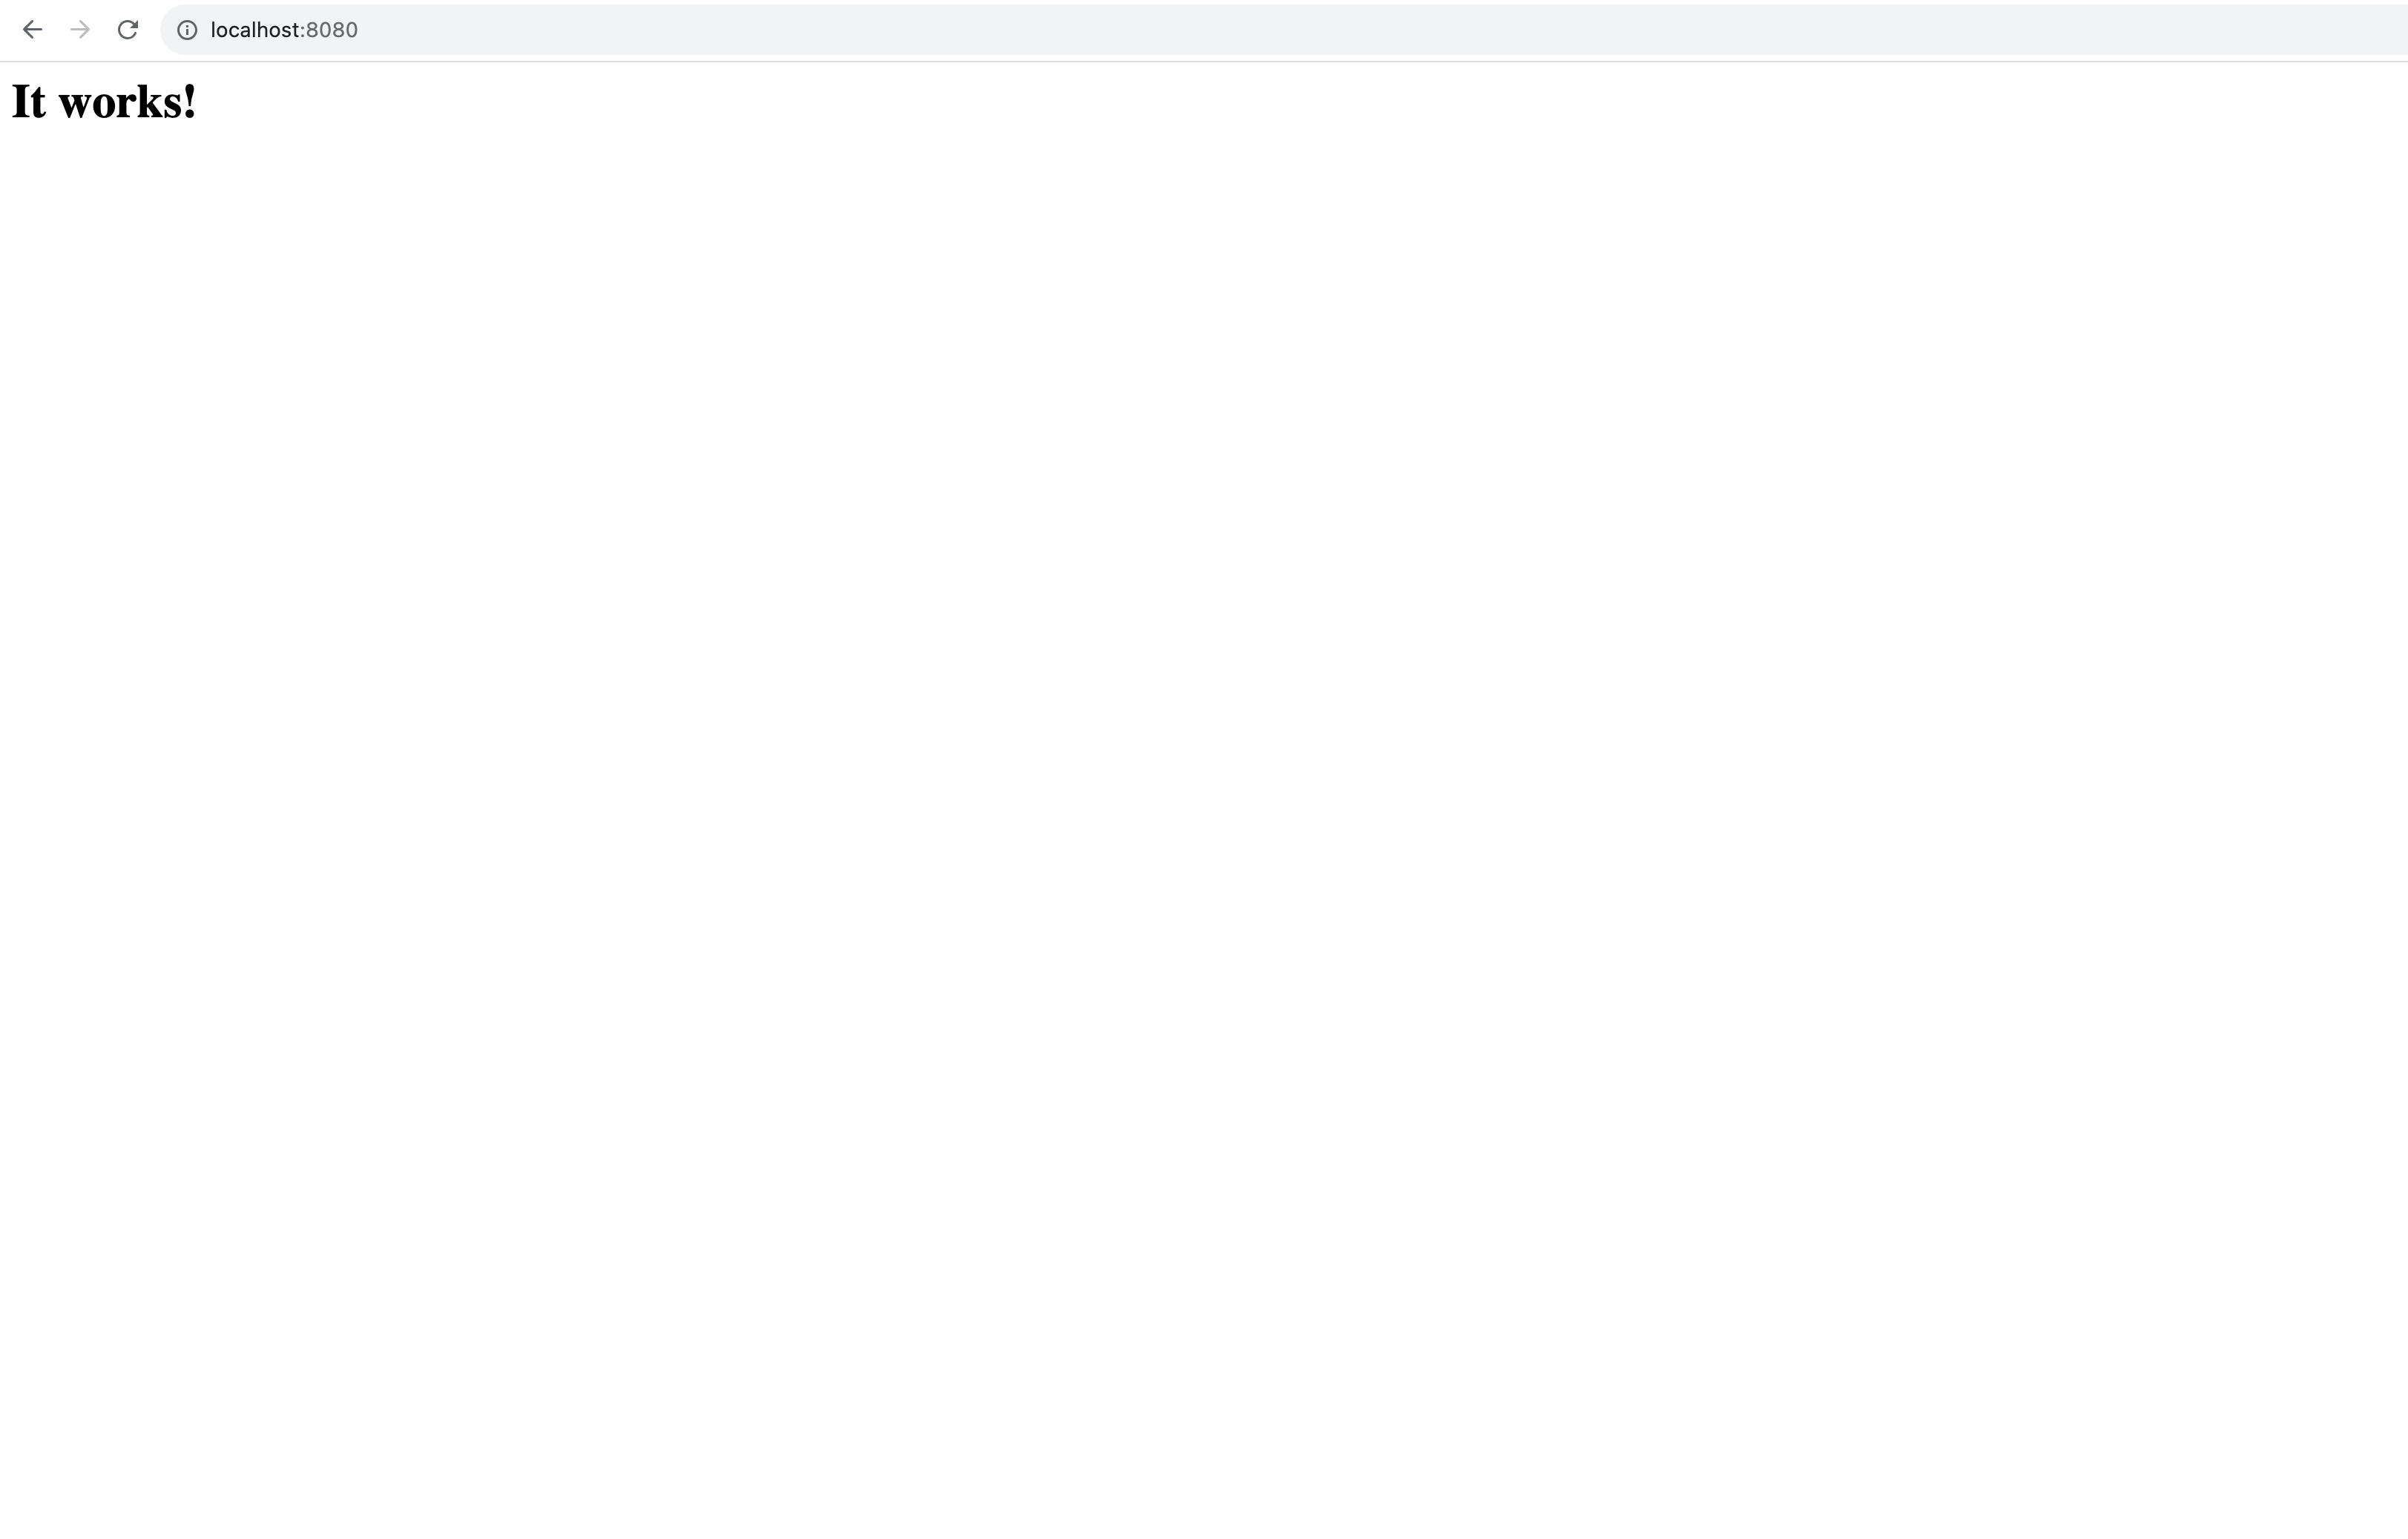
We are going to explain how a Dockerfile works by looking at the getting started web application.
So, start the container previously created from the docker/getting-started image (or create a new one from that image) and go to the web app.
Follow the first steps (Getting your app). Then, inside the app folder, create an empty file named Dockerfile and insert the following lines:
FROM node:18-alpine
WORKDIR /app
COPY . .
RUN yarn install --production
CMD ["node", "src/index.js"]
What do these commands mean? Let’s see one by one.
FROM node:18-alpine: as you can notice, we downloaded a node application. The FROM command tells us the base image: in this case, since we are dealing with a node app, we want to start with a node image.WORKDIR /app: this says that the default working directory for the next commands is the /app folder. If the folder does not exist in the image, this command will create it.COPY . .: this command permits us to copy files from our machine to the Docker image. The syntax is COPY, in our case, the src is the current folder of our host, and the destination is the current workdir of the image that we are going to create. RUN yarn install --production: this commands launch yarn. yarn is a package manager for node, it permits the installation of all the necessary external dependencies for our project, defined inside the package.json file.CMD ["node", "src/index.js"]: tells what command needs to be launched when we start a container created from the current image. For our case, we are going to start the node server.RUN and CMD: what’s the difference?
RUN and CMD commands seem very similar. The main difference is that RUN is an image-build step. That is to say, all commands launched with RUN will be persistent in the image. We could have multiple RUN commands in a Dockerfile, and these commands are layered on top of one another to build the final image.
CMD, instead, is the command launched by default when we start the container. The Dockerfile will just use the last CMD defined.
In other words: CMD commands will be executed once during the creation of the image. The RUN command will be executed every time we start a container.Build the image
To build the image we use the docker build command. Go into the folder in which the Dockerfile lives and launch the next command:
docker build -t simple-node-app .This command creates a new image executing the commands specified in the Dockerfile: first, it will fetch the node:18-alpine image from the web. Then, it will copy the application inside the /app folder with the COPY command and then it will run yarn to install all the dependencies.
The -t flag permits to tag and name the image.
The last point (.) at the end of the command tells Docker to fetch the Dockerfile from the current directory.
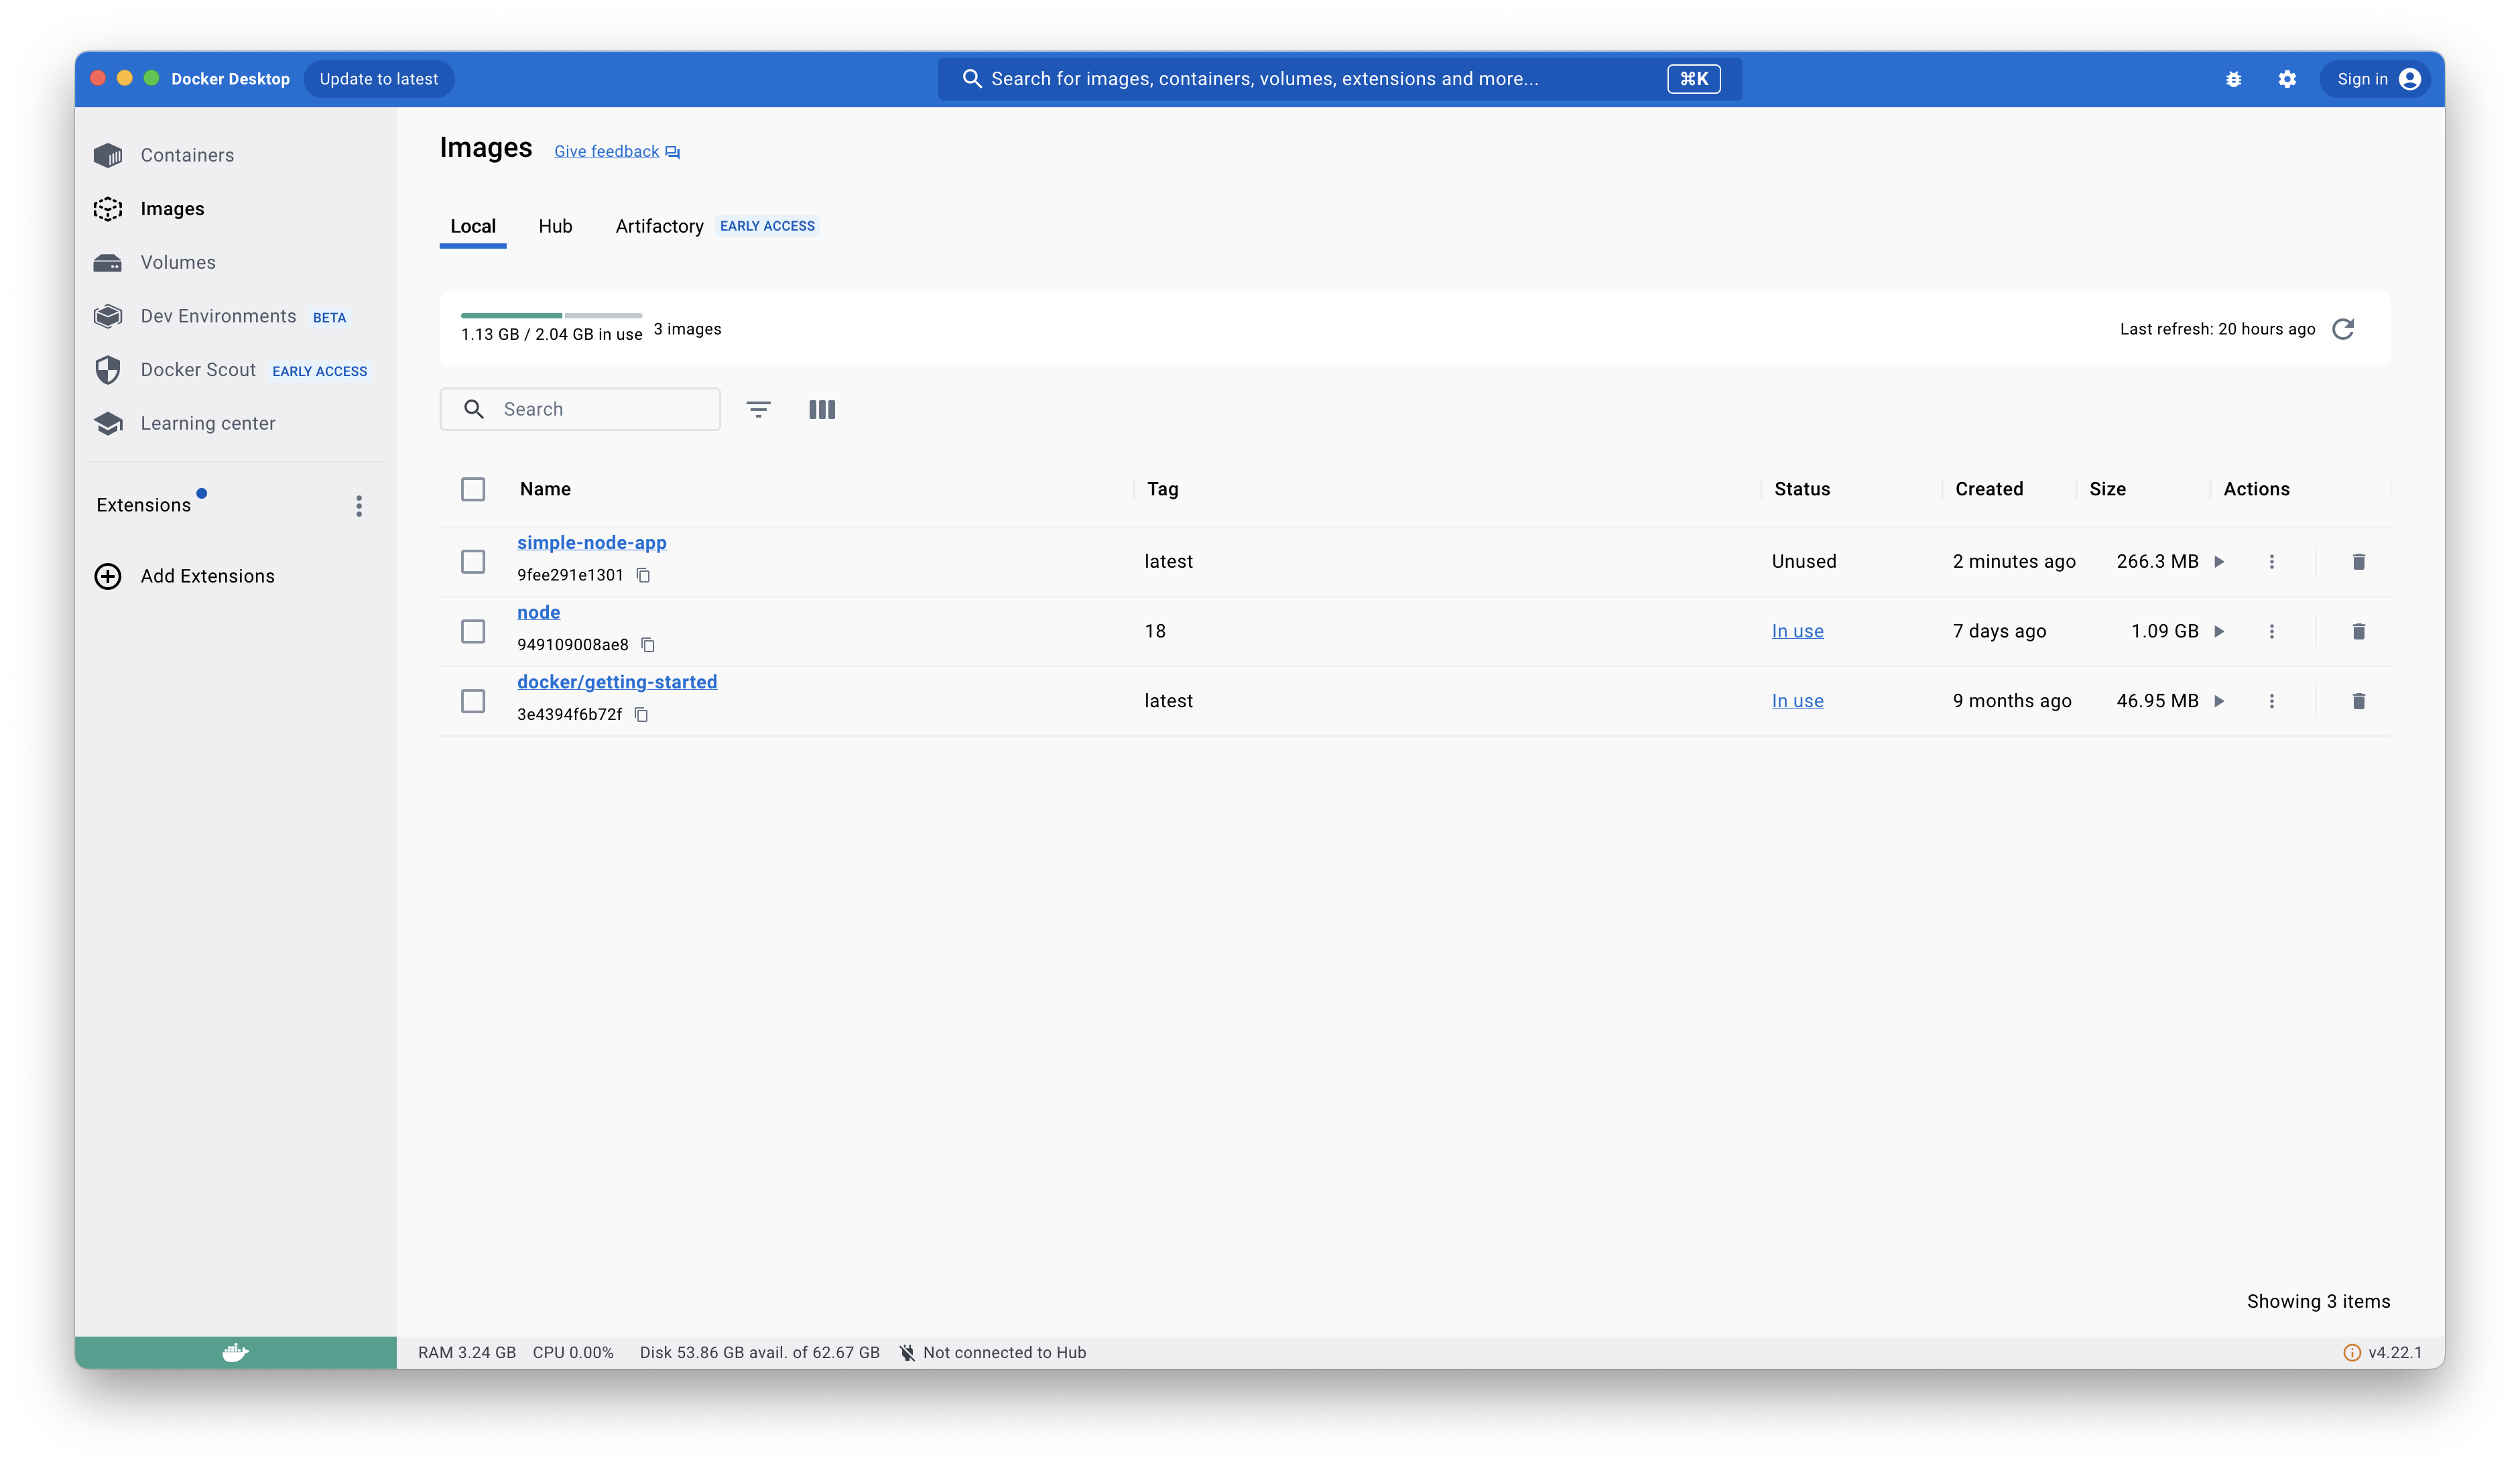
Now, if you open Docker Desktop, you should see the newly created image:
 Create and run a container for our image:
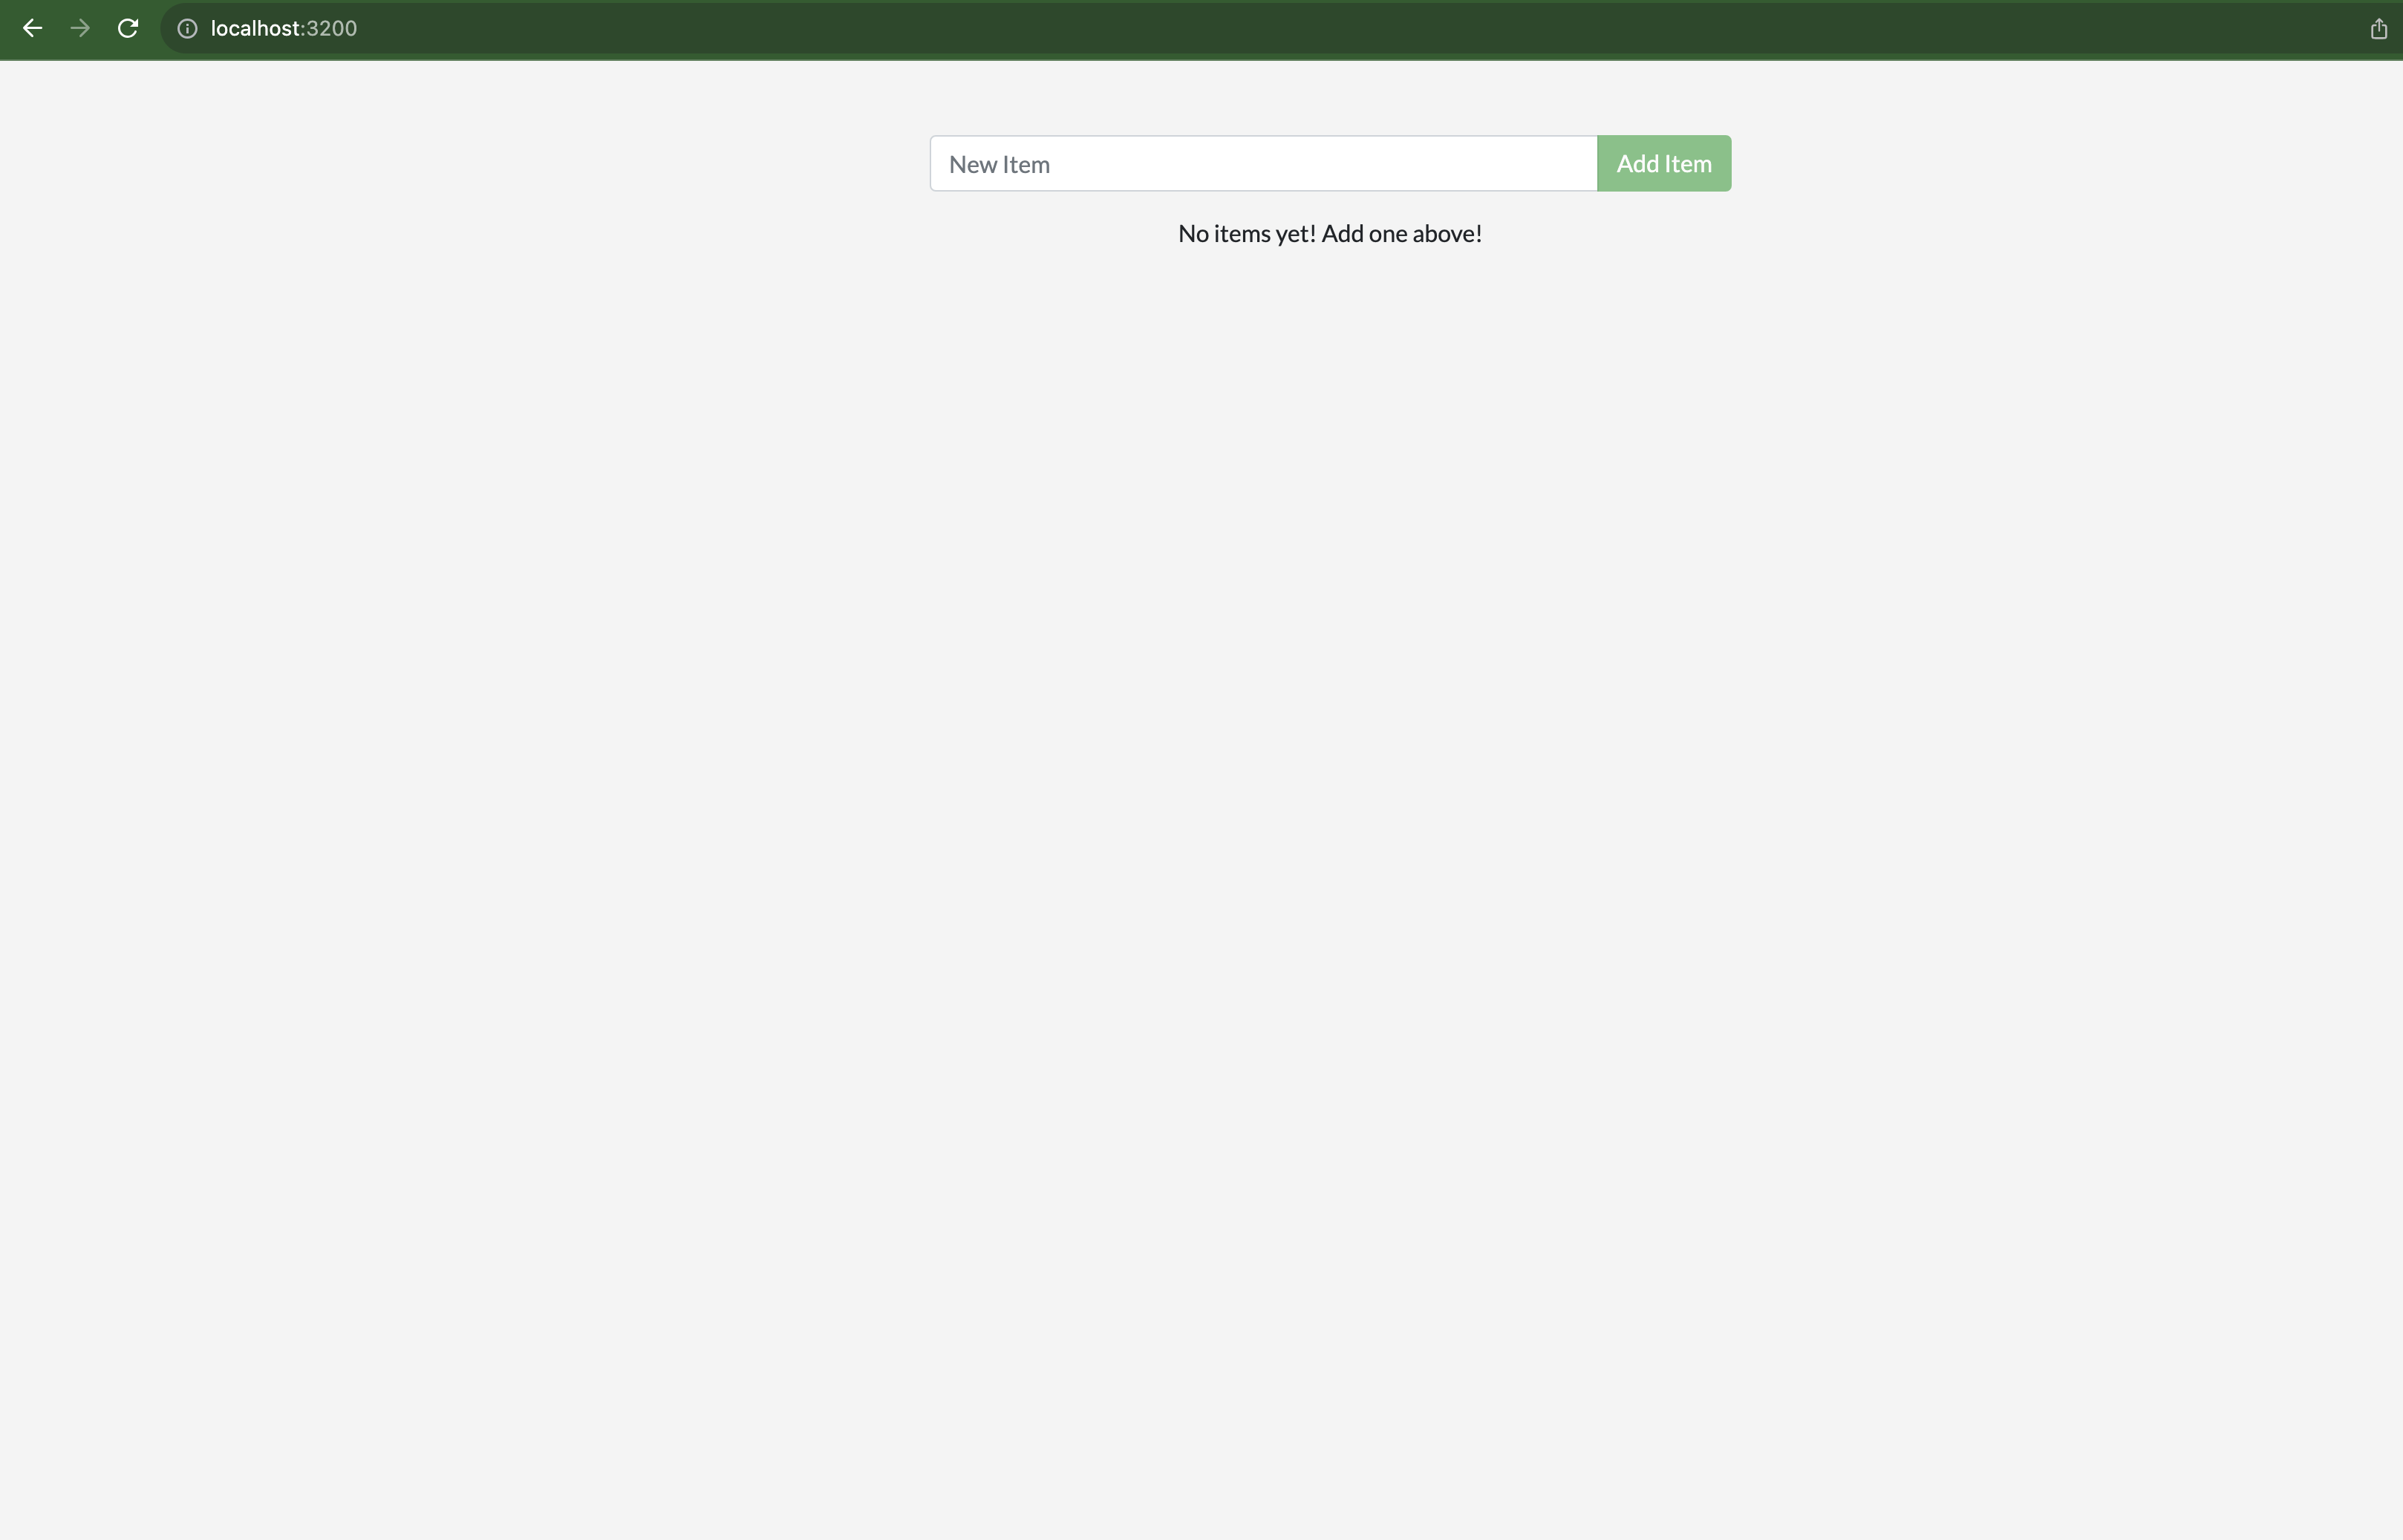
docker run -d -p 3200:3000 simple-node-appWith the flag -d we are going to tell Docker to run the container in detached mode, while with -p we can specify the port mapping: in our case, we are mapping the 3200 port of our host to port 3000 of the container.
The application is then avaiable at localhost:3200:
Other Dockerfile commands
Here we see briefly two other important Dockerfile commands: a complete list can be found here.
- EXPOSE: informs Docker that the container listens on specified network ports at runtime, and permits to specify also if the port listens on TCP or UDP protocol (default TCP if the protocol is omitted). For example:
EXPOSE 80/udp
EXPOSE 80/tcp
EXPOSE 40
This tells that the container listens on port 80 both in UDP and TCP, and on port 40 in TCP.
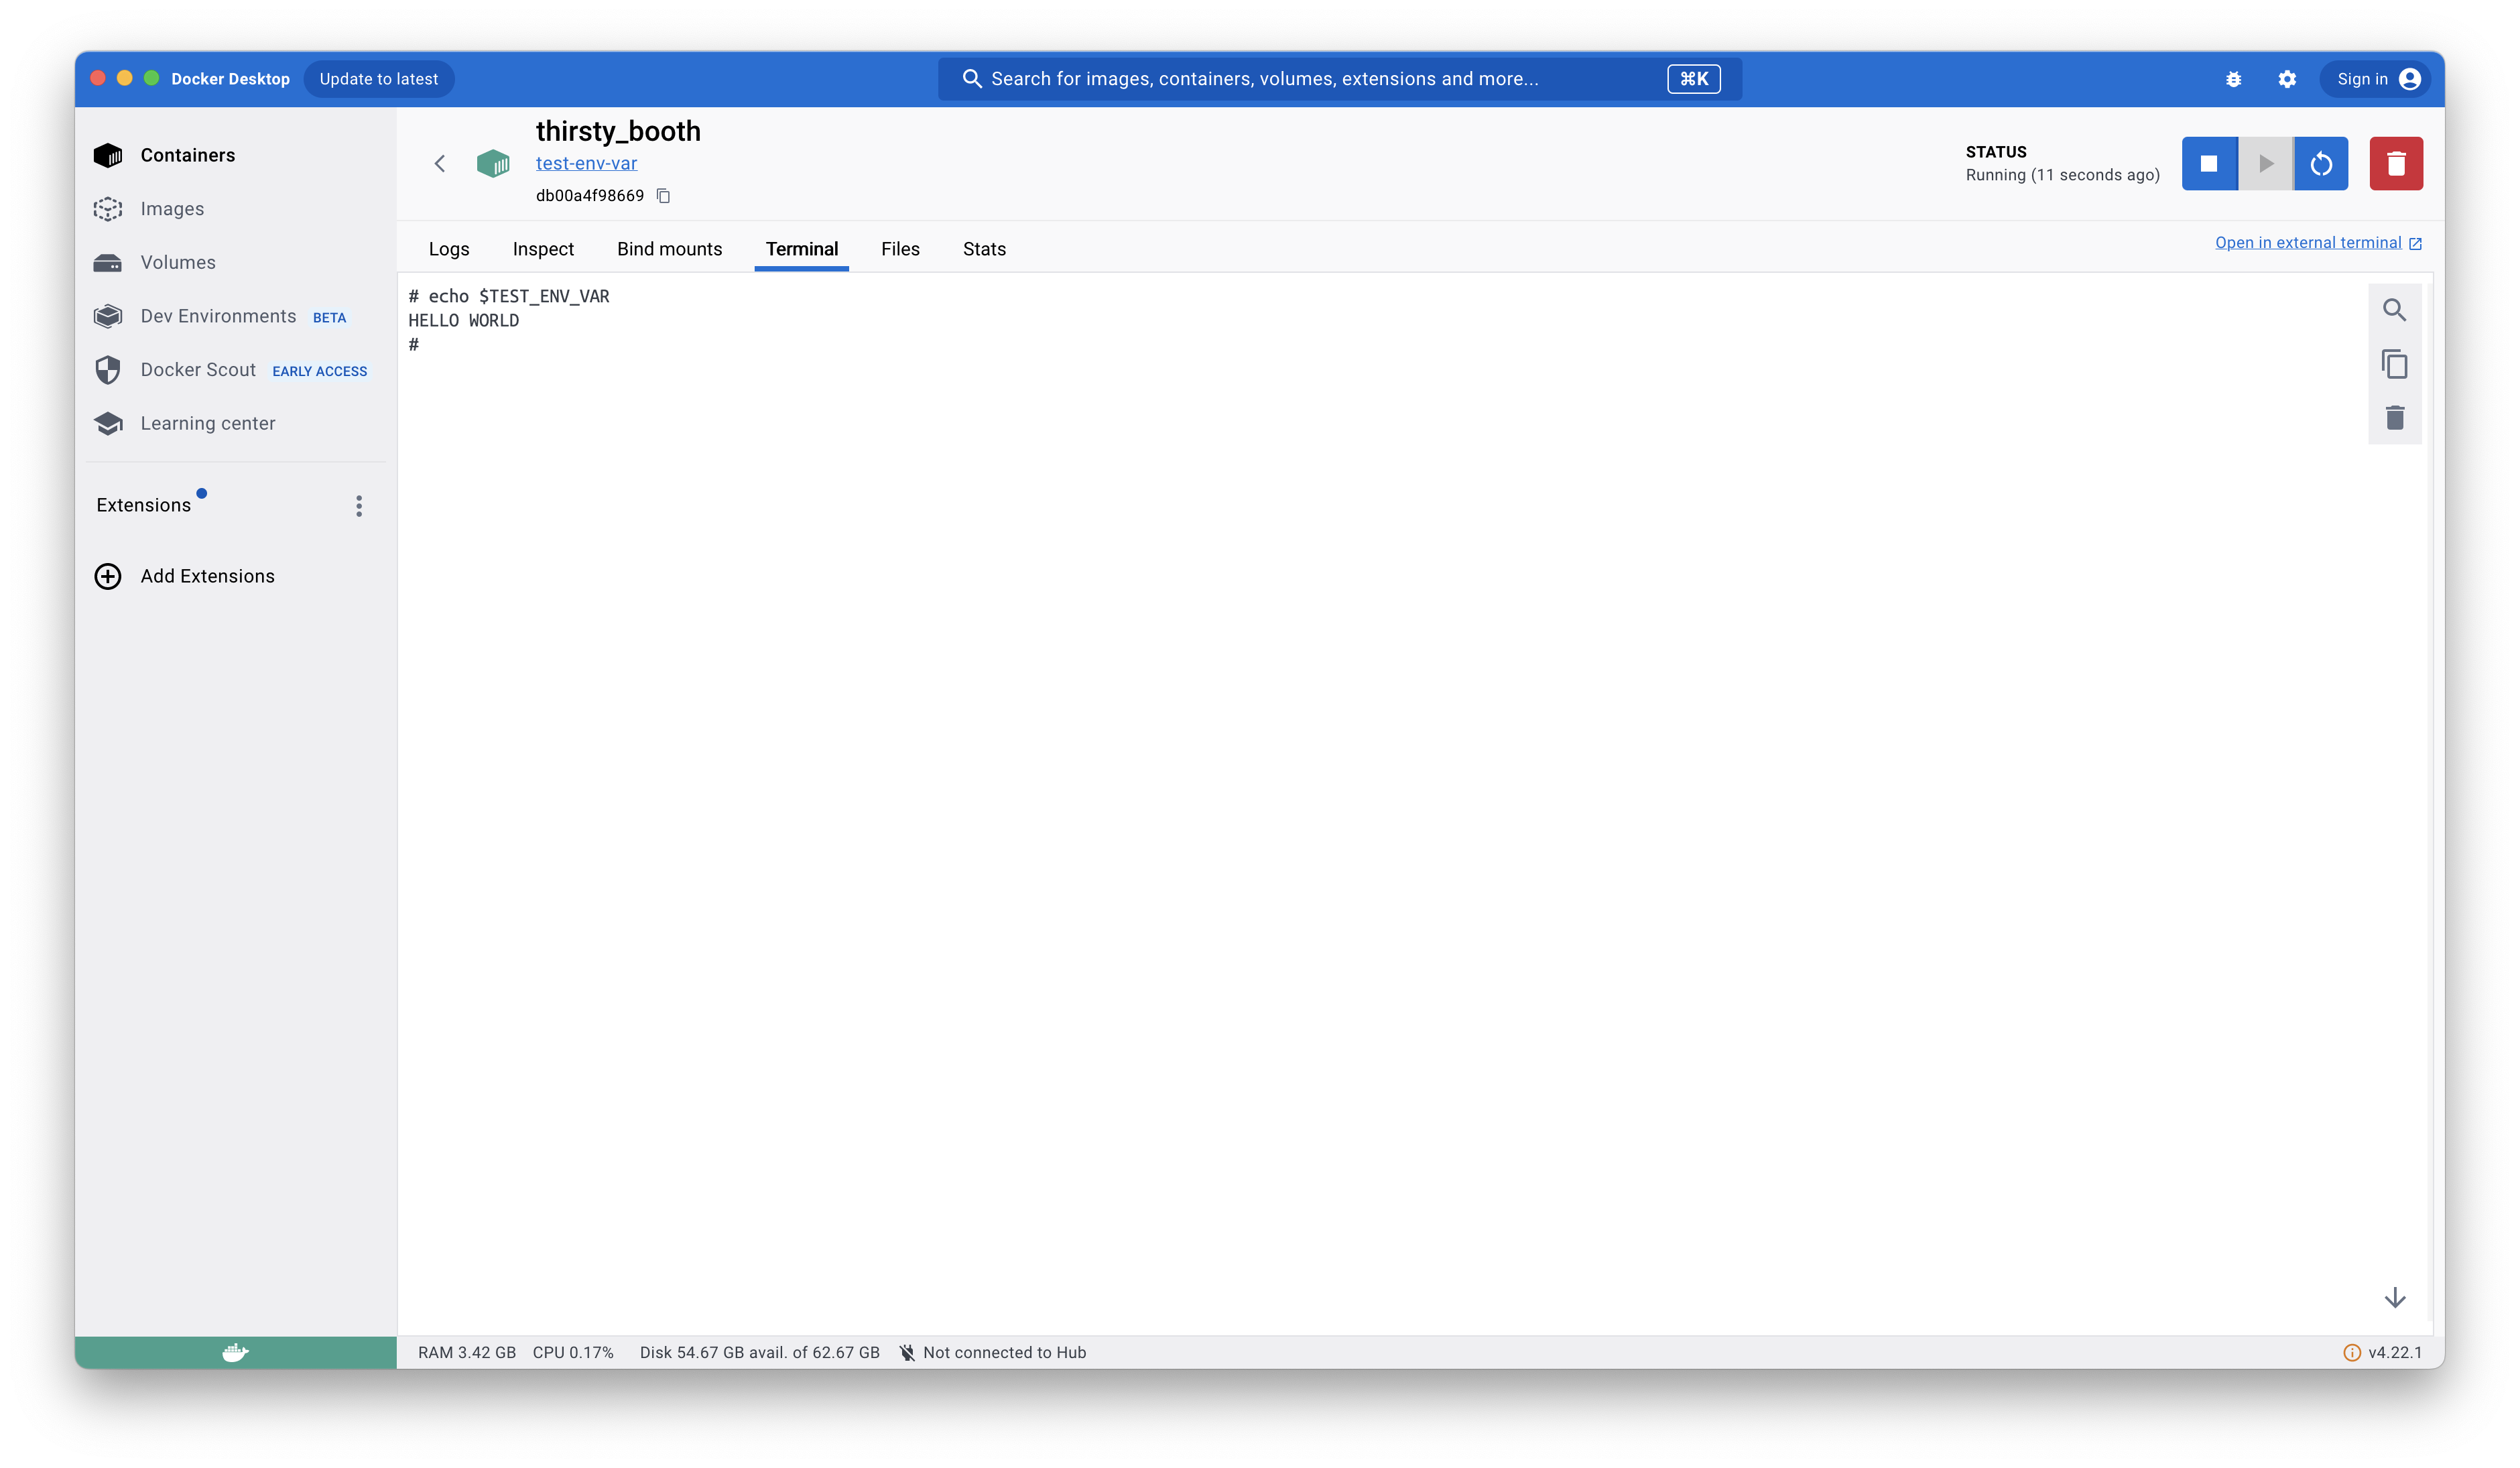
- ENV: sets an environment variable in the container. For example, try to create this Docker image:
FROM ubuntu
ENV TEST_ENV_VAR="HELLO WORLD"
CMD ["sleep", "3600"]
And run a container from it. Then, open the container’s terminal and print out the content of the environment variable TEST_ENV_VAR:
Exercises
- Create a Dockerfile that prints “installing!” when it is installed and prints “running!” each time it is launched.