Contents
In this section, we will see step-by-step how we can create images and initialize containers. To follow properly, you should have Docker Desktop (or at least the Docker Engine if you want to do it from the CLI) installed properly on your machine.
The Docker Hub
We want now to play around with Docker to understand better how it works. We will use, for now, the GUI client of Docker. The easier way to see Docker in action is to download pre-defined images from the Docker Hub.
The Docker Hub is a container image registry. From Docker Hub, you can fetch ready-to-use images from which you can base your application. Do you want to deploy in a container an application written in Python? You can download a Docker image that has python already installed and configured.
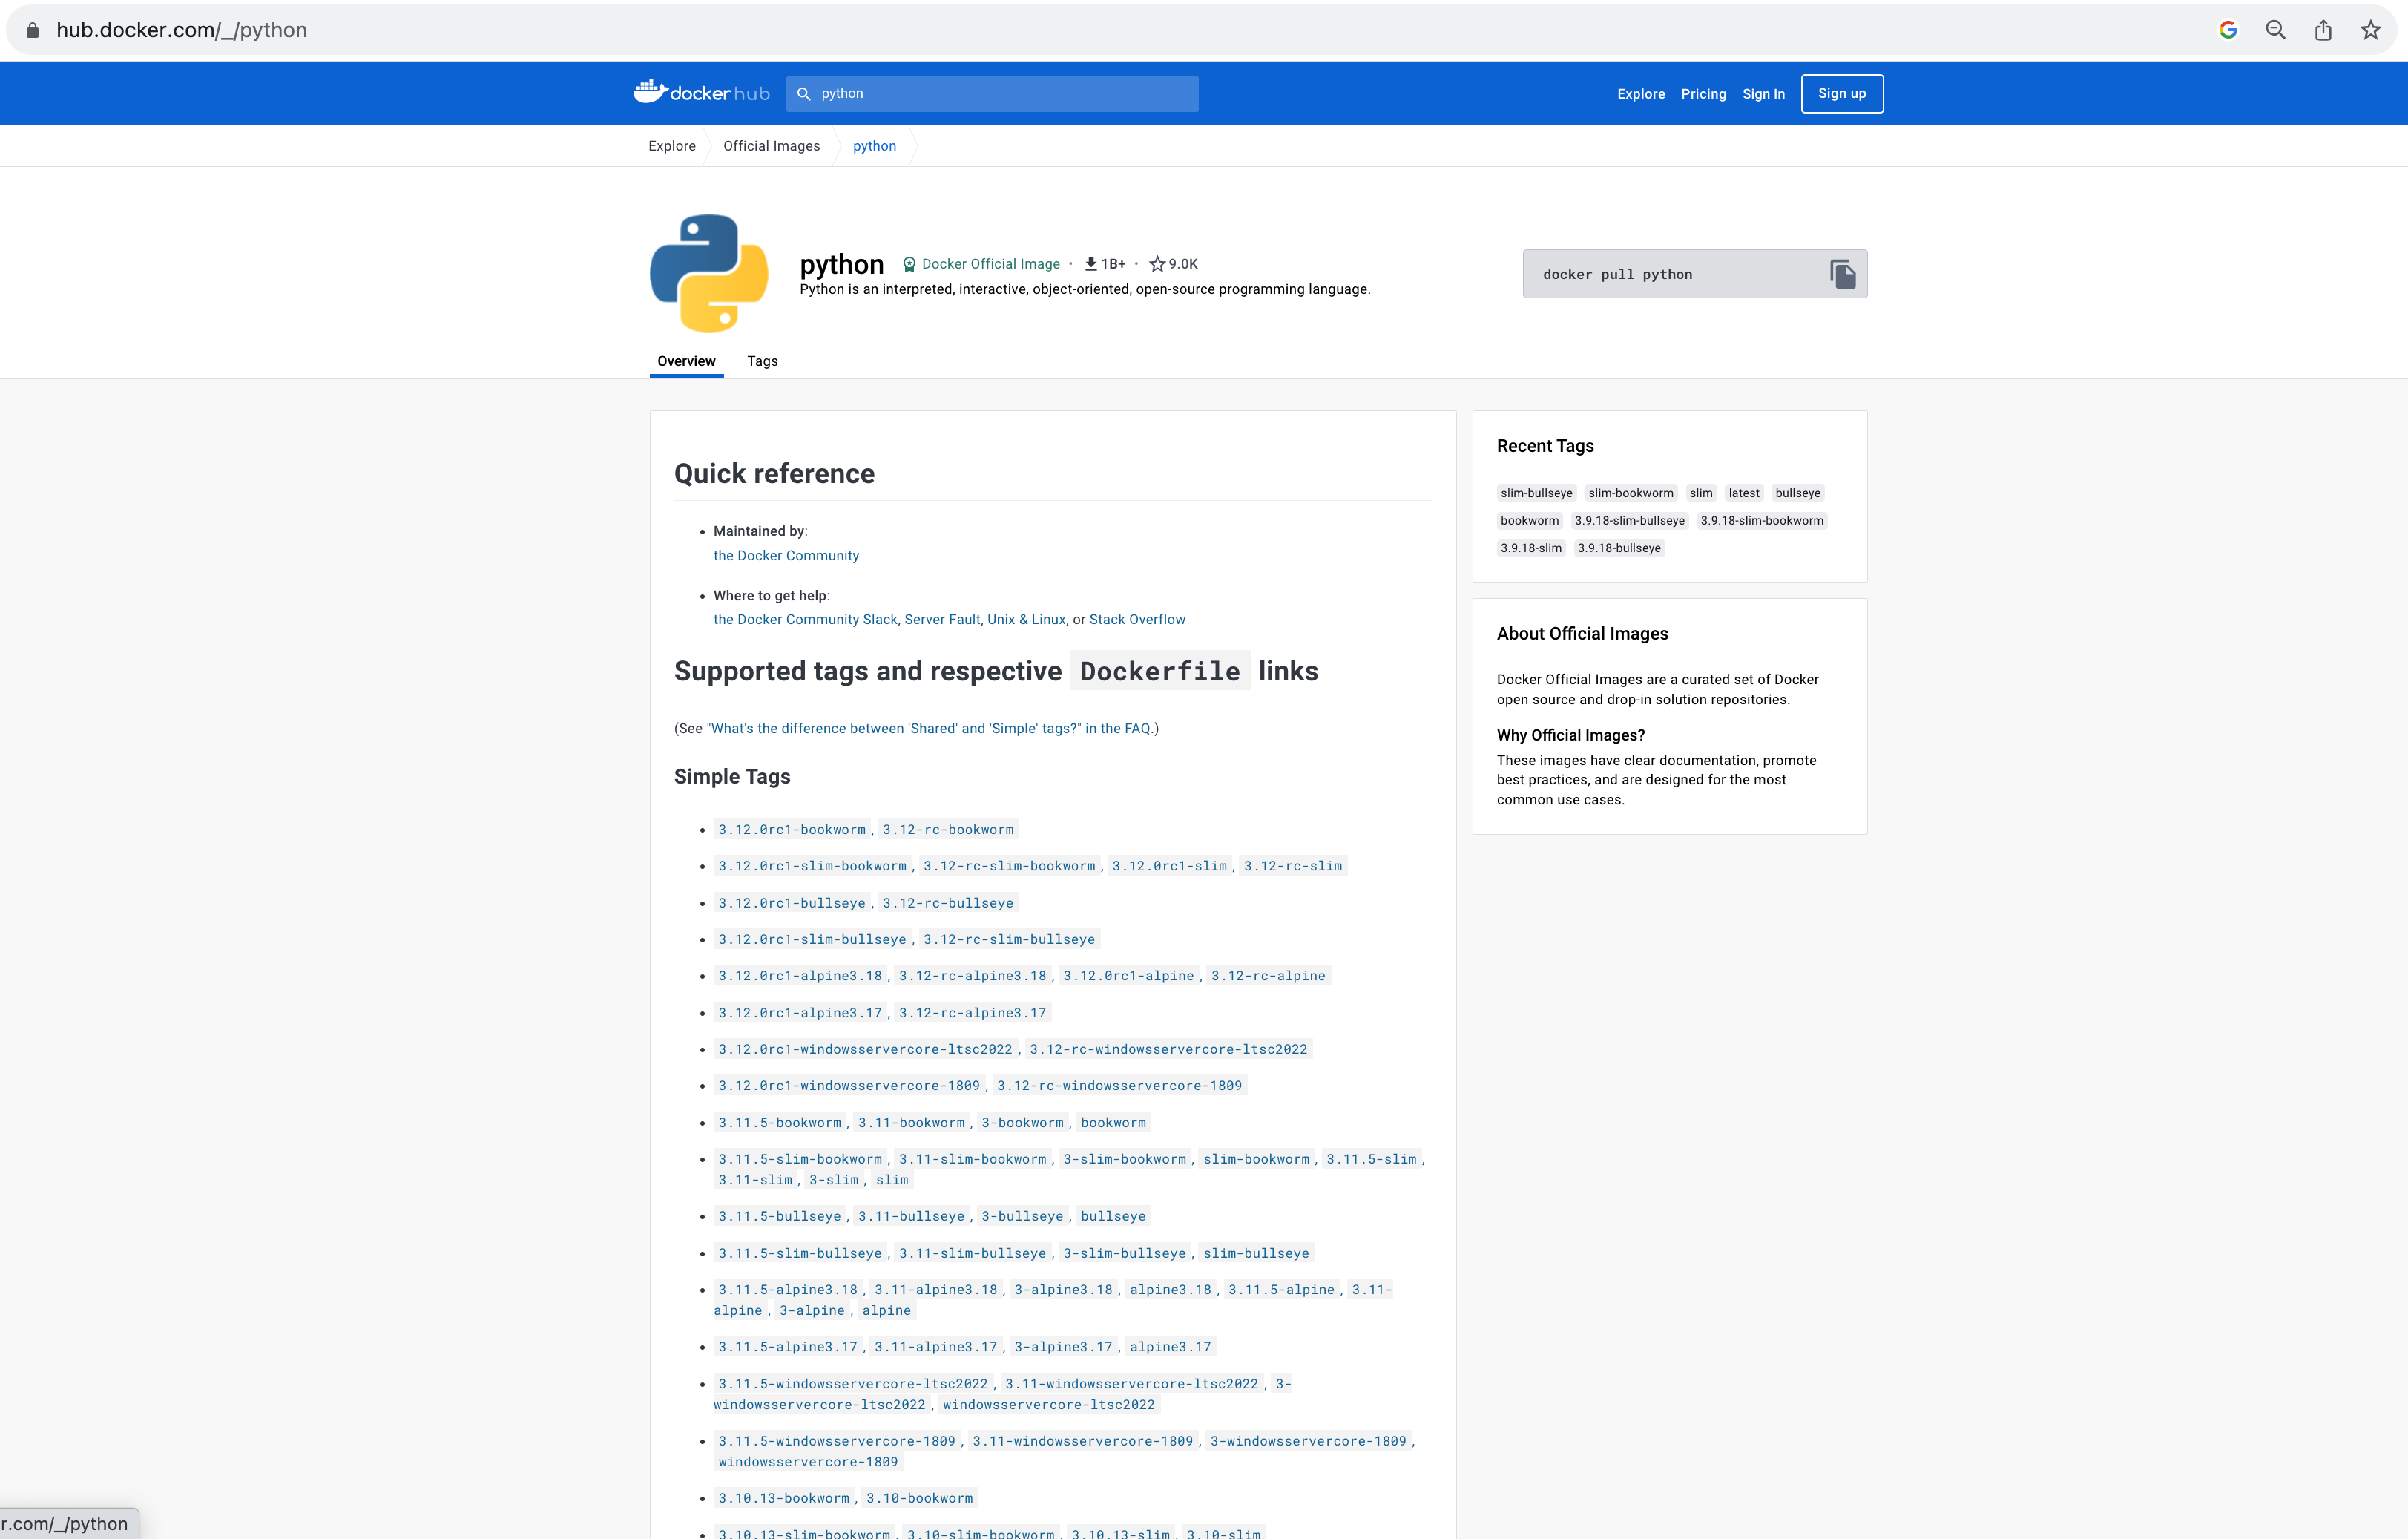
Image tags
A docker image has a tag. This permits you to specify which version of the Docker image you want to use. For example, suppose that your python application relies on libraries that were developed with python 3.9. Probably you don’t want to use the latest version of python, since the library could not work properly on python >= 3.9. So, you should use a python 3.9 Docker image. You can see the available tags of an image directly from the image page of the Docker Hub:
Getting Started
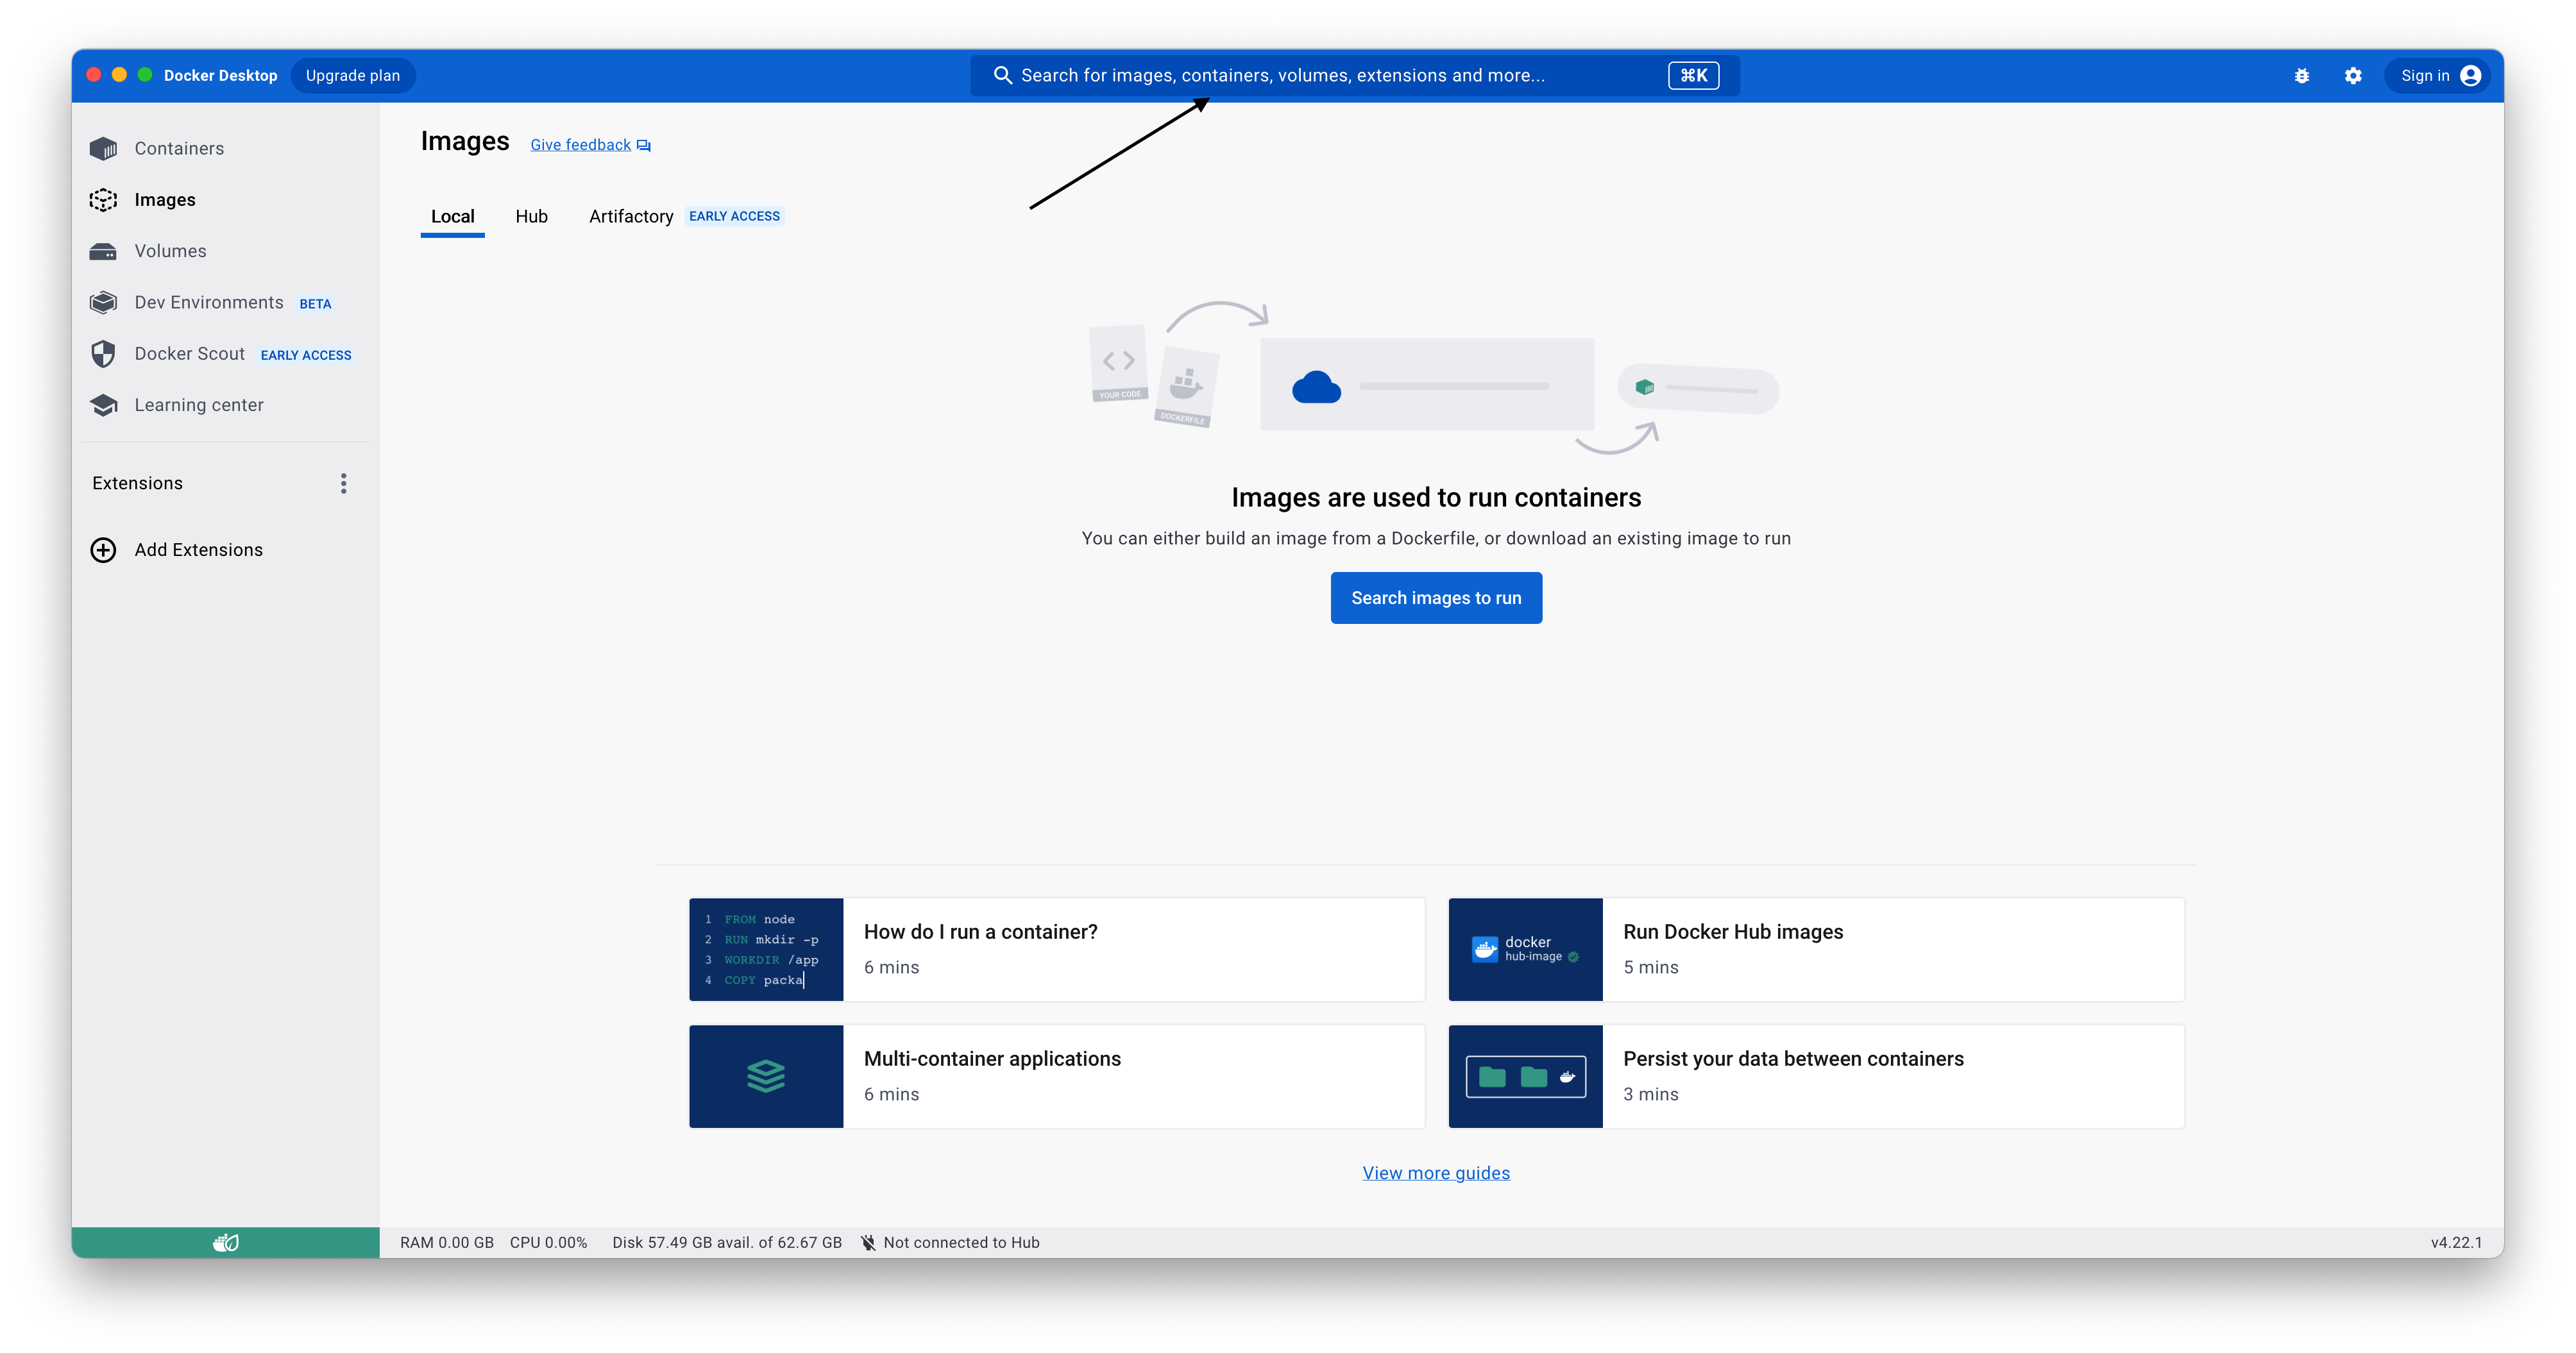
From Docker Desktop, click on the search input field and type “docker/getting-started”:
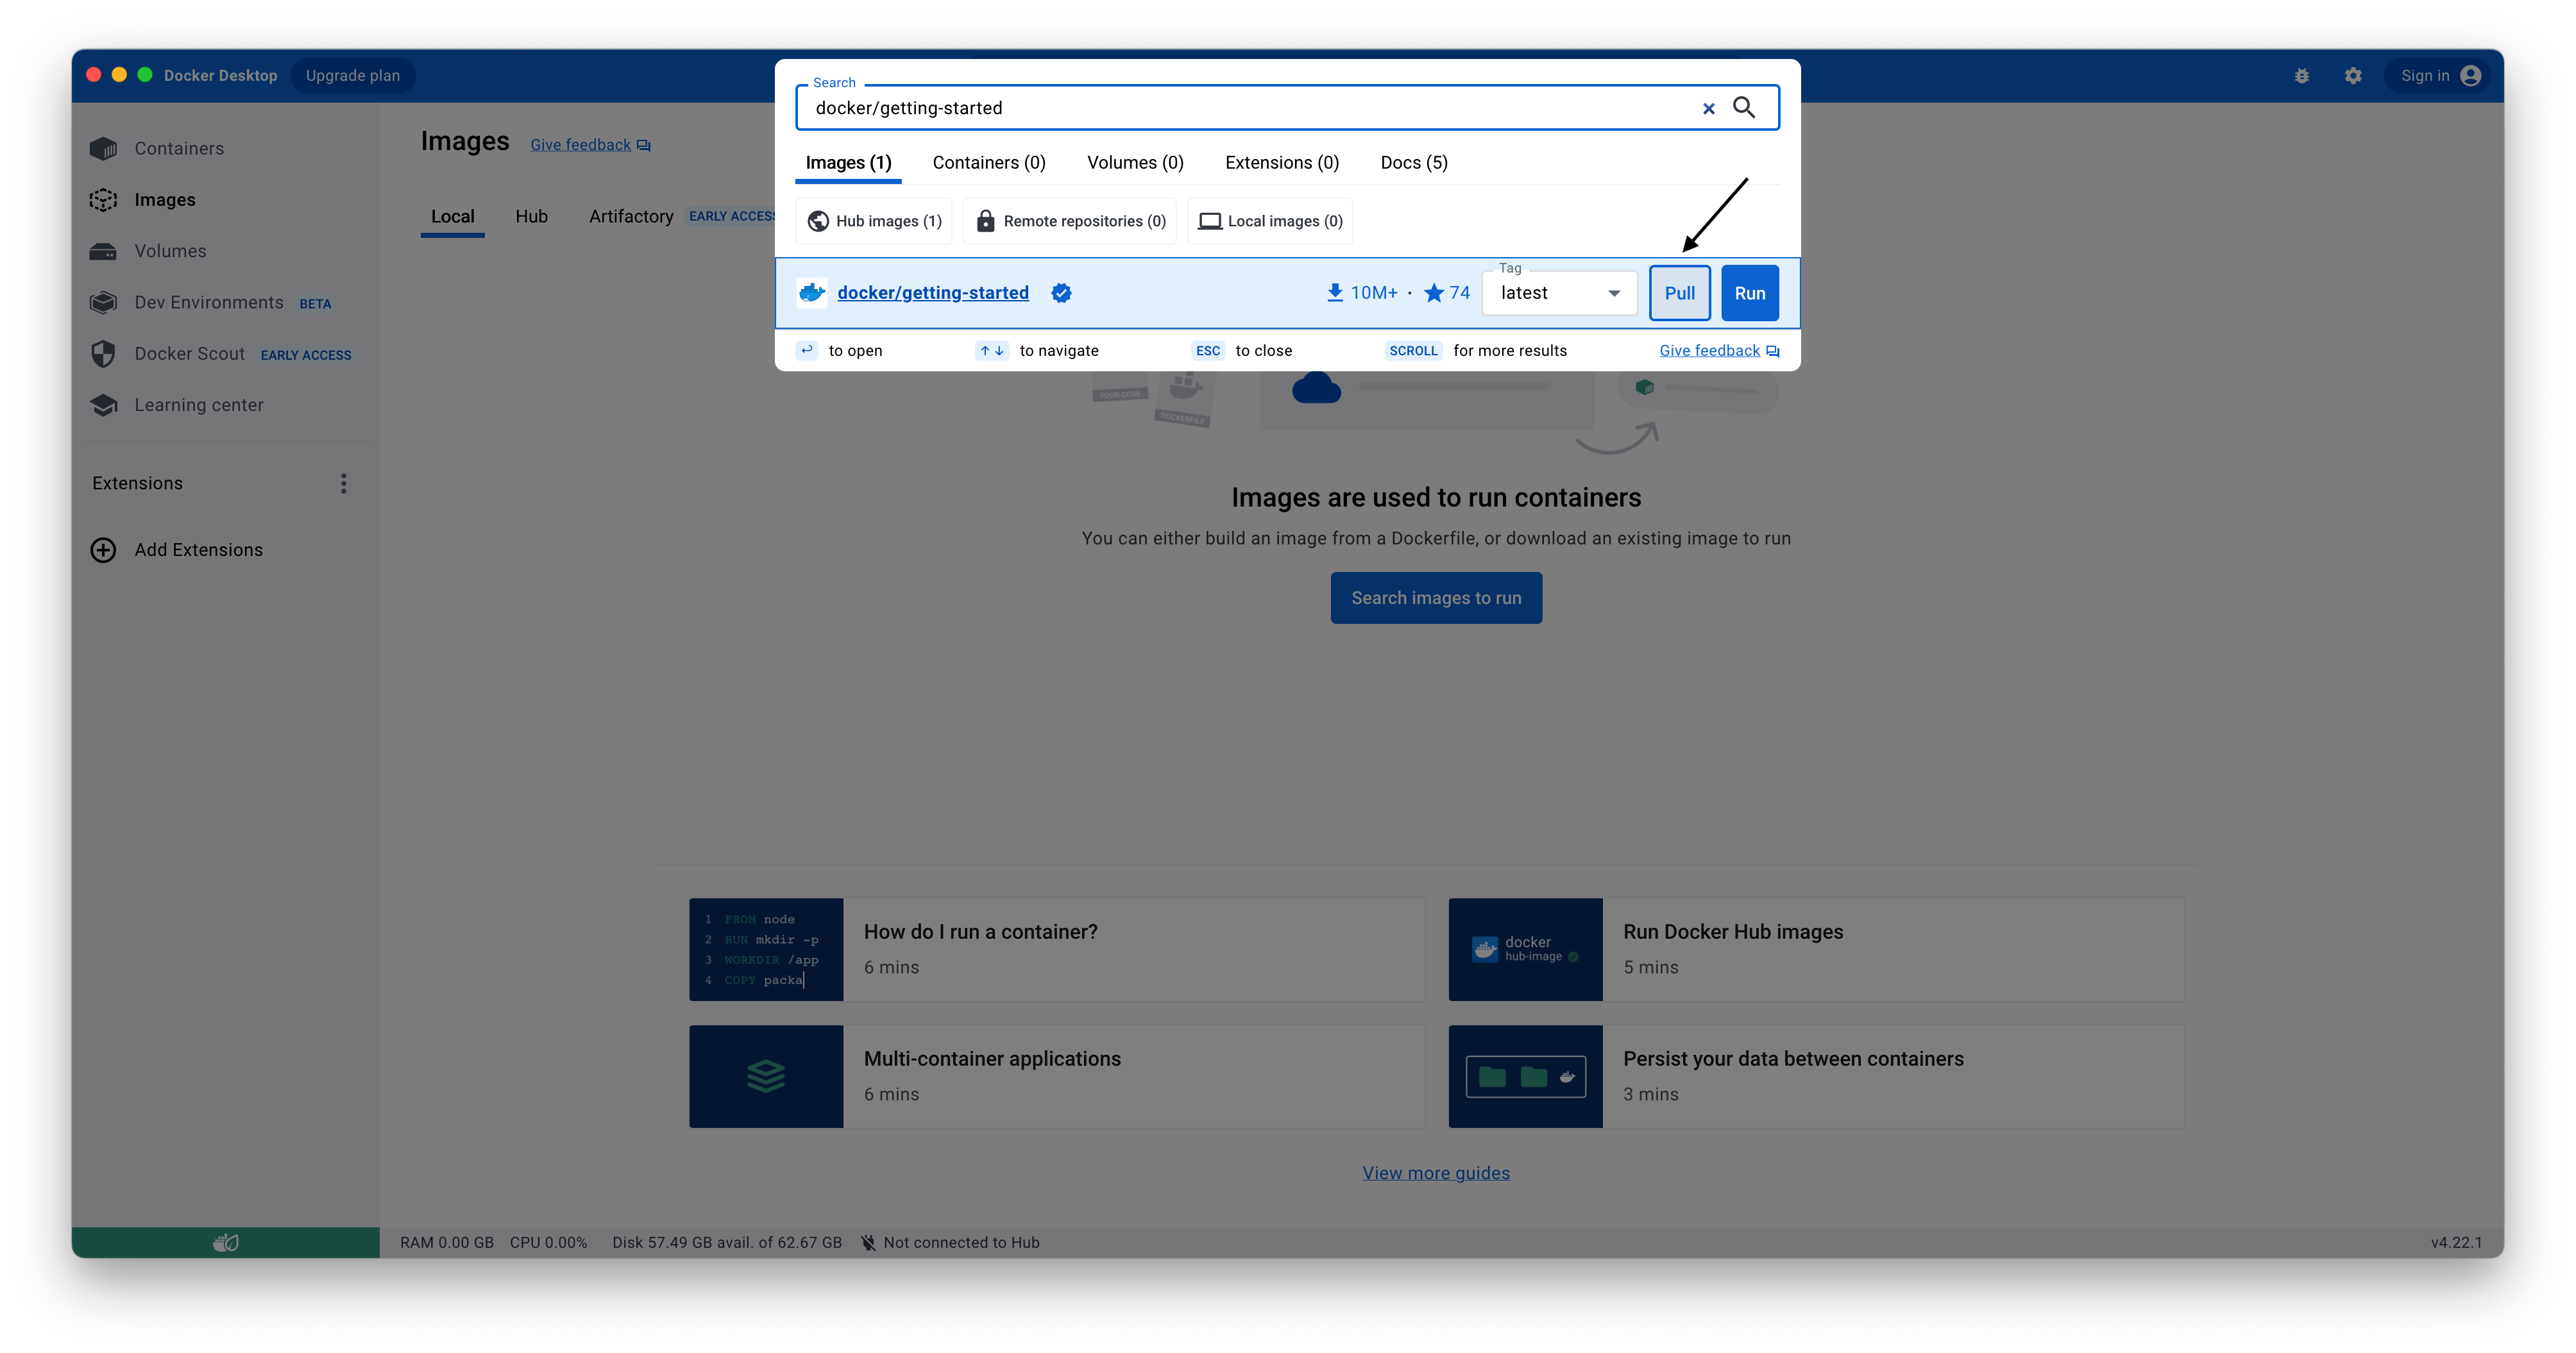
 On the search results pop-up, click on “Pull” on the first result:
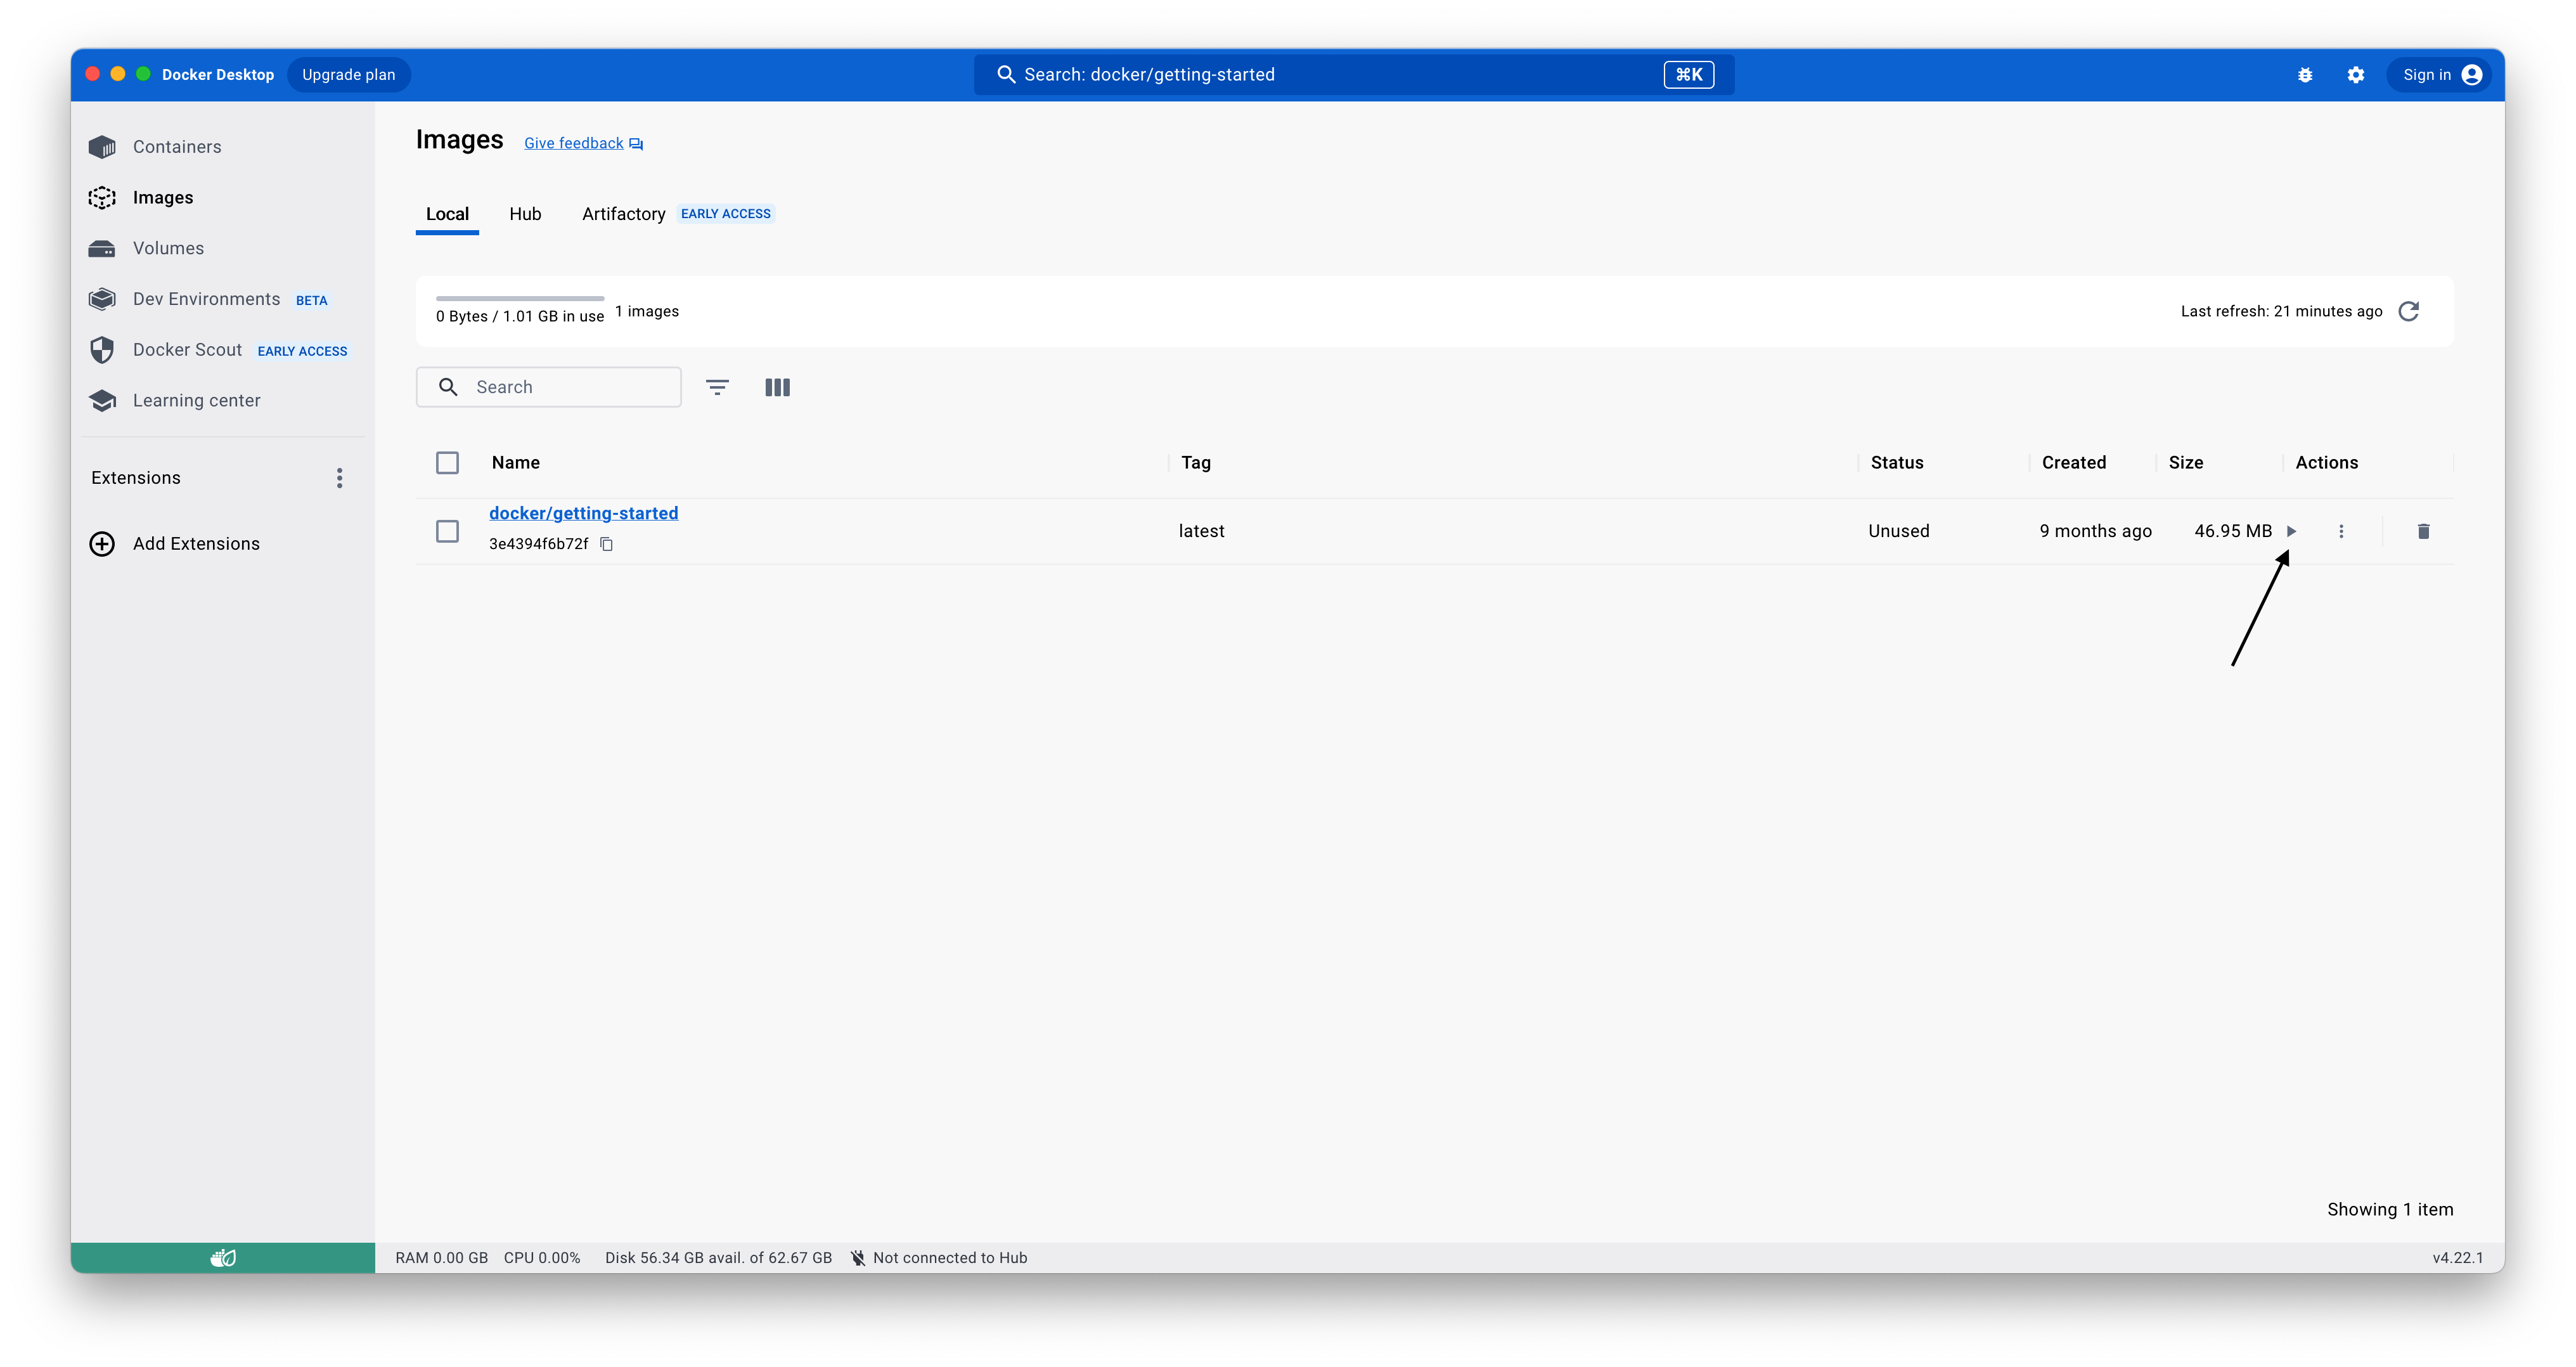
 This will download a Docker Image that contains a simple tutorial. The download requires a bit, and at the end, you should find the getting-started images inside the images tab:
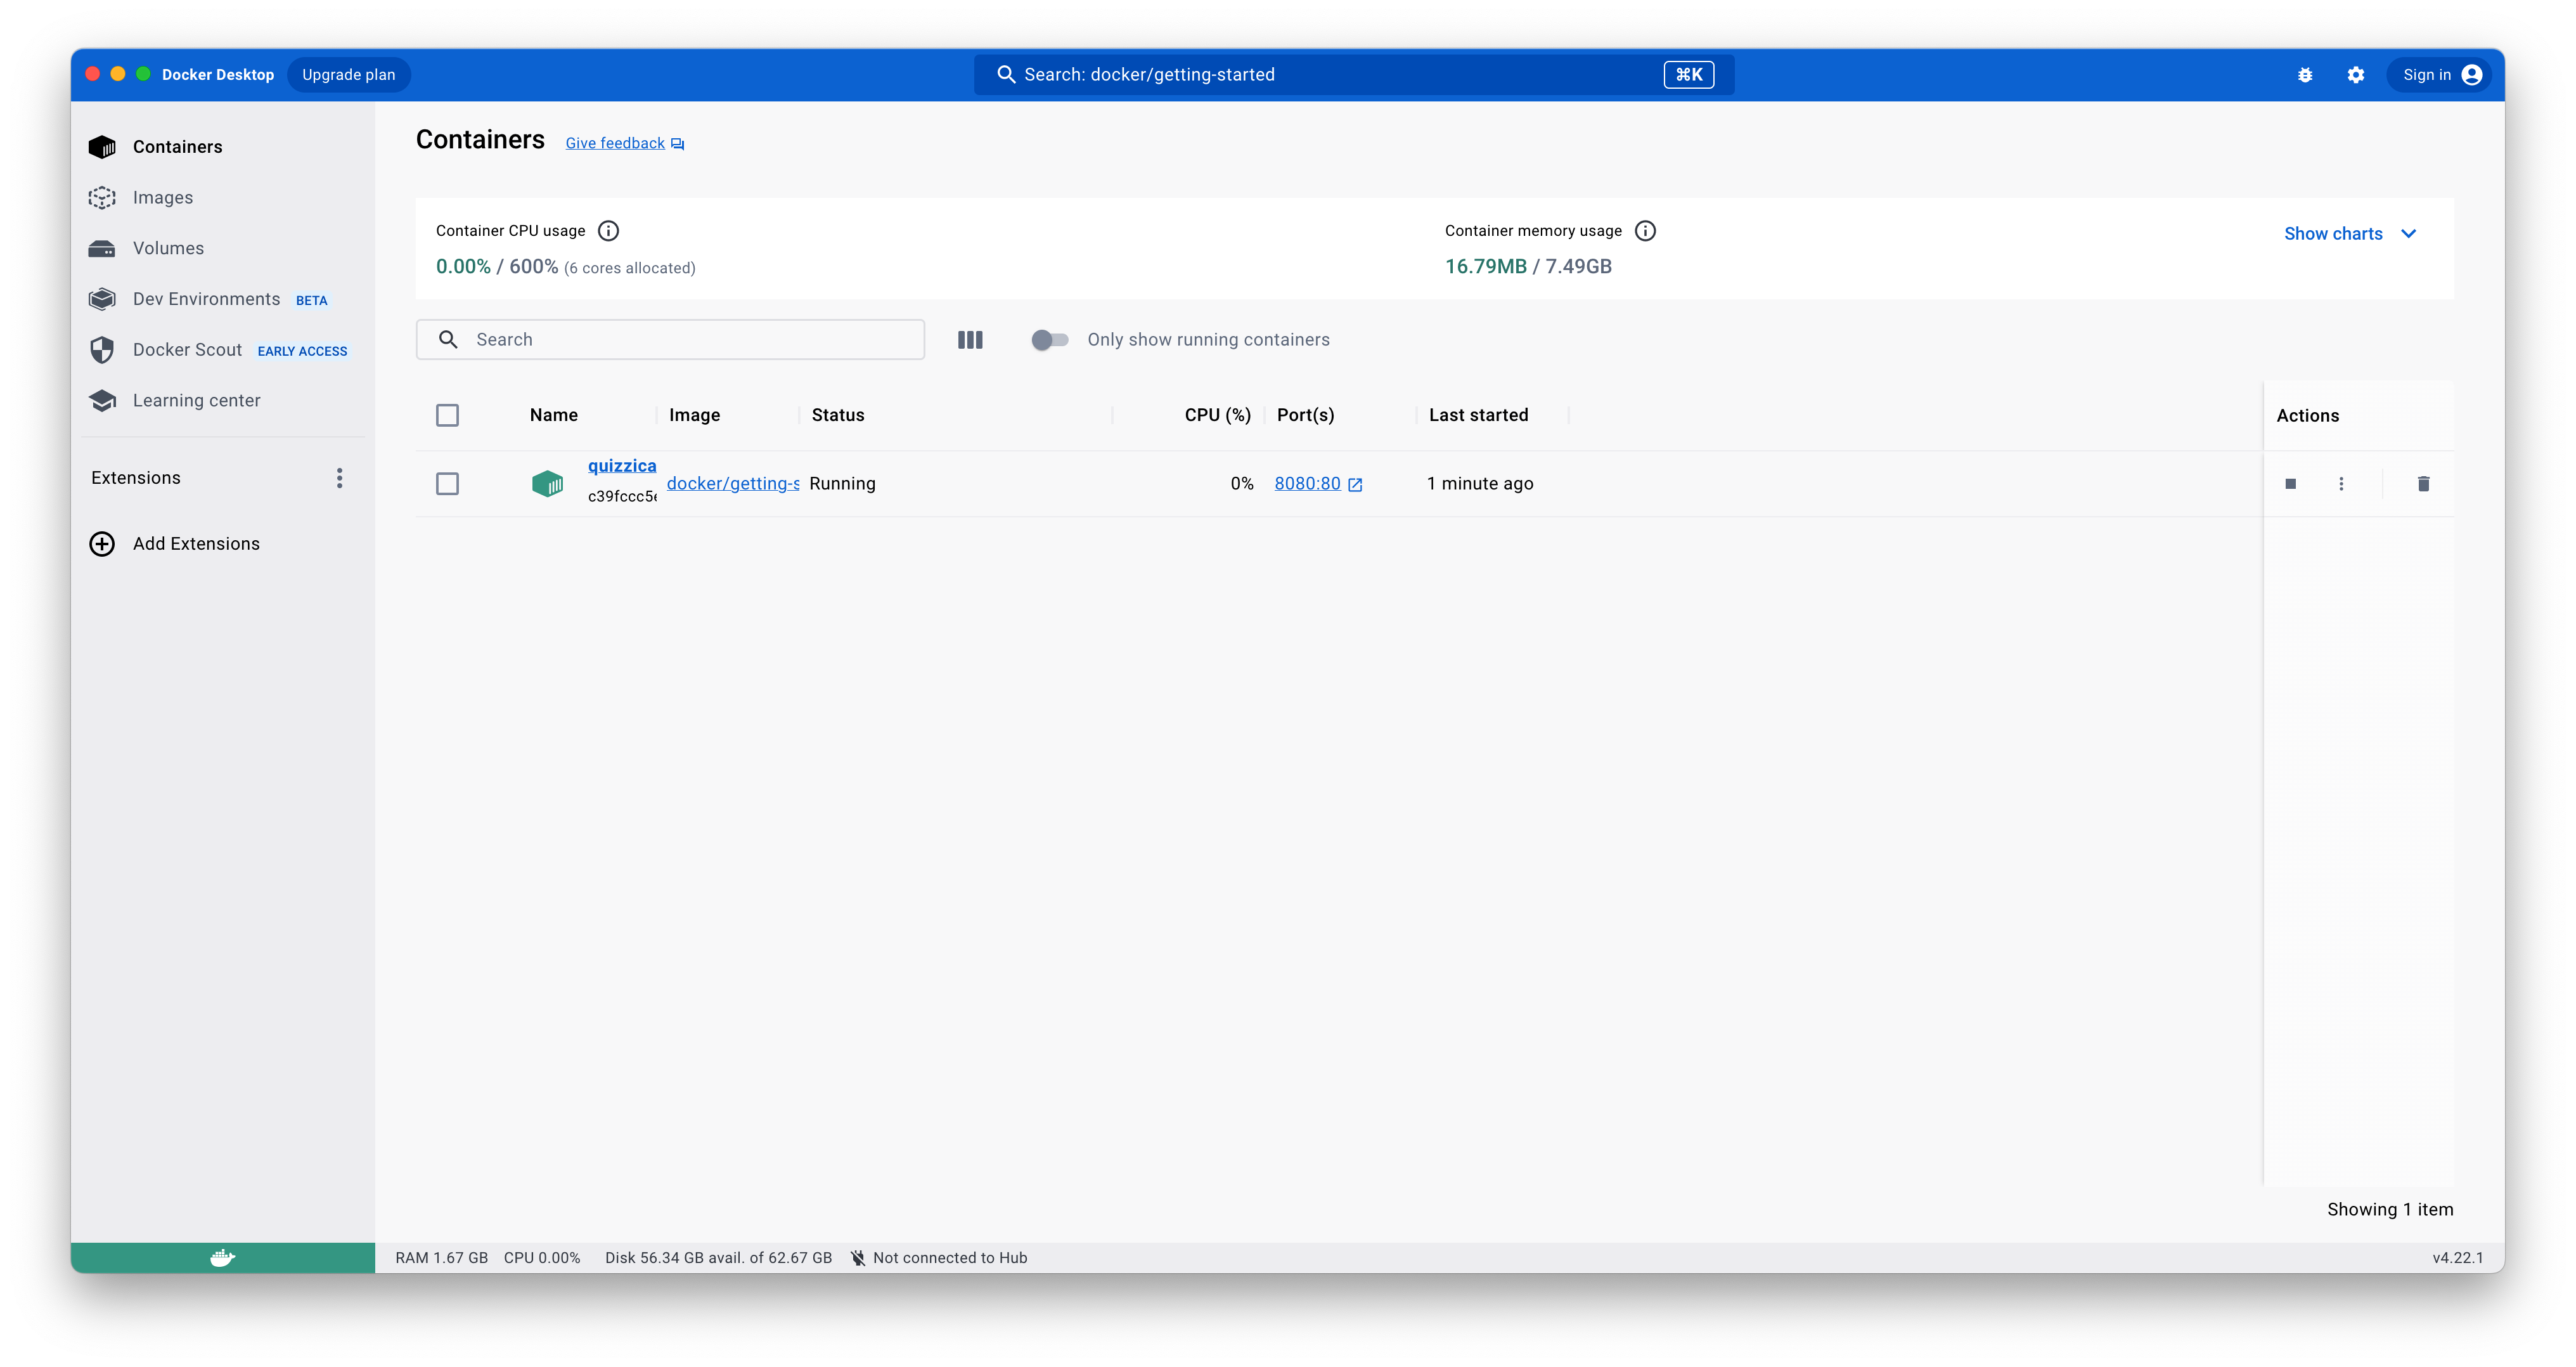
 Now click on the “Play” button of the image. A pop-up that permits setting up the container should appear. From here, you can set a container name, a host port, volumes, and environment variables. Insert only a Host port (for example, 8080) and a name (the latter is facultative), and click on “Run”. This will create and run a container from the getting-started image. You can find the newly created container on the Container tab of Docker Desktop:
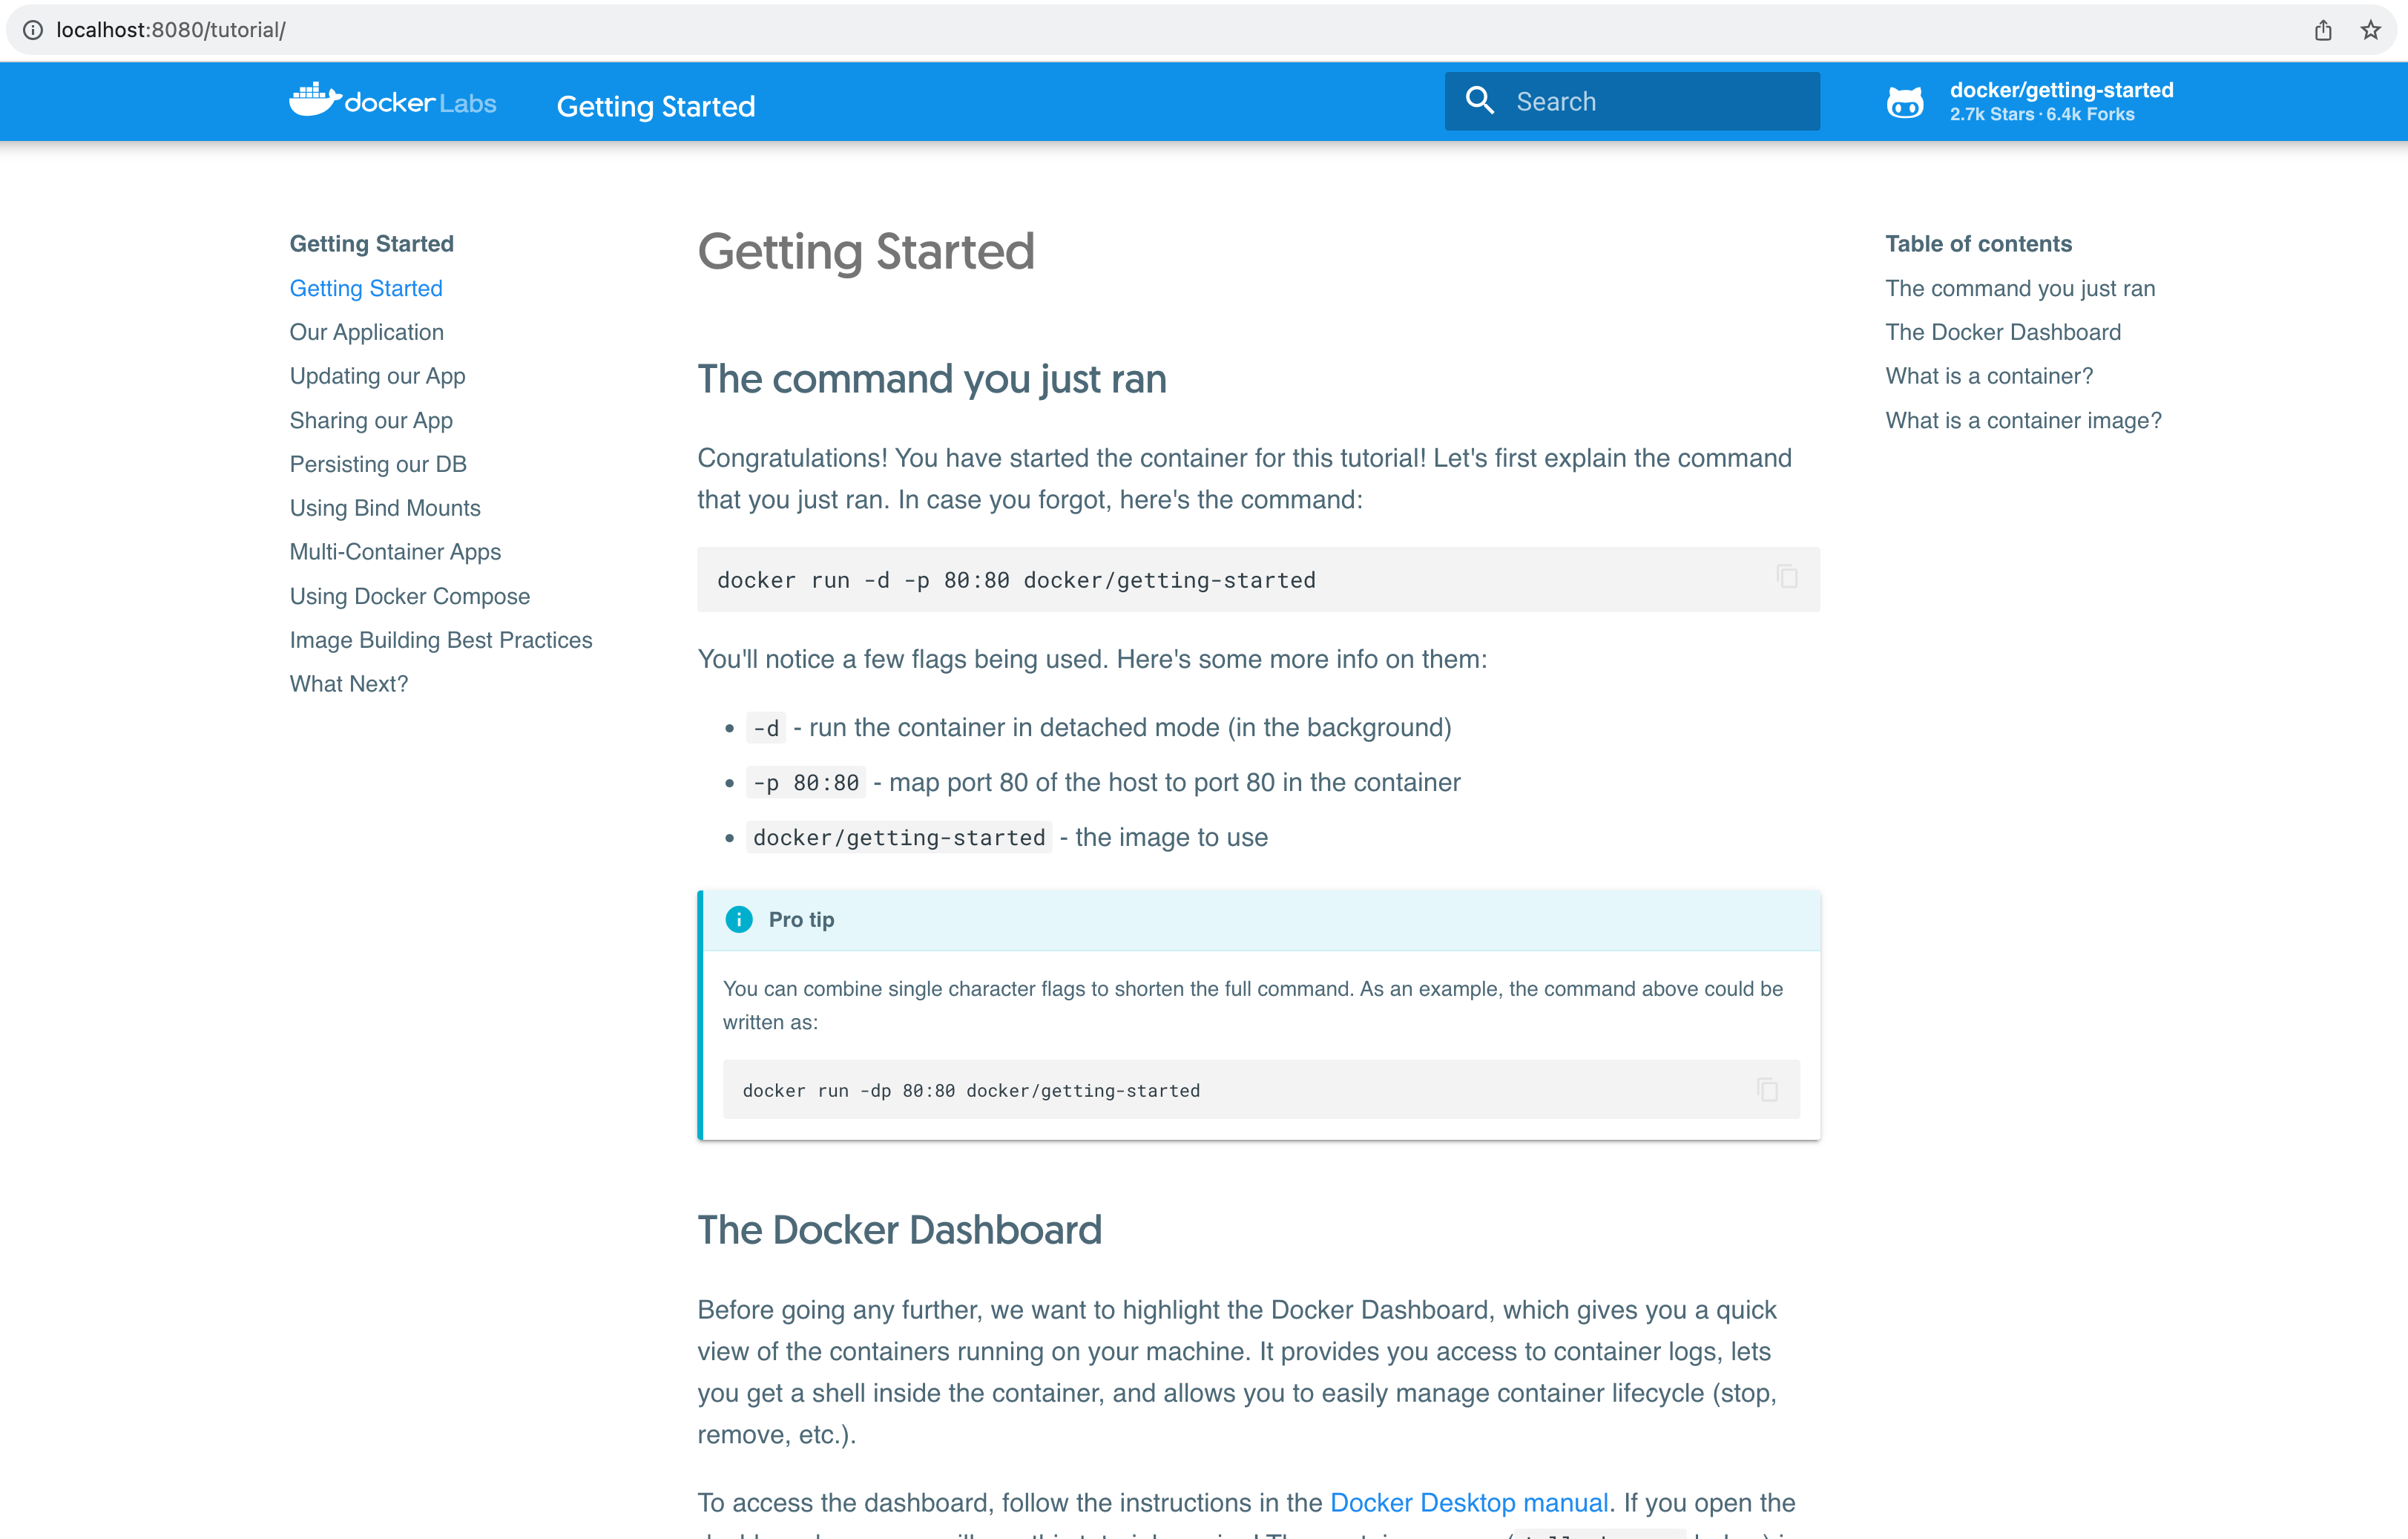
 To see the deployed application in action, go on localhost:8080 (or, if you choose a different host port, substitute the port on the URL). If you see something like this, it means that you have launched your first container correctly :) :
 We will turn back on this later. Now it is time to see how we can interact with the container with Docker Desktop.
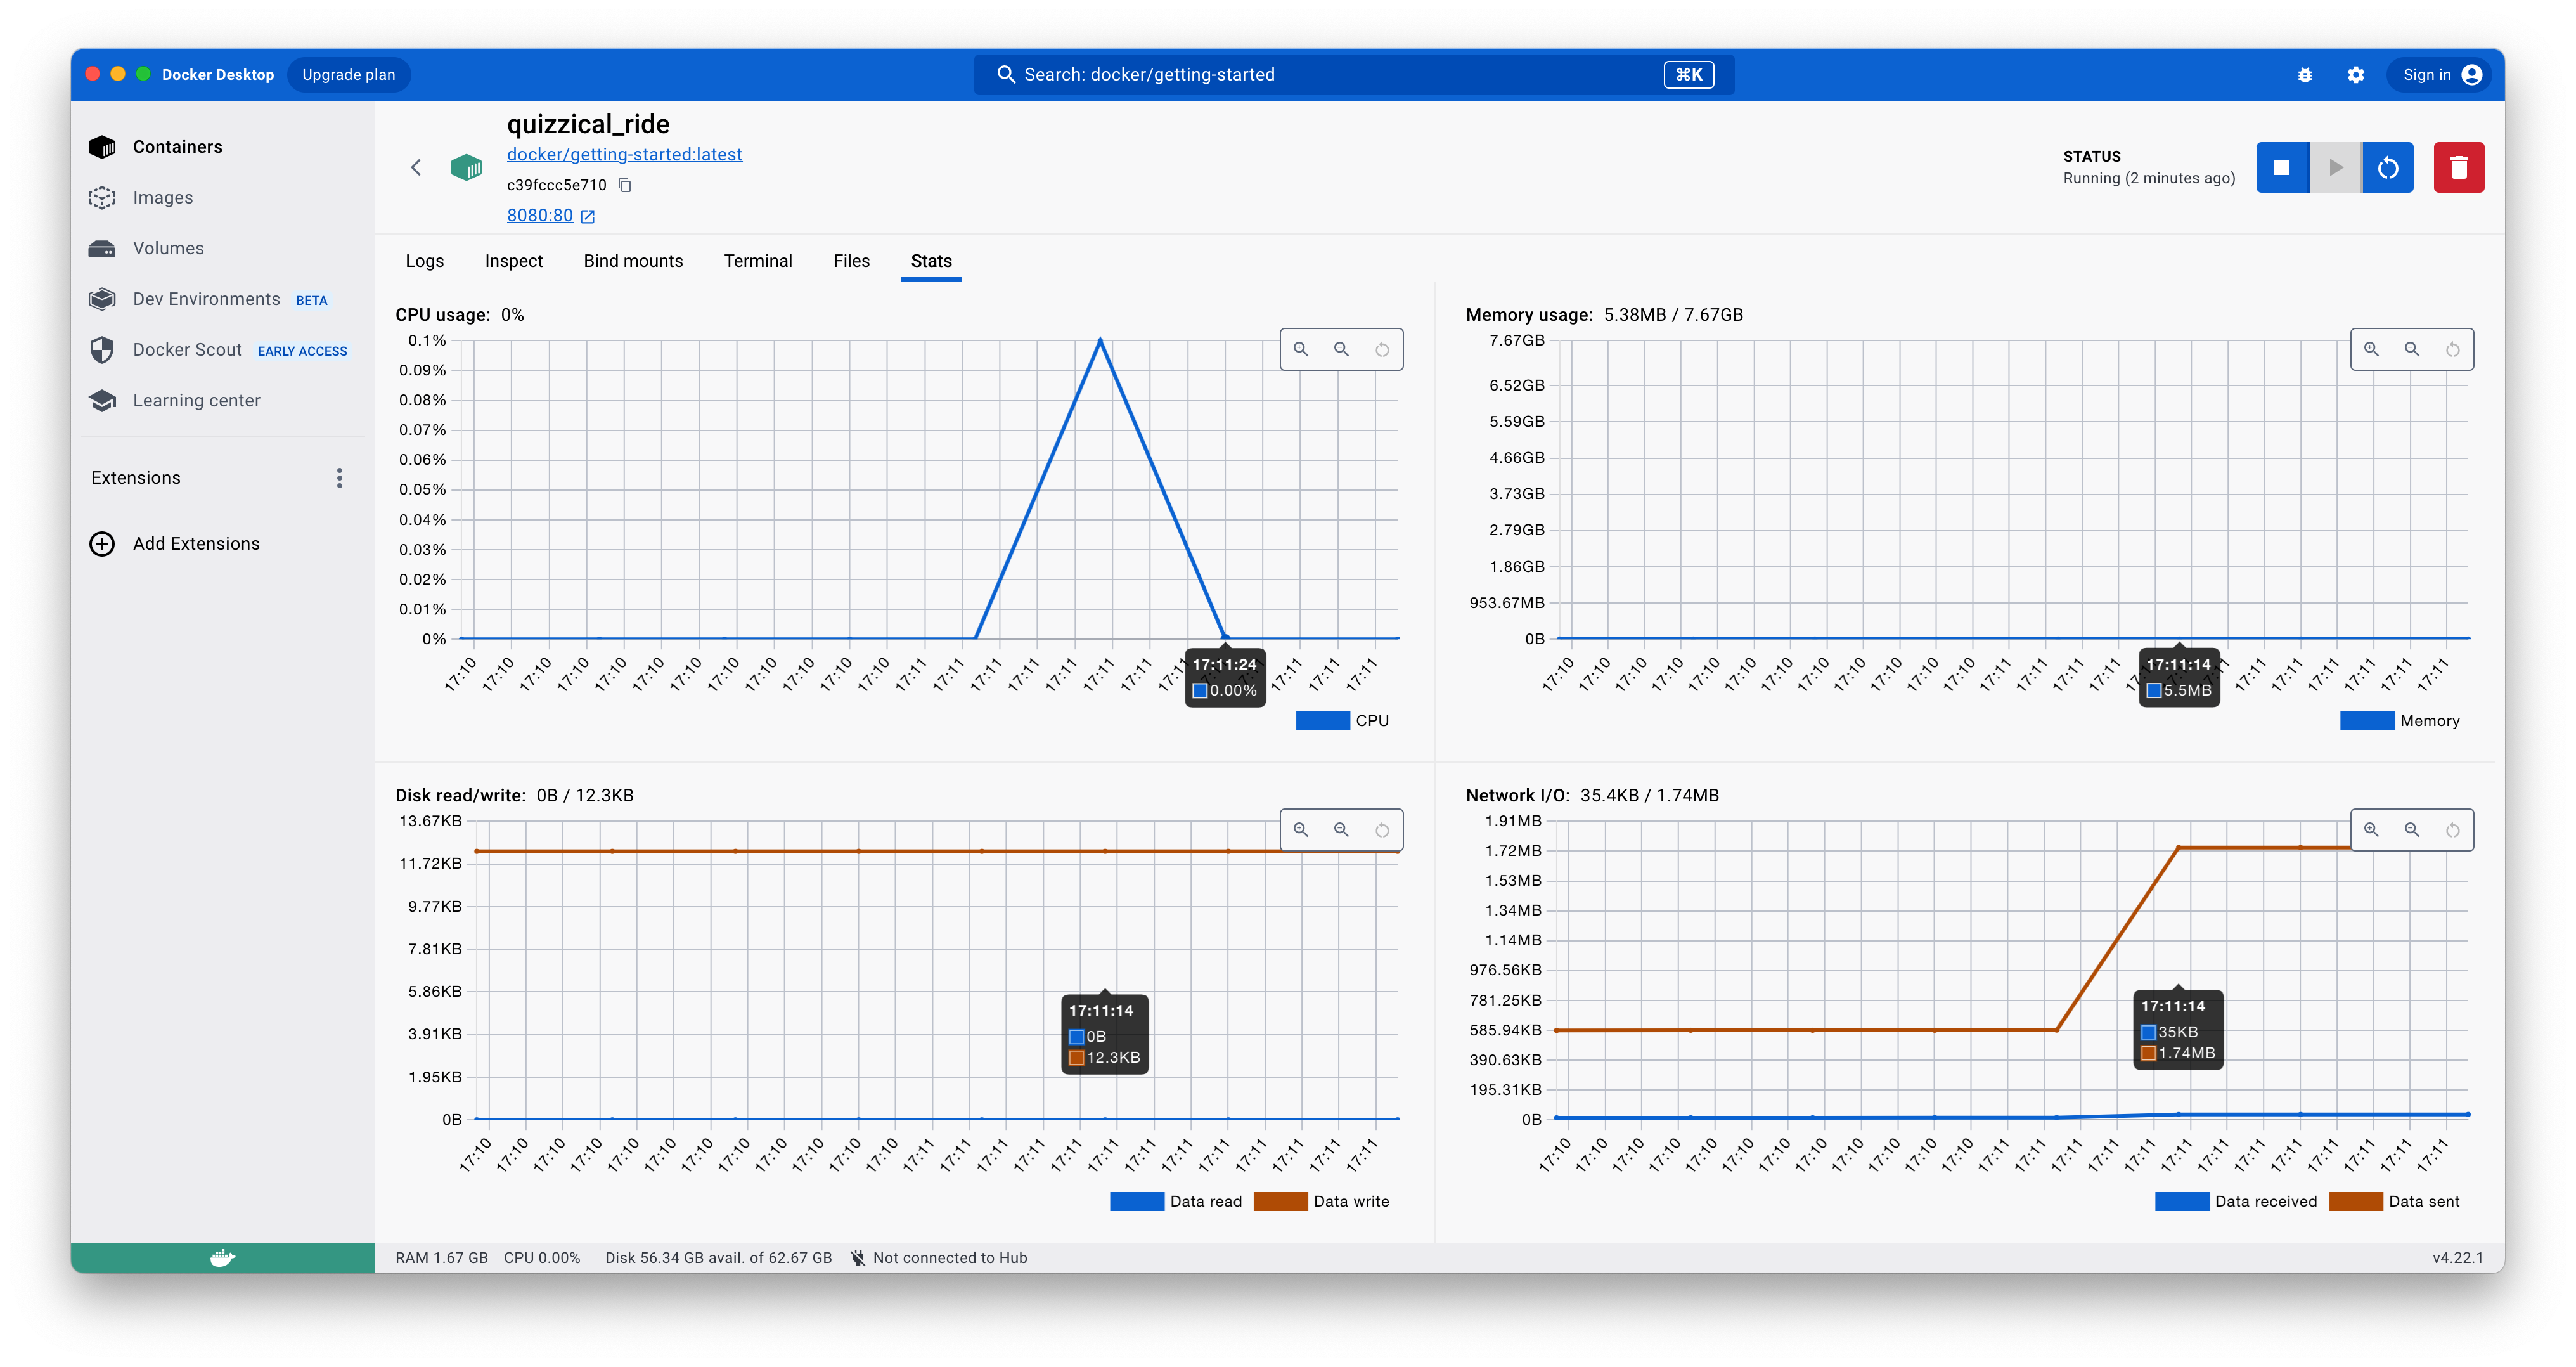
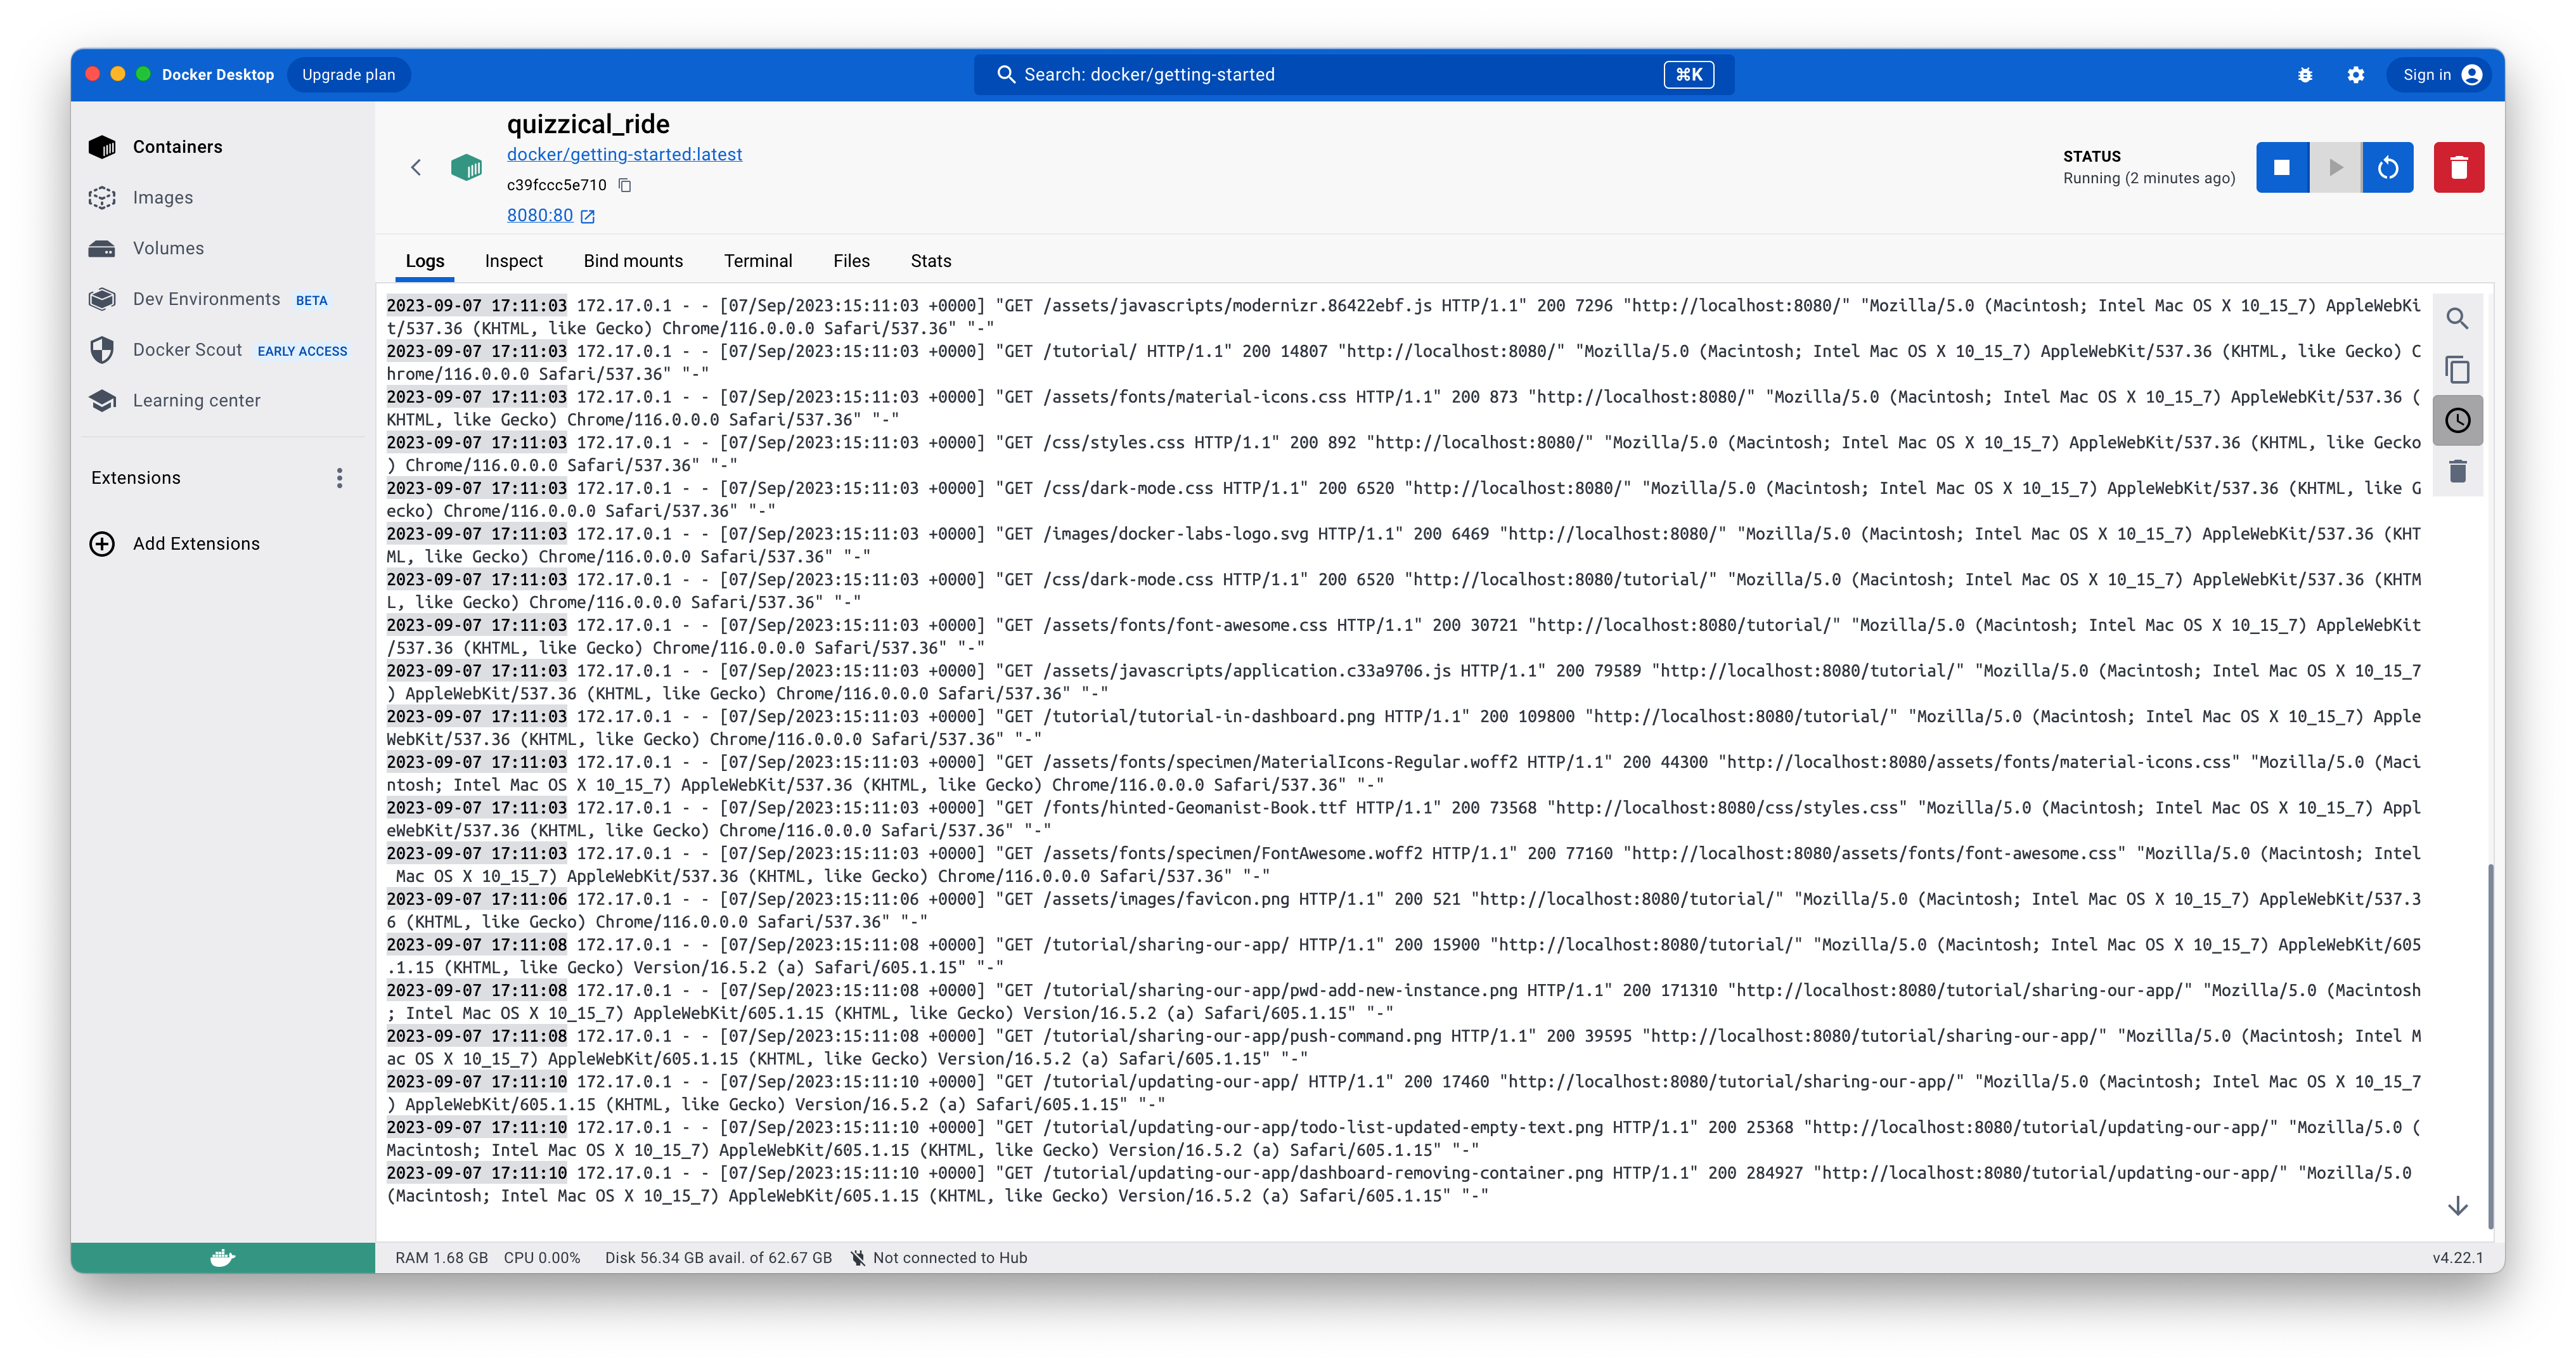
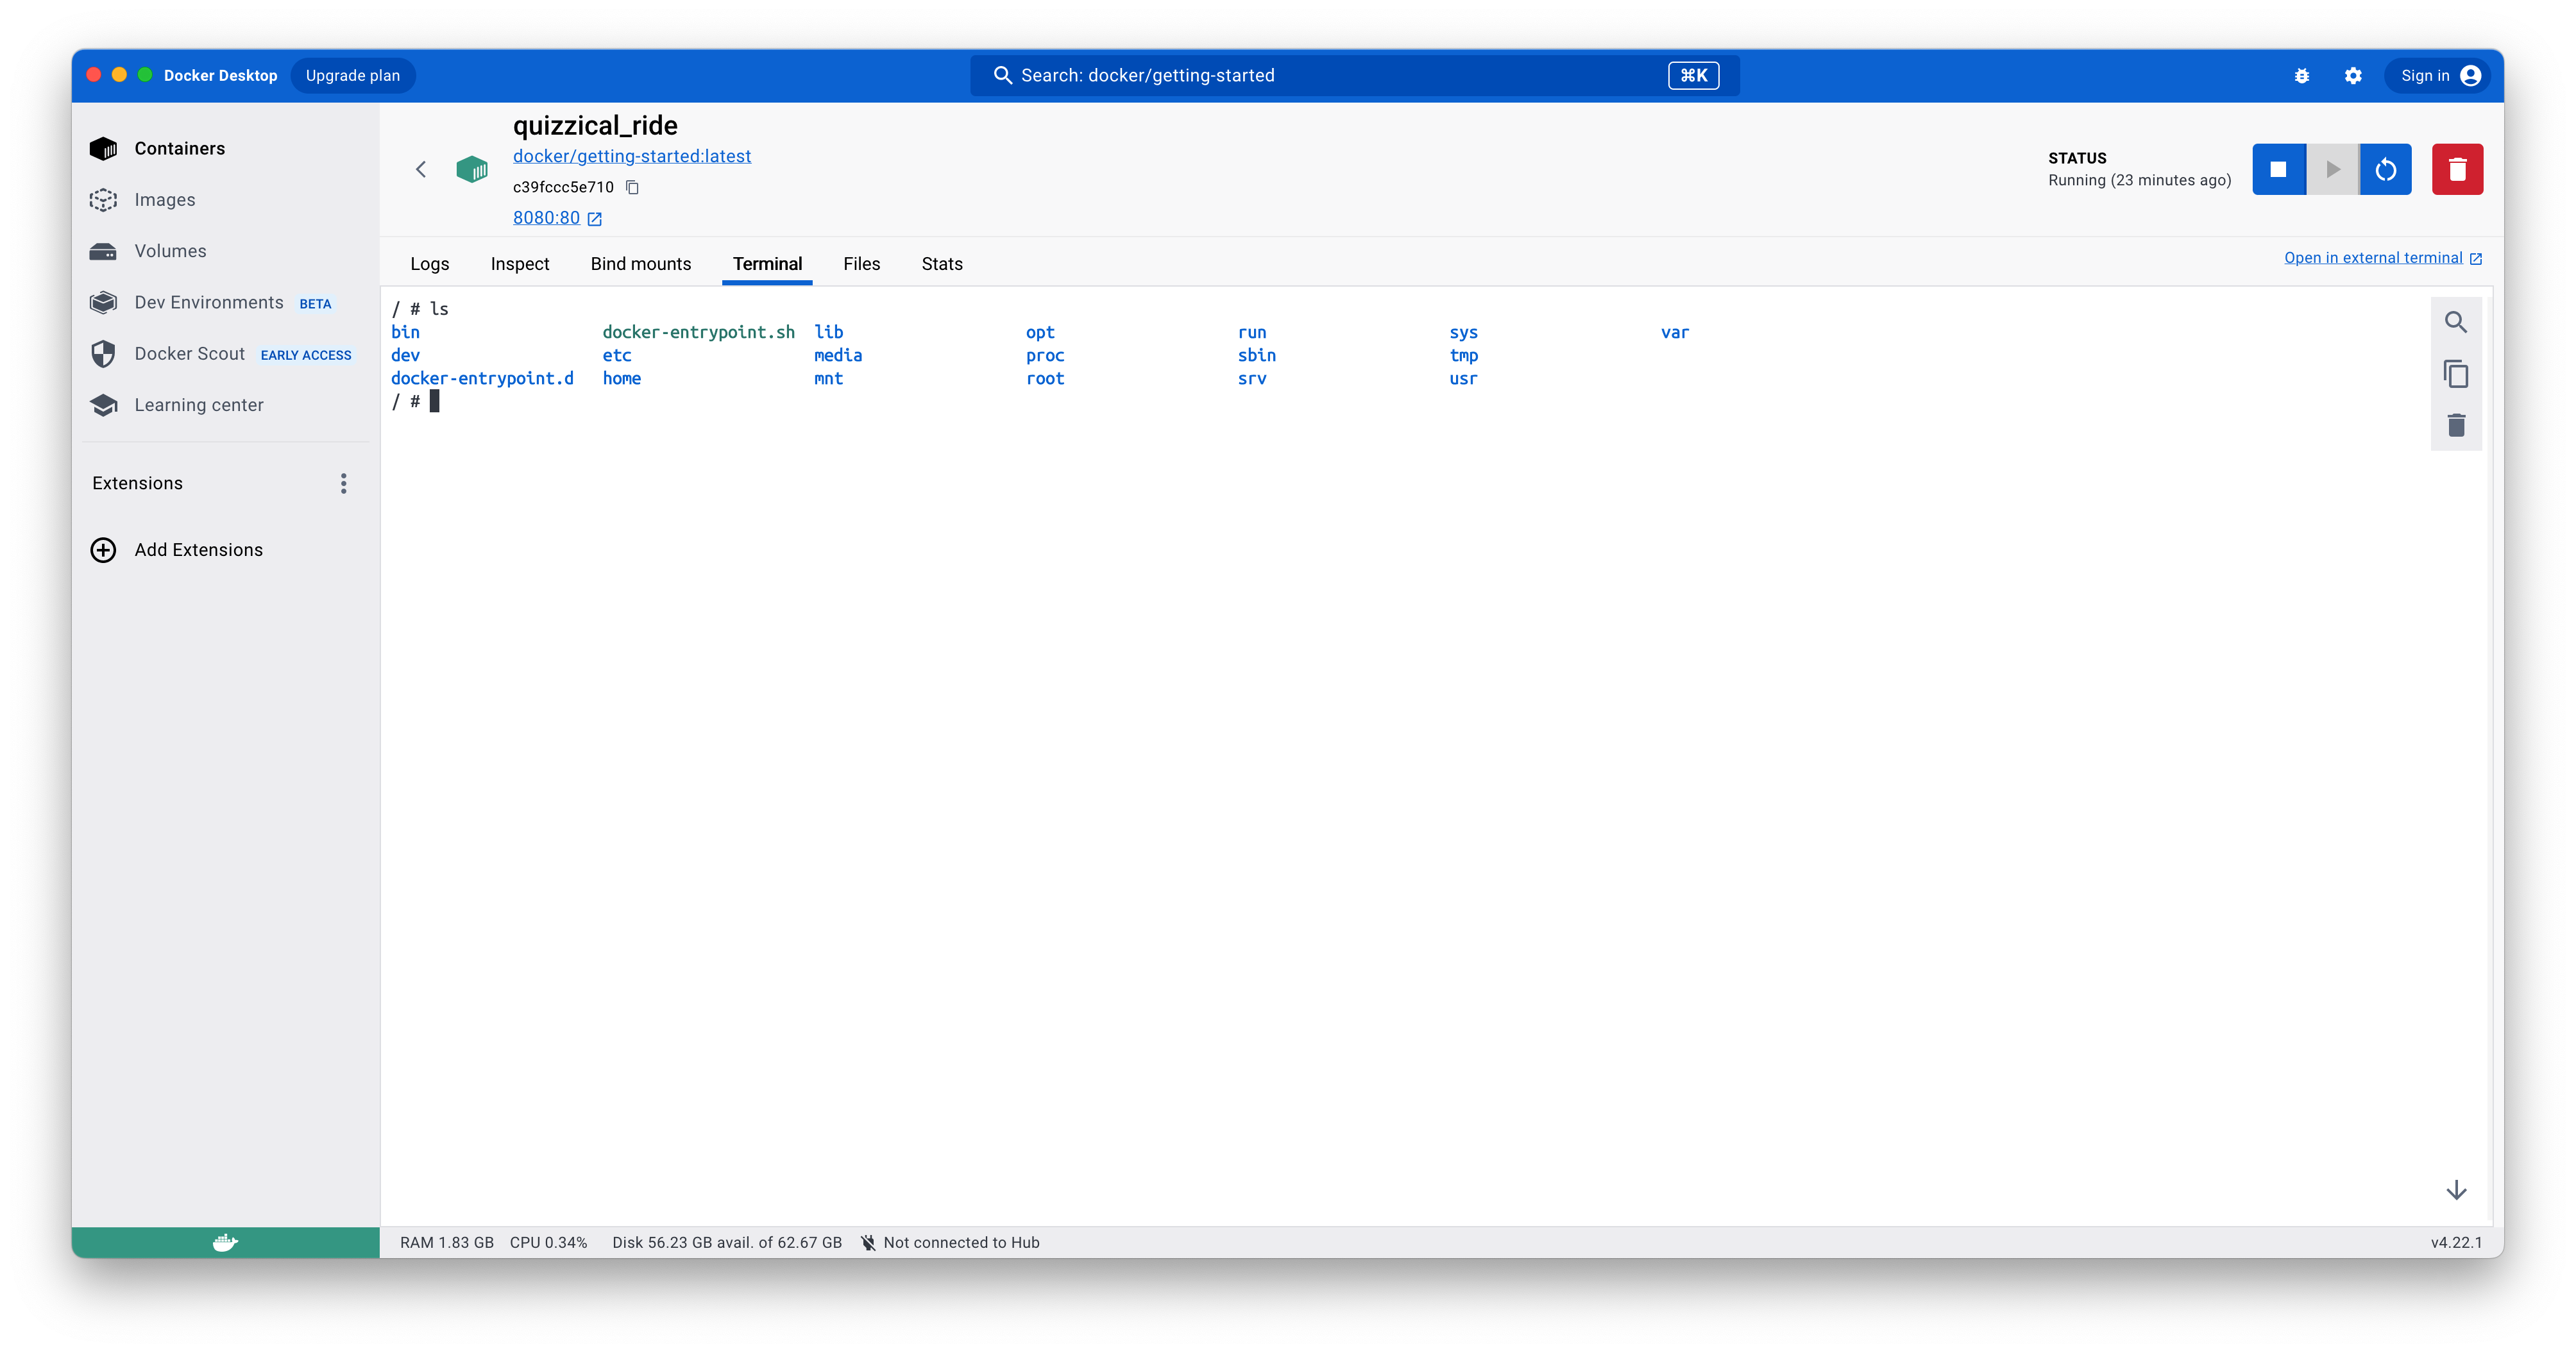
From the container tab, you can stop, pause, restart, and delete containers. If you click on the container name, you can find a simple interface that permits you to see the container logs and some statistics (like, for example, CPU and memory usage), access the container’s files, and interact with the container using a terminal:
Exercises
- Try to install python3 inside the container created on the Getting Started section (apk add –update –no-cache python3 && ln -sf python3 /usr/bin/python) and launch a python minimal hello world from the container.
- Experiment with environmental variables. Create a new container from the getting-started image with an environment variable. Install python also on this container (as we said in the previous lessons, the edits we do in a container remain in the container layer - parent image layers are read-only) and try to print out the environment variable from a python script (see the os python standard module).