Contents
A Glimpse of our Node Application
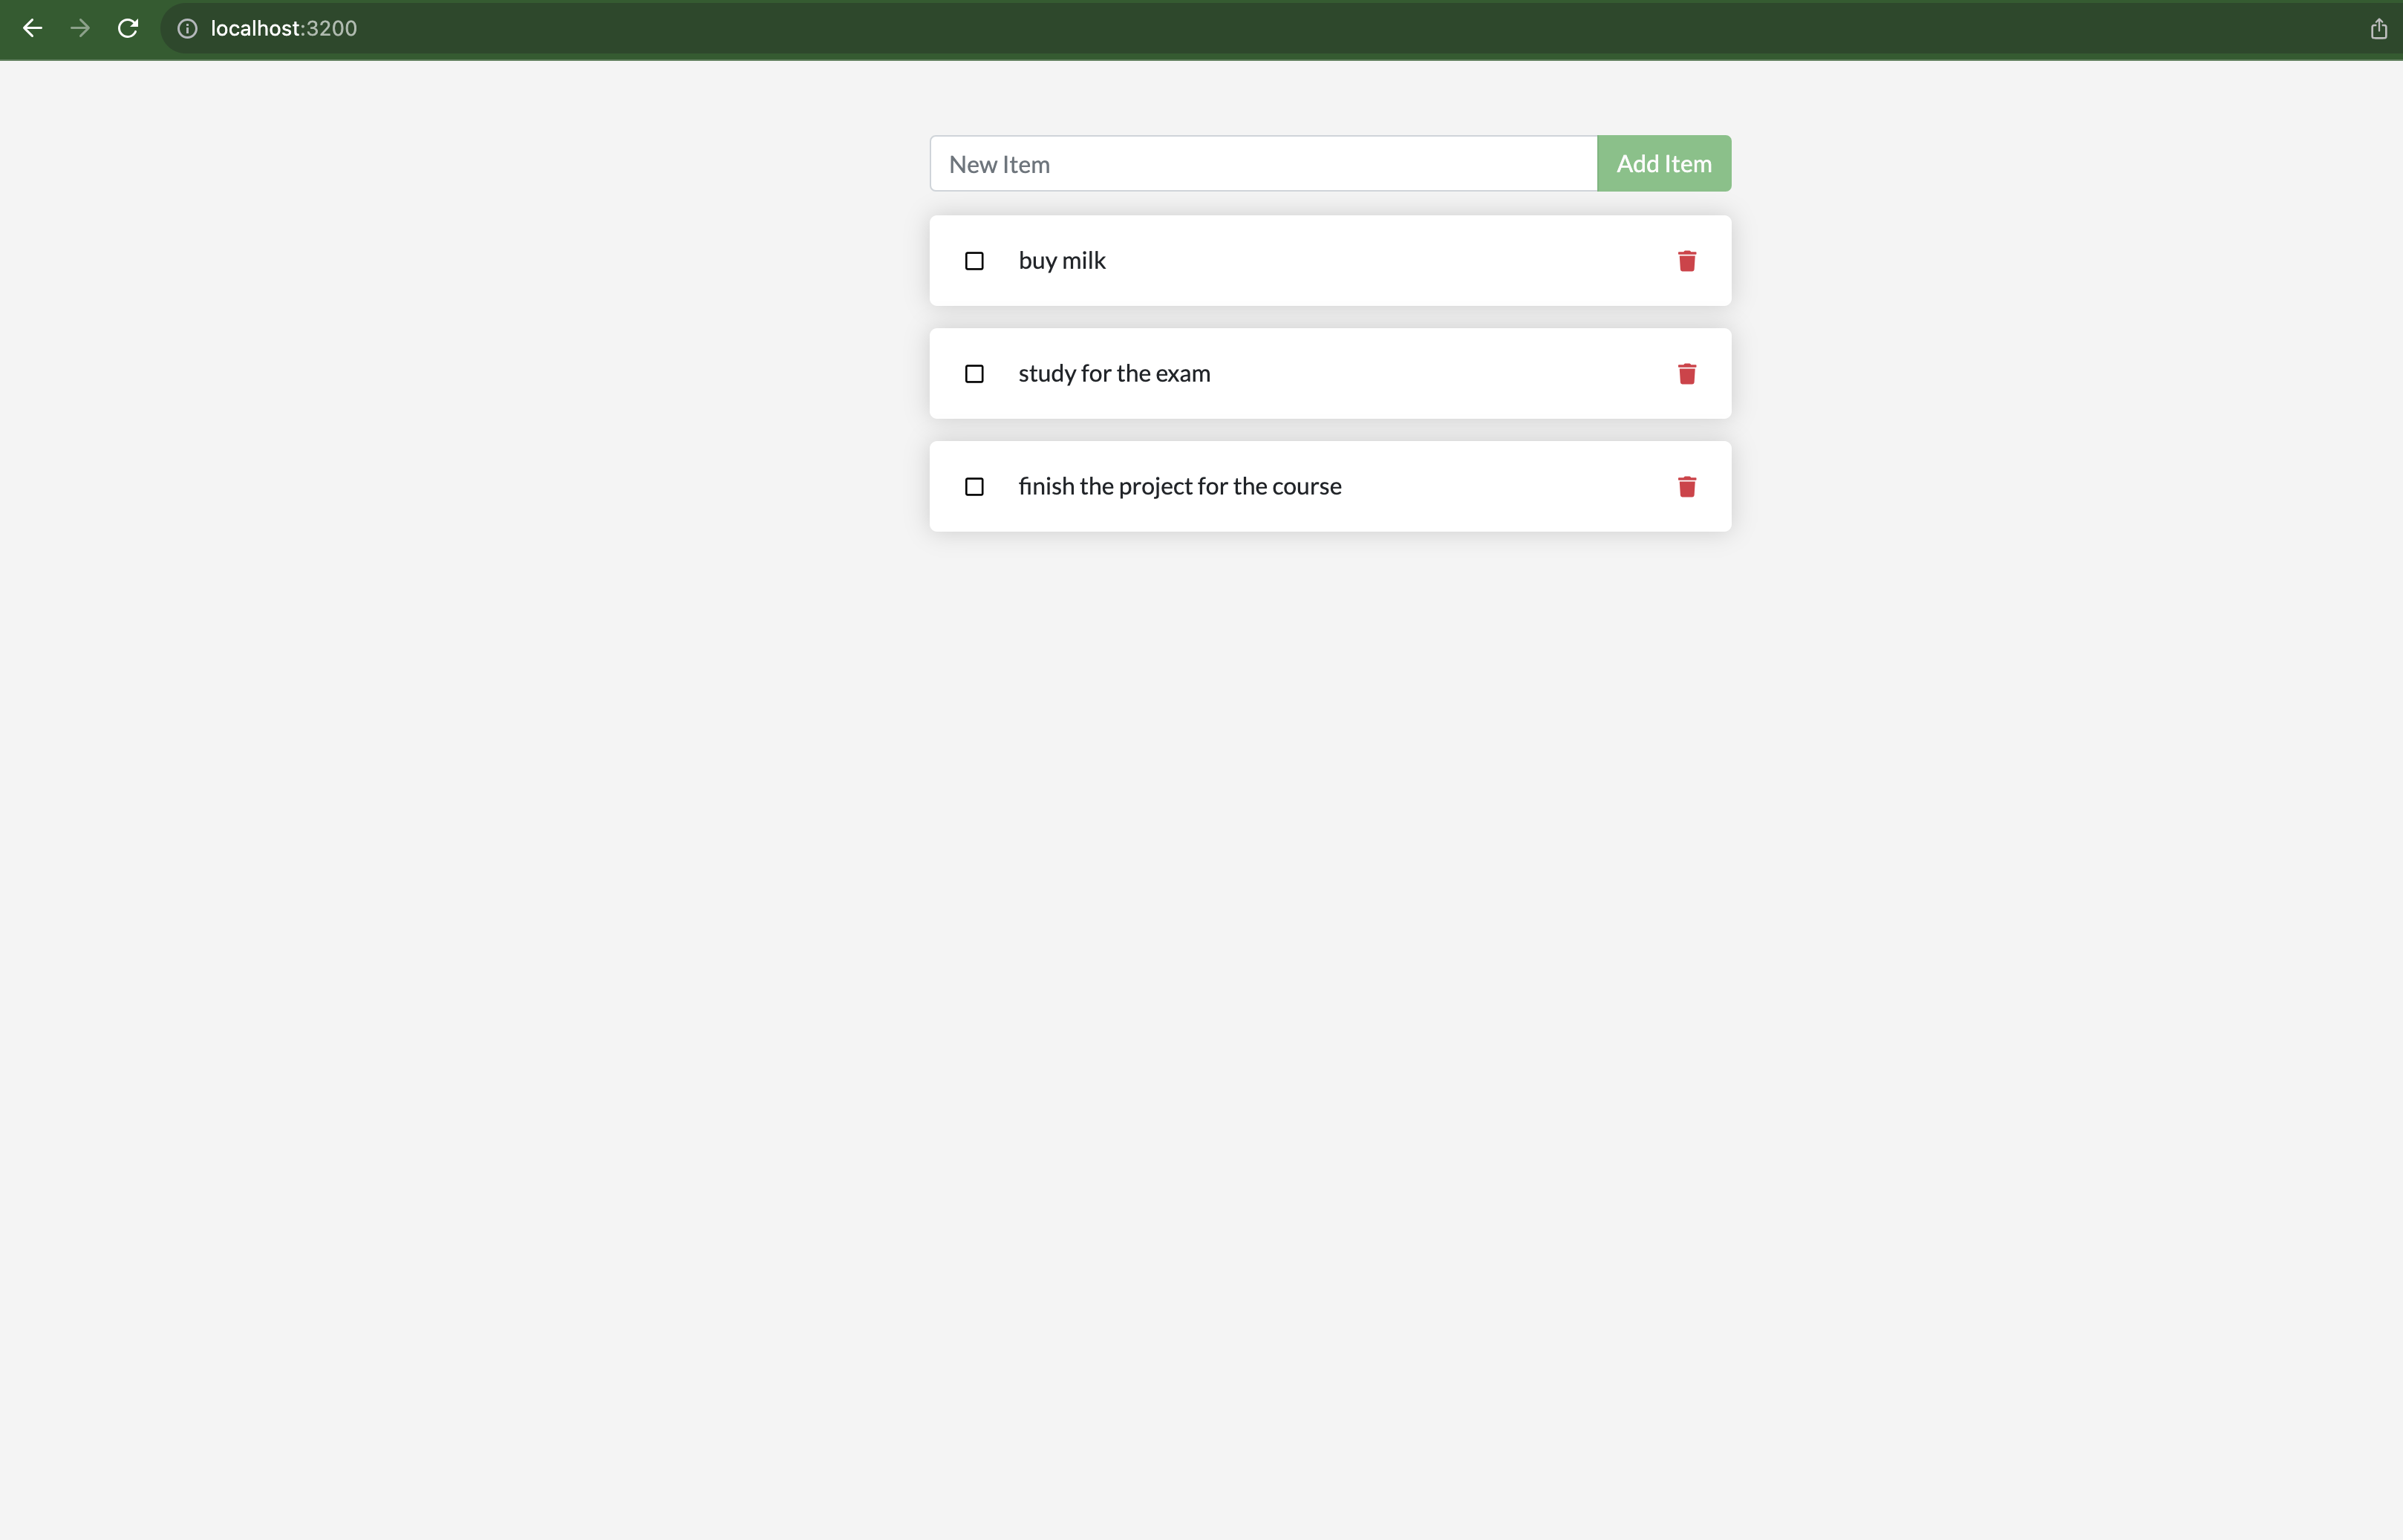
In the previous section, we saw how to create a Dockerfile and we deployed our first application inside a container: If you go to the web app, you should see something like this:
This demo application is a simple to-do list. Let’s try to add something:
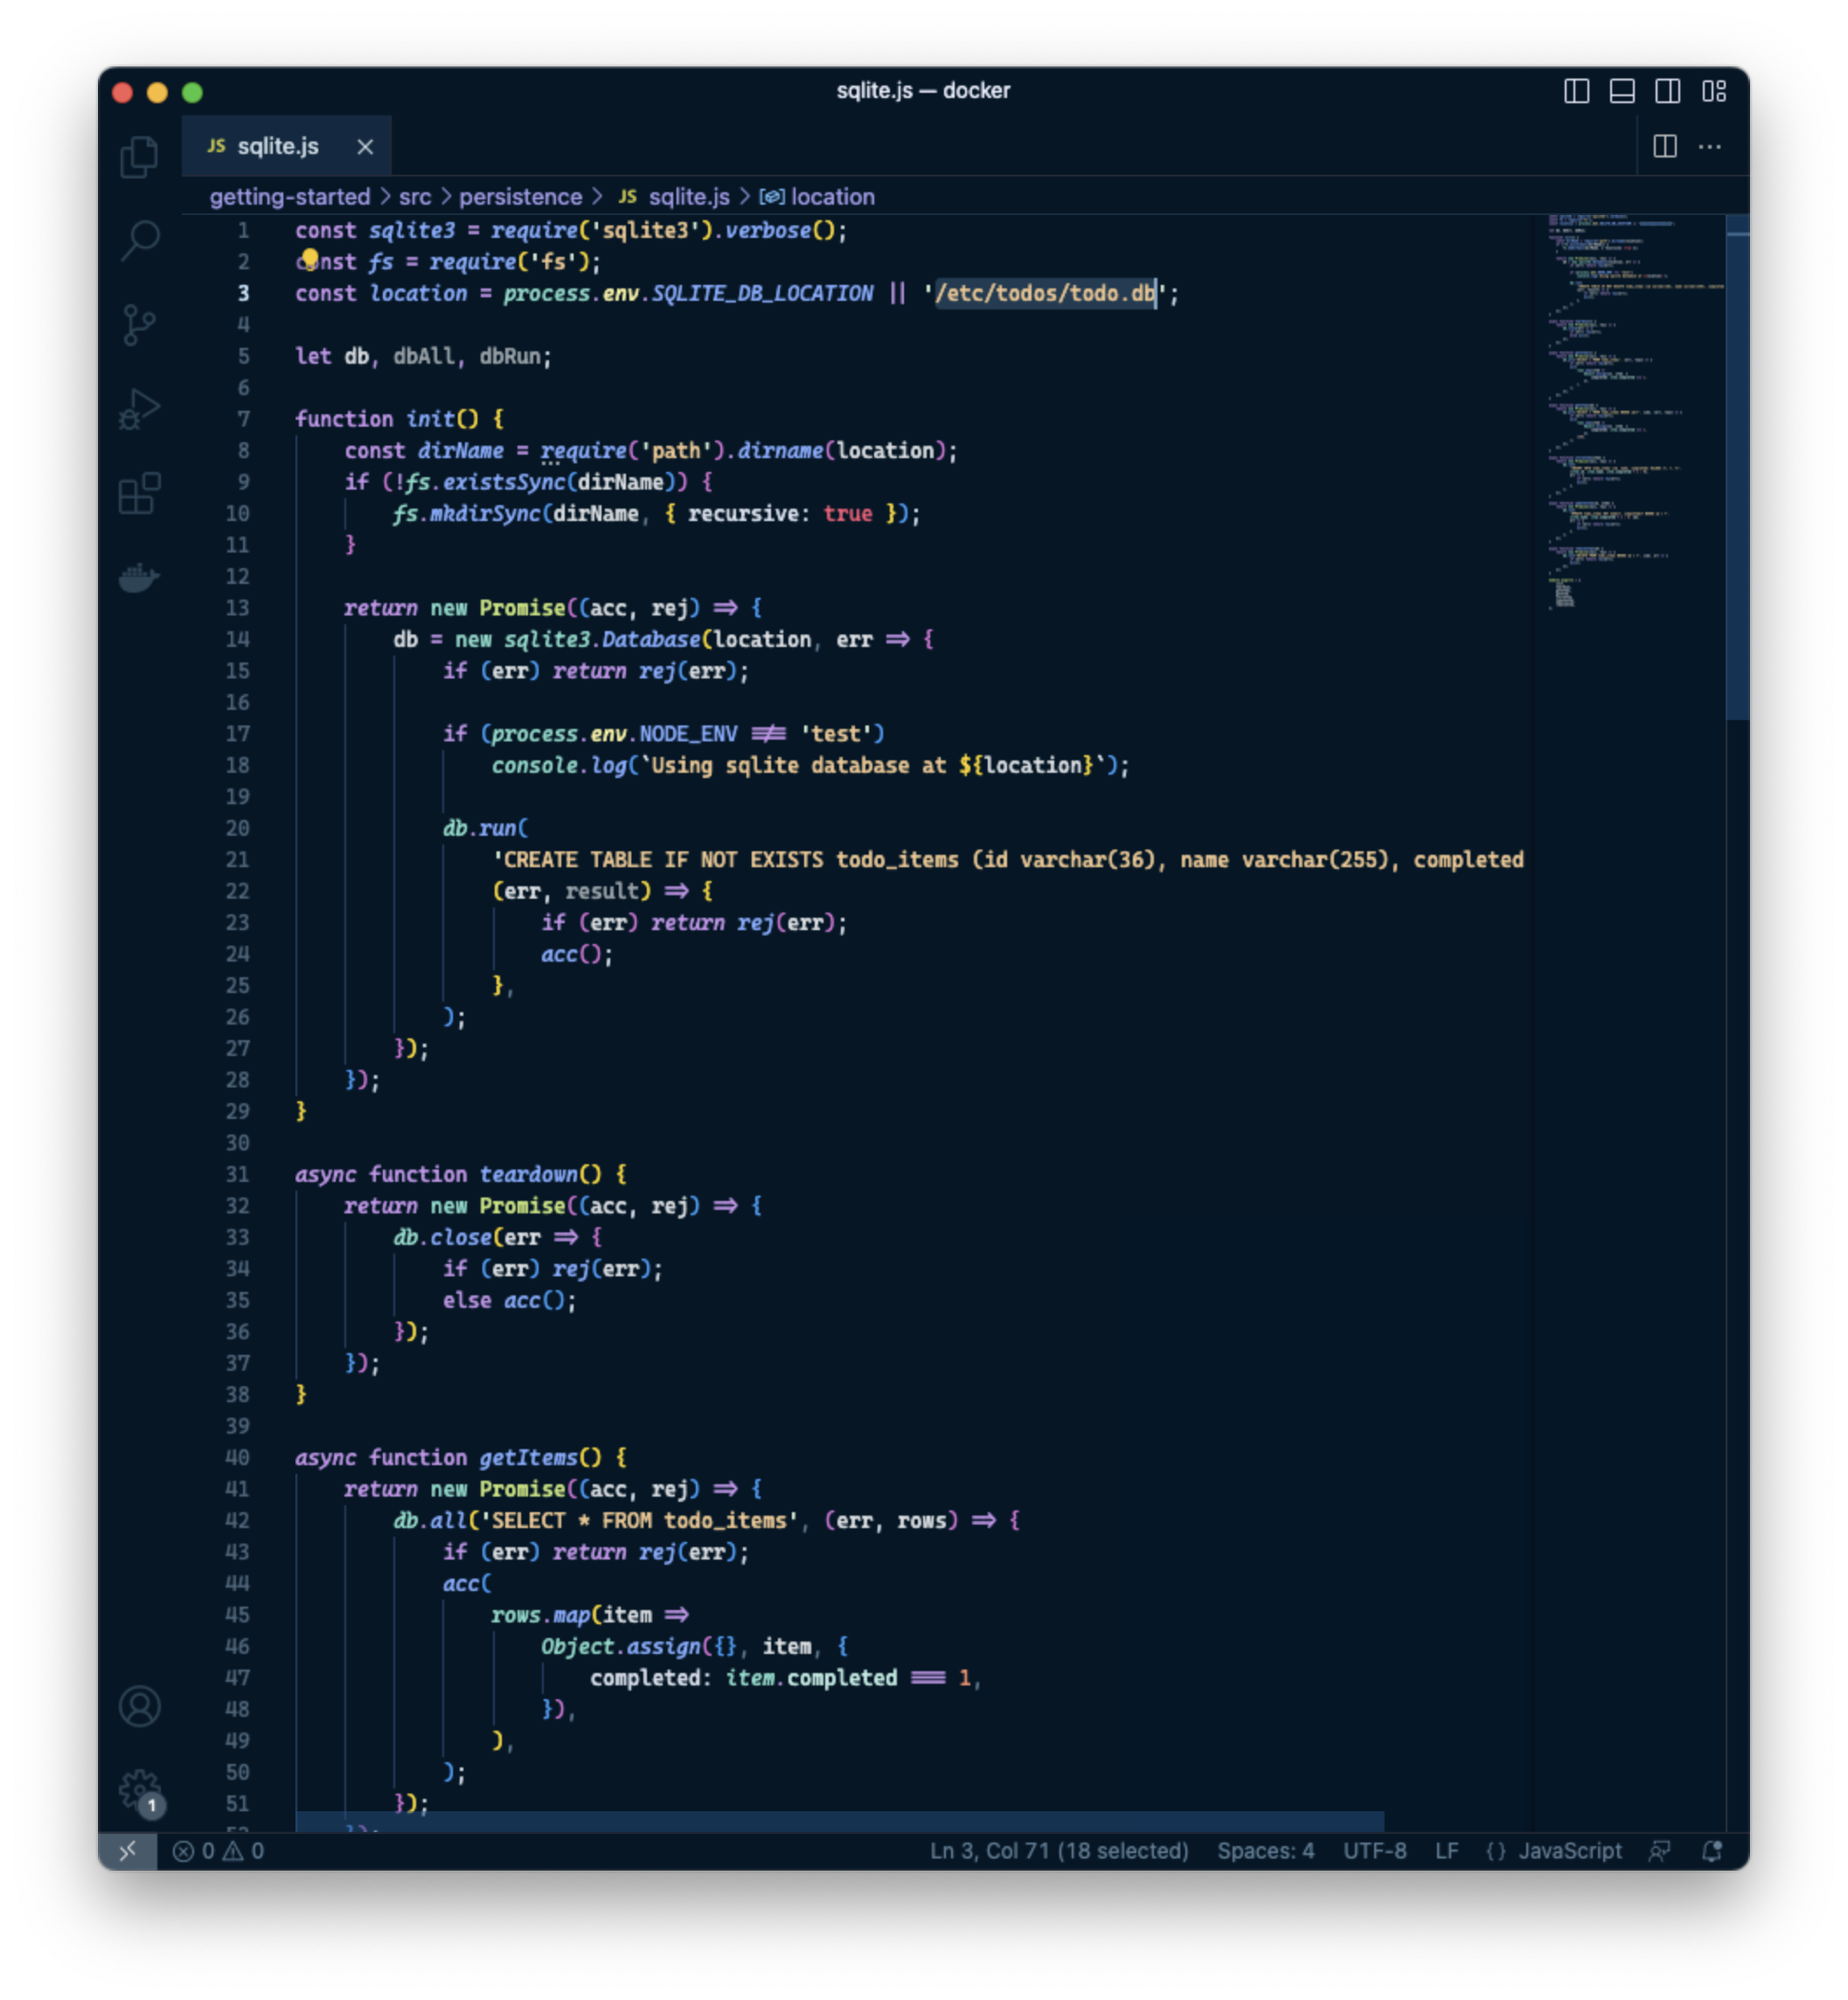
 As you can notice, the inserted data seems persistent (spoiler: they are not): try to refresh the page, or to restart the container. The items that we inserted remain. Let’s see how it’s done by looking at the source code of the application. Even if we don’t know how nodeJS works (it is not part of the course), we can see that underlying the application there is a database (src/persistence folder), and looking at the src/persistence/index.js file we know that, since we didn’t have set an environment variable MYSQL_HOST we are using SQLite. SQLite stores data in /etc/todos/todo.db (line 3 of sqlite.js):
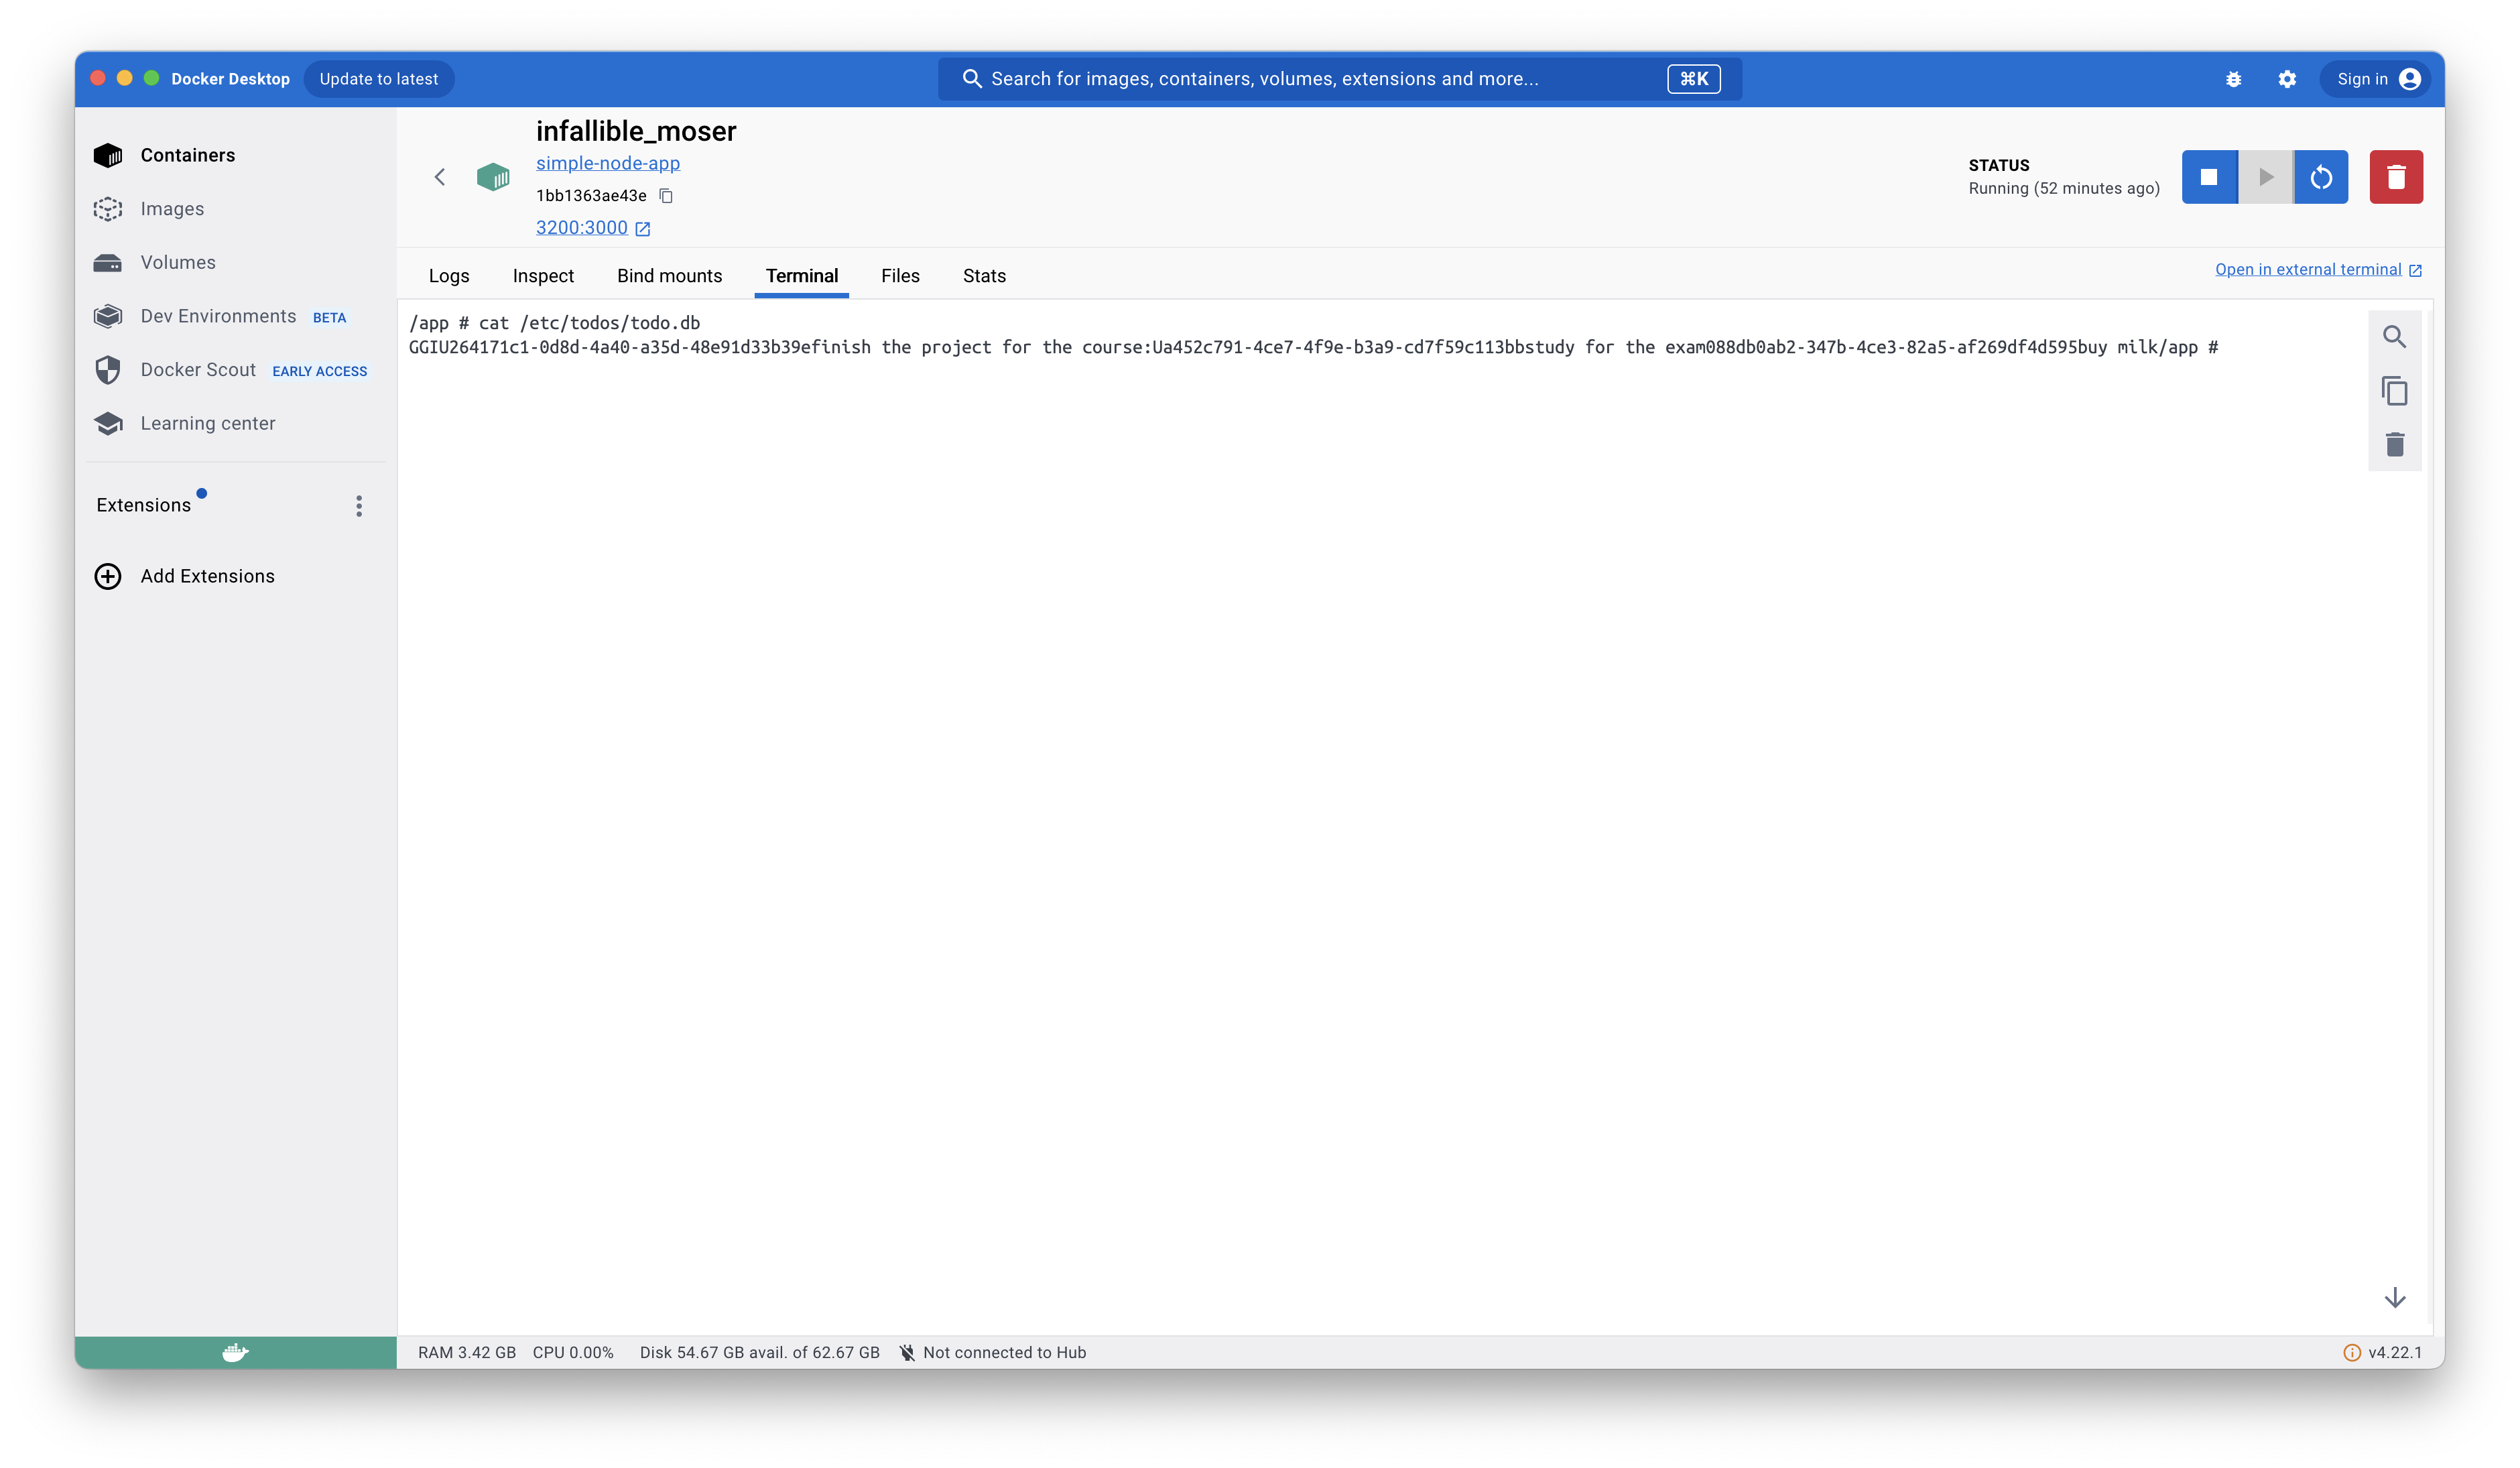
 We can prove it just by inspecting the todo.db file:
Updating the App
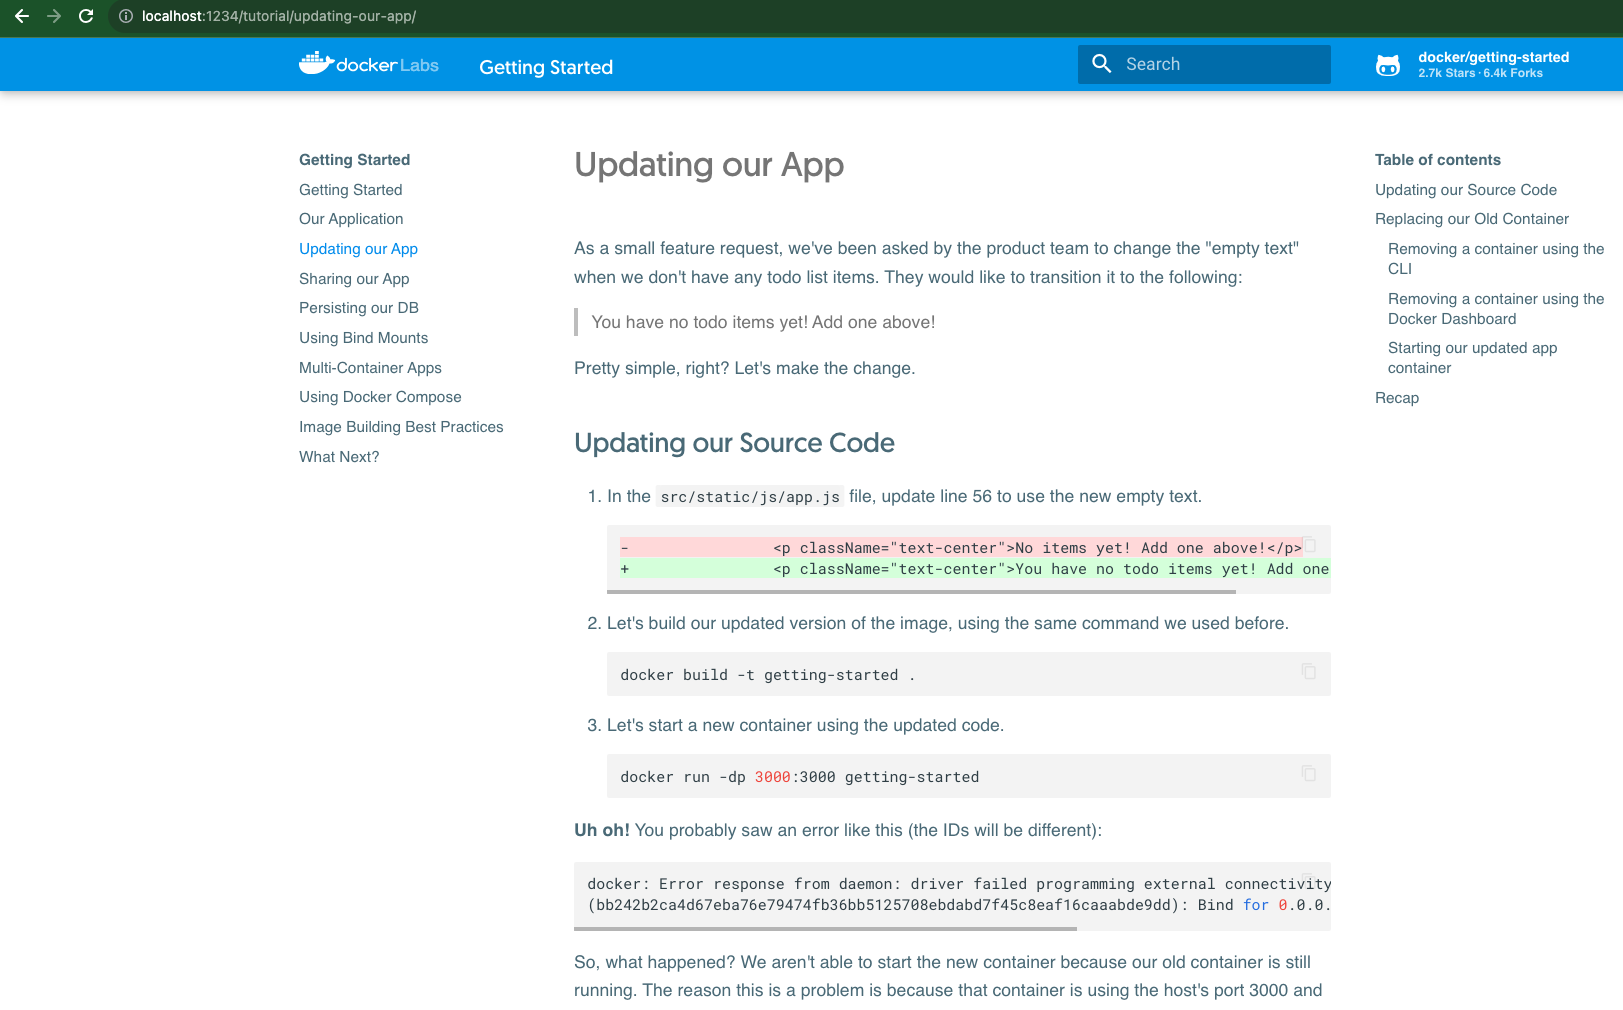
Now, suppose that you need to update the application (follow the “Updating our app” section of the getting-started application, note that we changed the name of the image in simple-node-app):
 This requires to rebuild the image and to create a new container. As you can imagine, our data is gone (Why?).
Where are my data?
Our data is gone because it lives inside a container, and updating an app requires building a new container. This is not optimal: suppose that our app is widely used around the world and therefore we have multiple servers (and multiple containers) that host the application for load-balancing purposes. We want the data to persist among containers and among different updates. What we can do?
Docker Volumes
To ensure the persistence of data, volumes come to our help.
A volume is a way of mounting directories/files from our host machine to the docker container. We can create a volume with the next command:
docker volume create <name>Where <name> is the name of the volume. So let’s create a volume for our application:
~/Projects/sw-arch/docker/getting-started docker volume create todolist-db
todolist-db
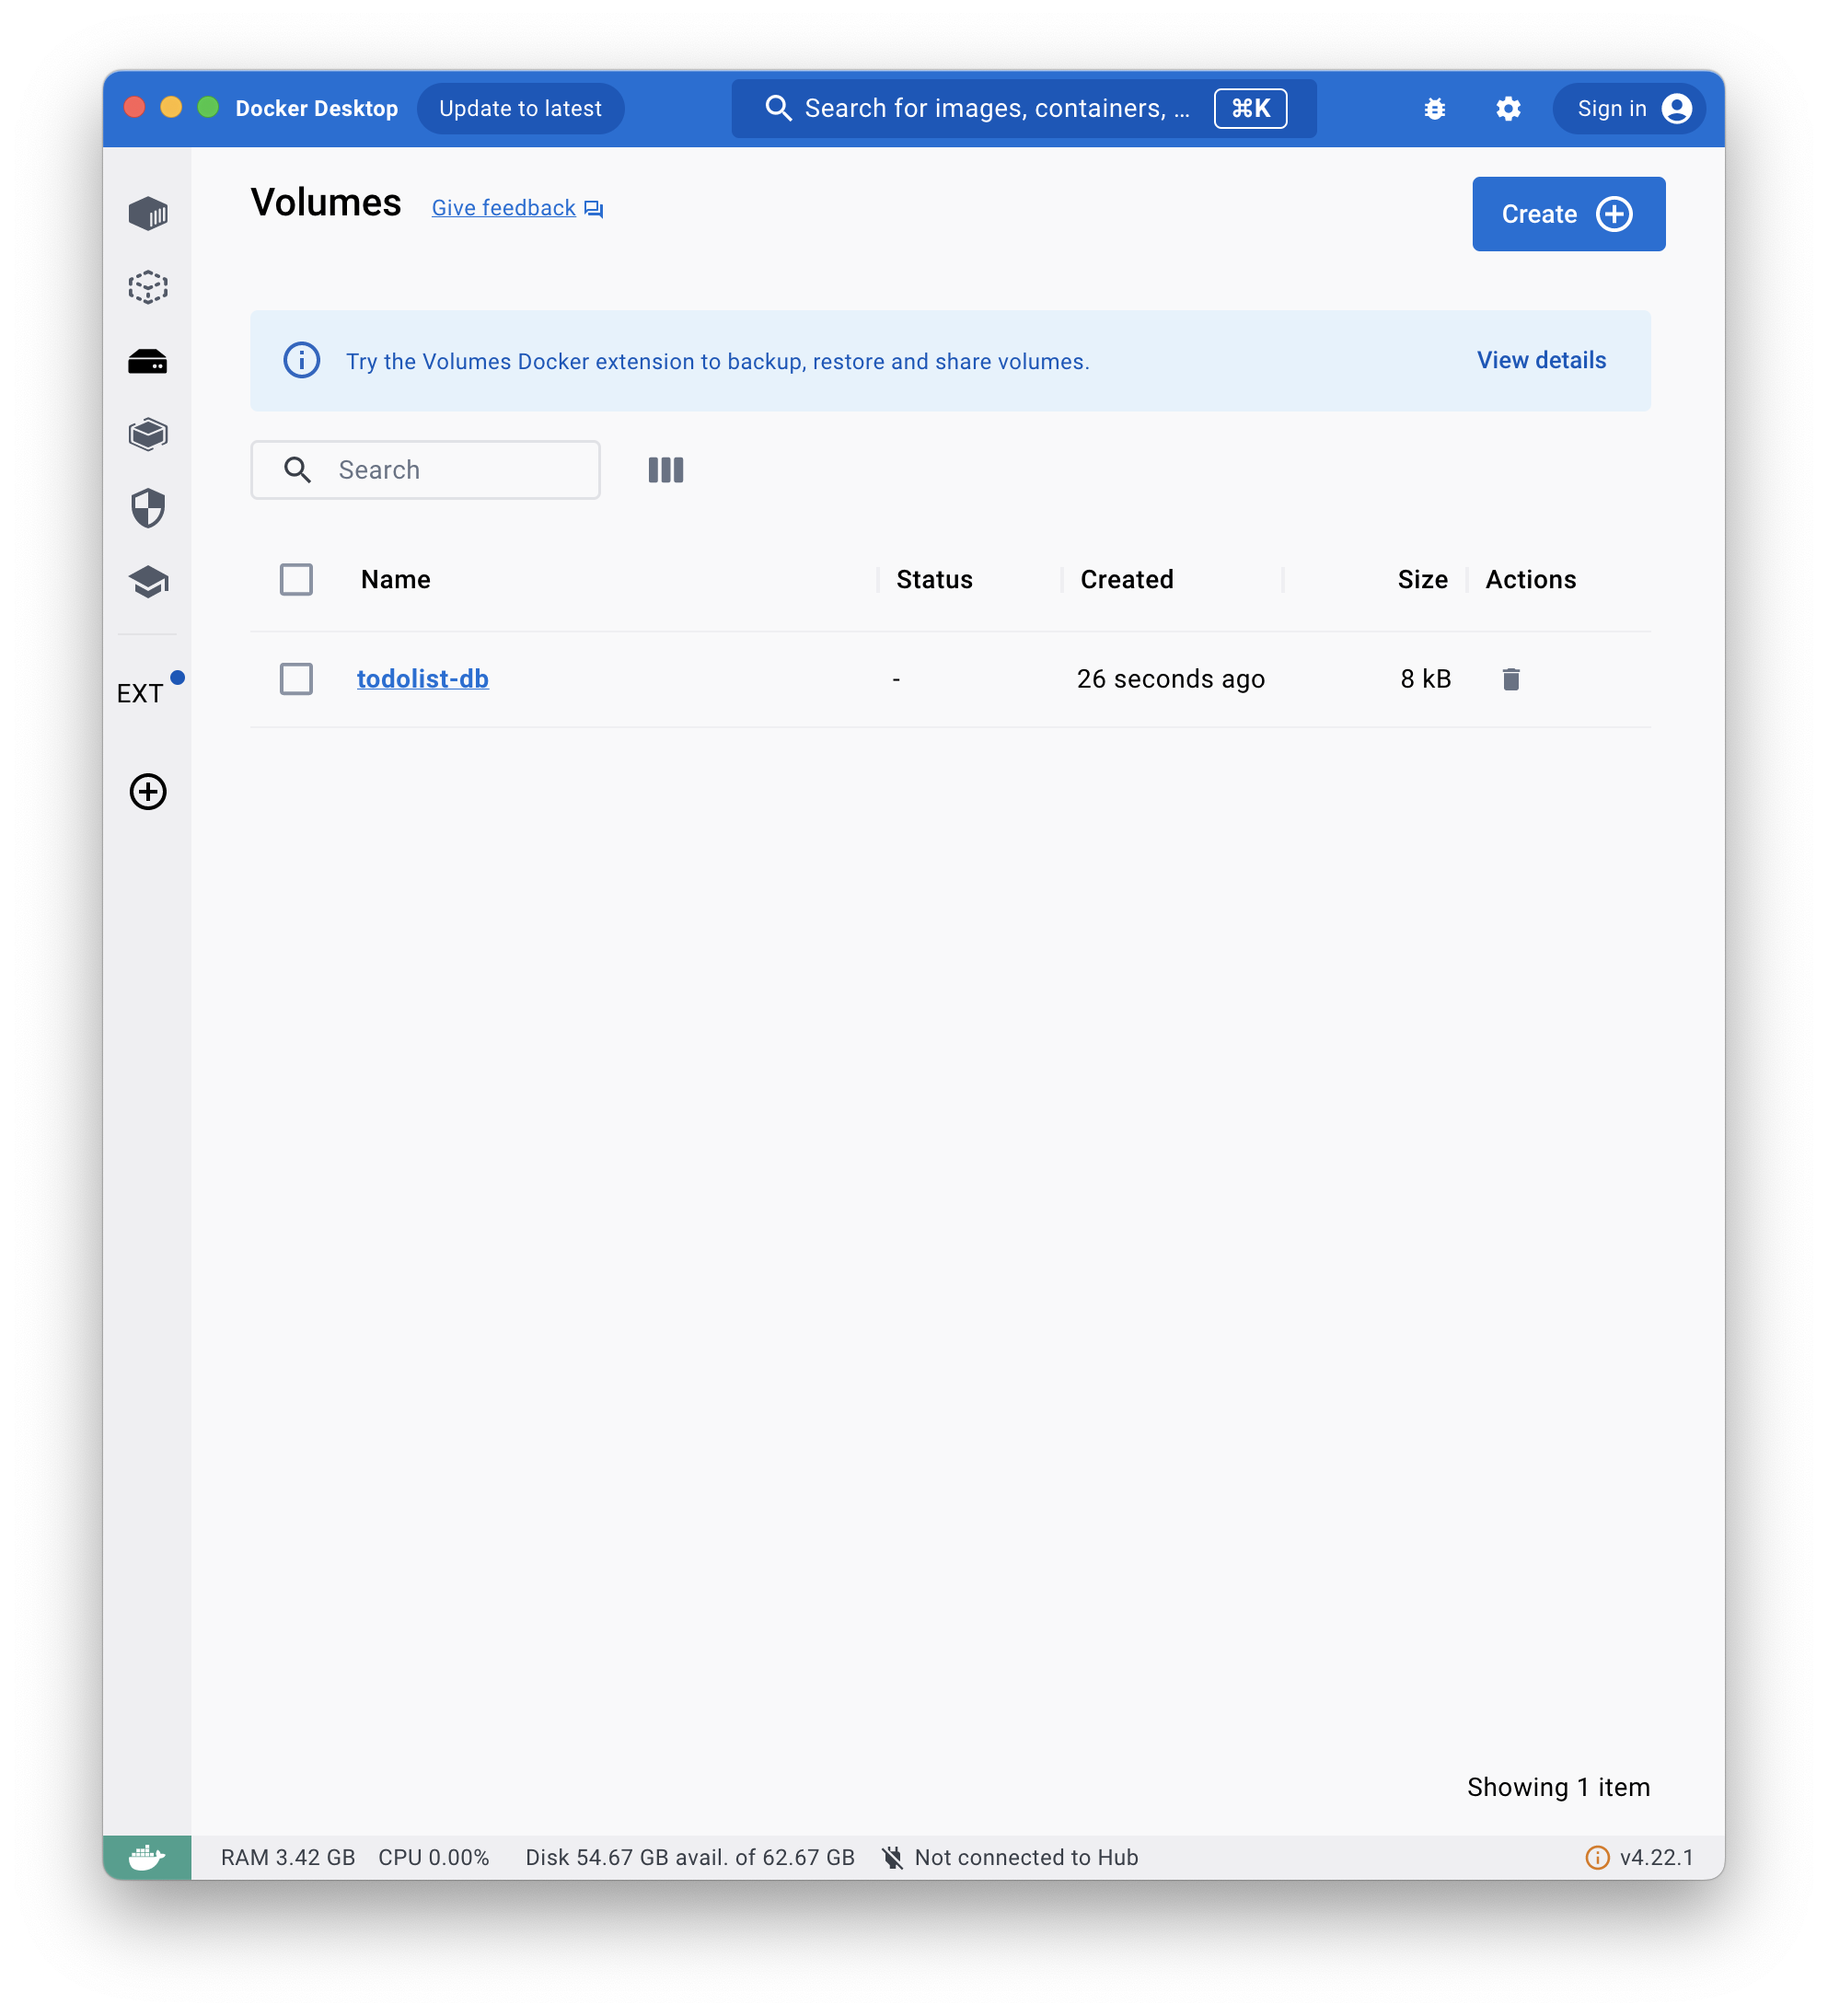
~/Projects/sw-arch/docker/getting-started You should see the volume inside Docker Desktop:
 Now we want to our app use this volume. In order to do so, destroy the container and create it by launching the next command:
~/Projects/sw-arch/docker/getting-started docker run -d -p 3200:3000 -v todolist-db:/etc/todos simple-node-app
aa68638a2fa01e8f499a916f5f8bd2f0d59c25c73ef3ebaeeb9354c8e5a50490
~/Projects/sw-arch/docker/getting-started
The -v flag permits to specify the volume: the string “todolist-db:/etc/todos simple-node-app” means that the todolist-db volume is mounted in /etc/todos, so all the content that the application generates inside the /etc/todos folder will be stored inside the container. Try to do some tests: add some entries in the todo list, then destroy and recreate the container. You should note the persistence of the information. Try also to launch multiple containers with different binding ports and see with your eyes.