Contents
Minkube
There exist different tools that permit the deployment of Kubernetes clusters. For this tutorial, we use minikube, for its simplicity and lightweightness. Minikube is a Kubernetes implementation that creates a Virtual Machine on your local machine and deploys a single cluster containing only one node. Minikube is used for development purposes, and it discourages usage in a production environment. However, for our goal (i.e., deploy something on Kubernetes, and see this technology in action), this is enough. If you want to use Kubernetes in a production environment, you can use kops, kubespray, kubeadm, or provider-specific solutions.
Installation
Minikube is available for Windows, MacOS, and Linux. We will use Docker as the main driver for Minikube, To install Minikube, follow the first step of this page. Then, we set the docker driver as the default driver:
minikube config set driver docker # make sure that docker is currently running!Start minikube
You can start minikube by typing:
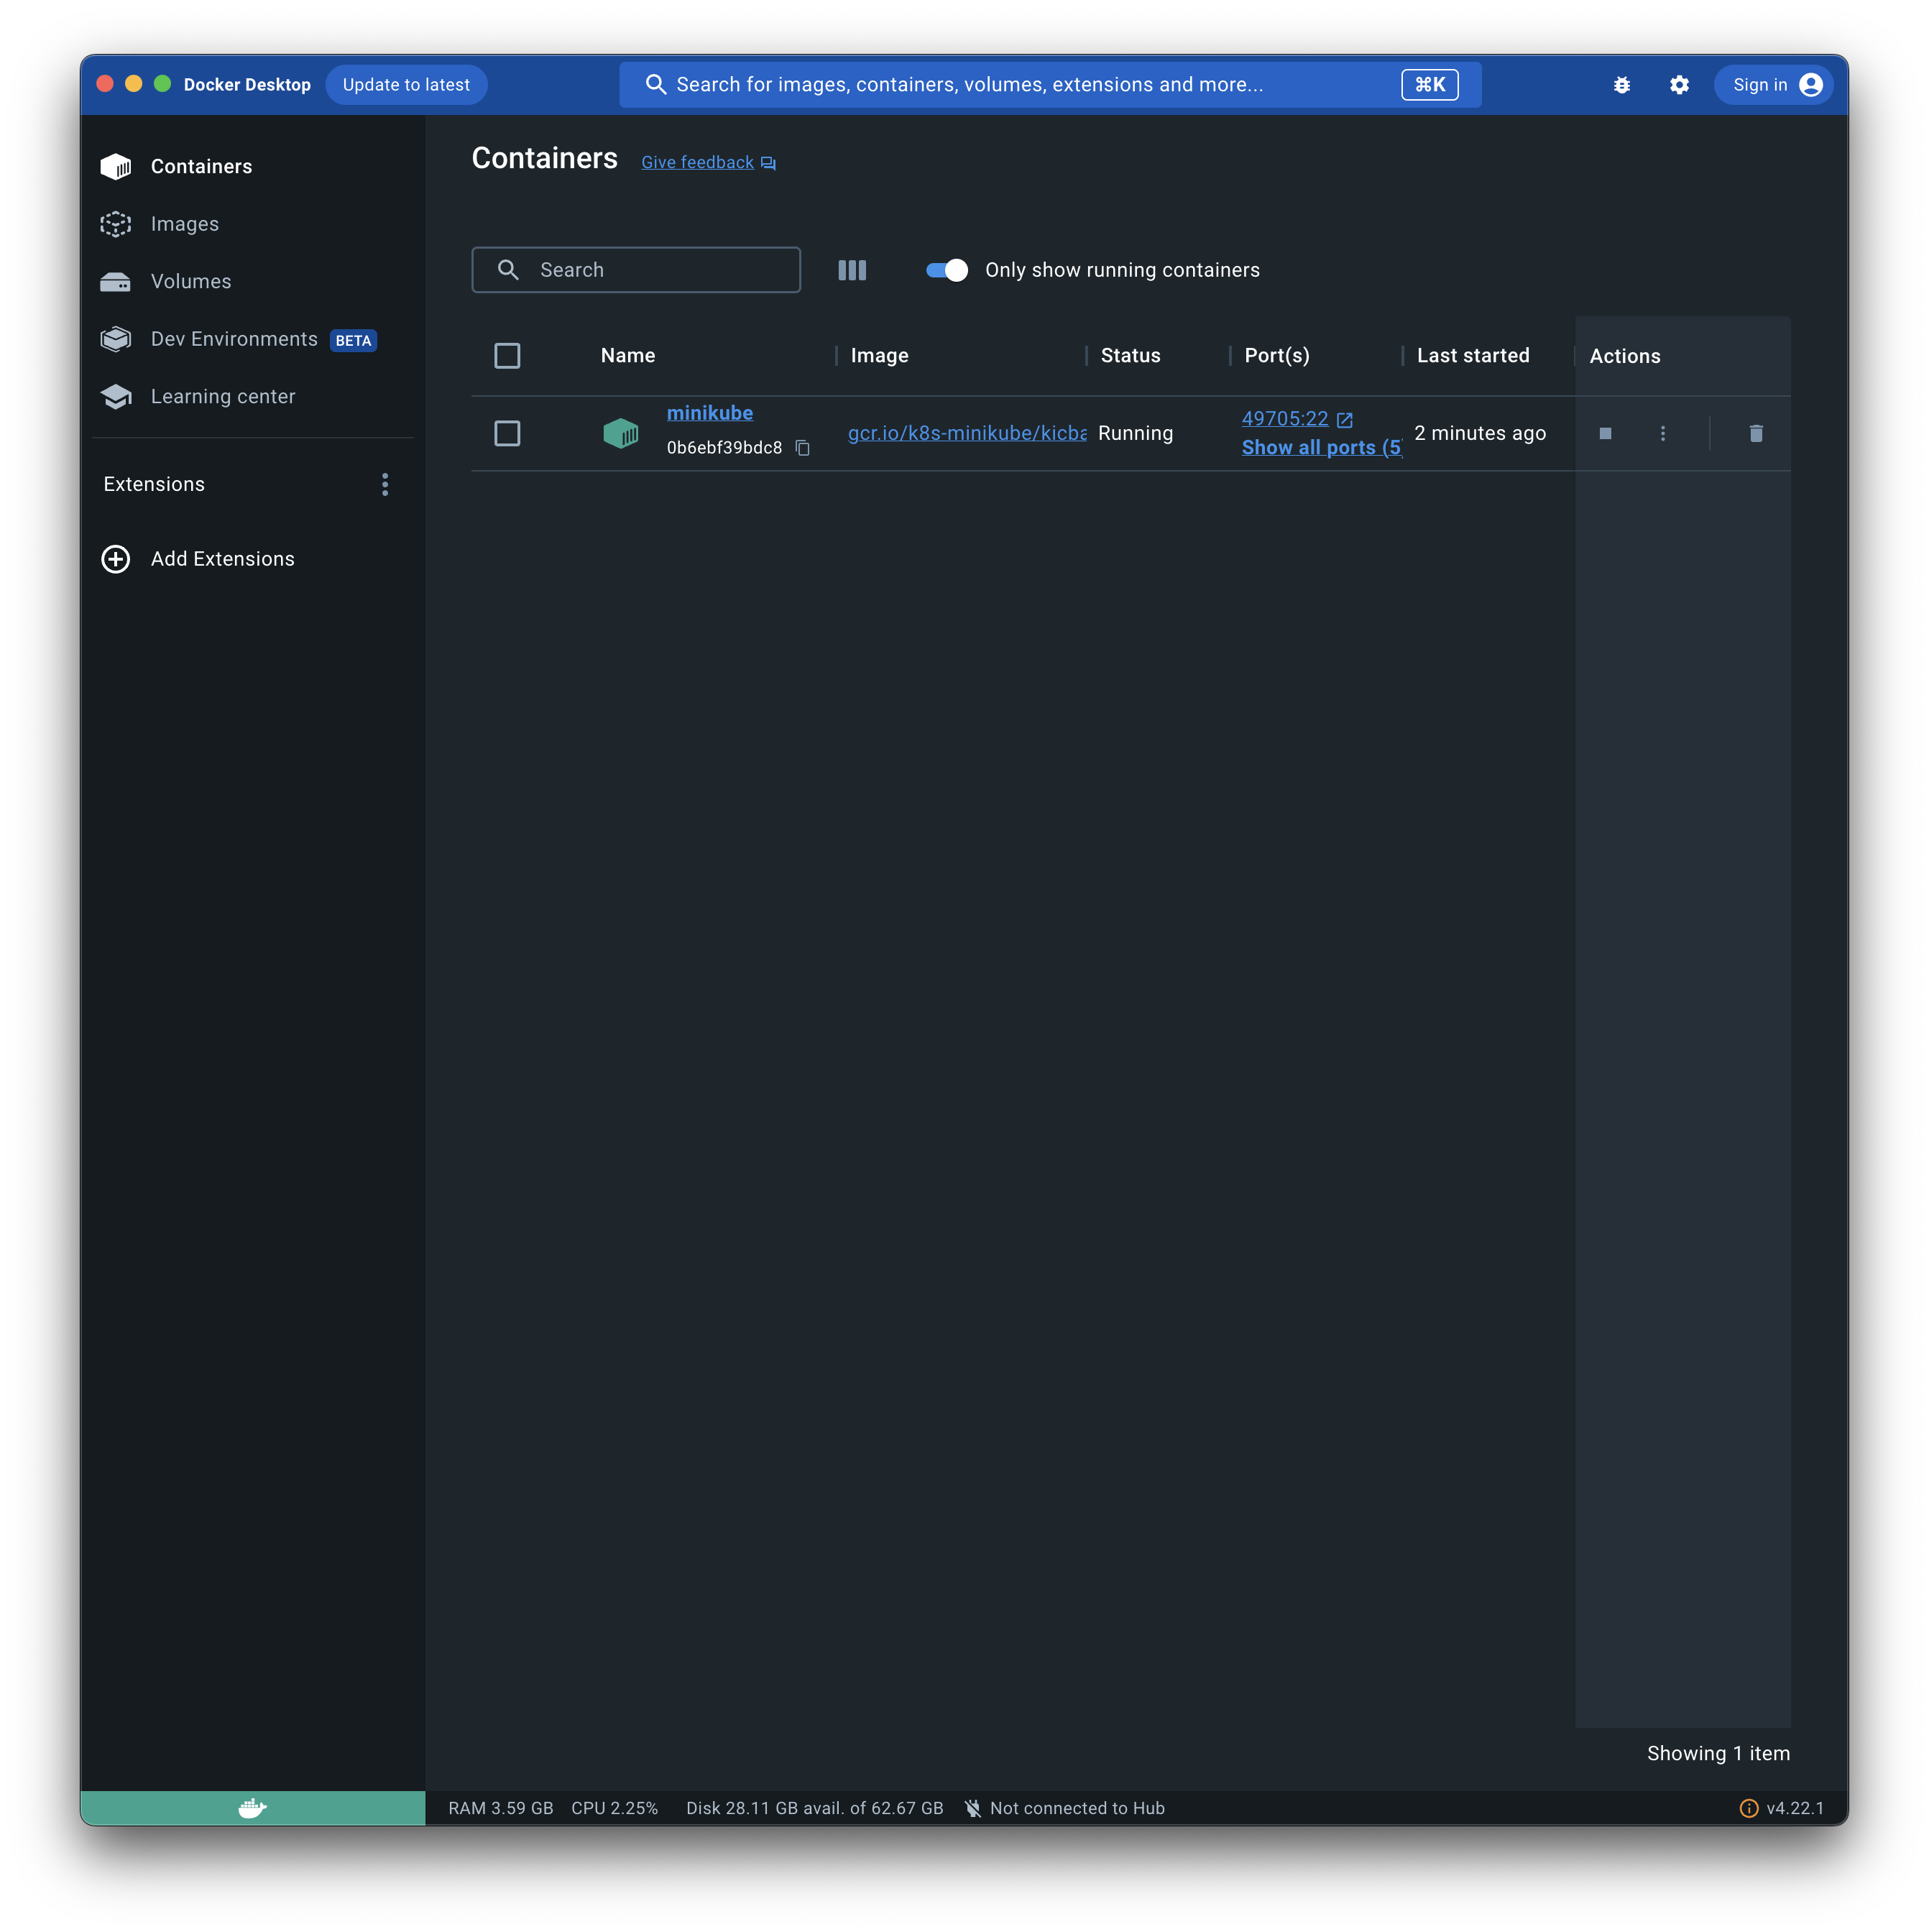
minikube startThis will launch a containerized minikube cluster:
Kubectl
The command-line tool that permits to interact with a Kubernetes cluster’s control pane is kubectl.
kubectl commands
- Get a list of all the nodes in the cluster:
kubectl get nodes
NAME       STATUS   ROLES           AGE   VERSION
minikube   Ready    control-plane   16s   v1.27.4
In our case, we have only one node (minikube) that acts as a control-pane node.
- Create Pods / Deployments A Pod is the smallest unit of the Kubernetes cluster. In practice, there is an abstraction over pods, called deployment. A deployment provides declarative updates to applications, allowing the developer to describe the application’s life cycle, which image to use for the app, the number of dedicated pods, and the way in which they should be updated. To create a deployment, use this command:
kubectl create deployment NAME --image=image [--dry-run] [options]For example:
kubectl create deployment nginx-k8s --image=nginx
deployment.apps/nginx-k8s created- List deployments You can get a list of all the available deployments with:
kubectl get deployments
NAME        READY   UP-TO-DATE   AVAILABLE   AGE
nginx-k8s 1/1 1 1 49s- List pods And we can see that our deployment has created a pod:
kubectl get pod
NAME                        READY   STATUS    RESTARTS   AGE
nginx-k8s-686f5f78d-cmp42   1/1     Running   0          69s
Deployment can be seen as blueprints for creating pods.
- List all the commands:
kubectl helpWe will see other commands in the following section.
Getting started with Kubernetes
Let’s try now to create a deployment from scratch. We want to run MongoDB and expose the mongo-express admin interface. To do so, we can define the application in a .yaml file:
apiVersion: apps/v1
kind: Deployment
metadata:
  name: mongodb
  labels:
    app: mongodb
spec:
  replicas: 1
  selector:
    matchLabels:
      app: mongodb
  template:
    metadata:
      labels:
        app: mongodb
    spec:
      containers:
      - name: mongodb
        image: mongo
        ports:
        - containerPort: 27017
        env:
        - name: MONGO_INITDB_ROOT_USERNAME
          value: username
        - name: MONGO_INITDB_ROOT_PASSWORD
          value: secret_pwd
---
apiVersion: v1
kind: Service
metadata:
  name: mongodb-service
spec:
  selector:
    app: mongodb
  ports:
    - protocol: TCP
      port: 27017
      targetPort: 27017
---
apiVersion: apps/v1
kind: Deployment
metadata:
  name: mongo-express
  labels:
    app: mongo-express
spec:
  replicas: 1
  selector:
    matchLabels:
      app: mongo-express
  template:
    metadata:
      labels:
        app: mongo-express
    spec:
      containers:
      - name: mongo-express
        image: mongo-express
        ports:
        - containerPort: 8081
        env:
        - name: ME_CONFIG_MONGODB_ADMINUSERNAME
          value: username
        - name: ME_CONFIG_MONGODB_ADMINPASSWORD
          value: secret_pwd
        - name: ME_CONFIG_MONGODB_SERVER
          value: mongodb-service
---
apiVersion: v1
kind: Service
metadata:
  name: mongo-express-service
spec:
  selector:
    app: mongo-express
  type: LoadBalancer
  ports:
    - protocol: TCP
      port: 8081
      targetPort: 8081
      nodePort: 30000
As you can see, it is very similar to a docker-compose .yaml file. In this .yaml, we create various Kubernetes objects, delimited by —.
The first object defines the deployment of the mongodb instance, plus some configurations like environment variables and container ports. The replicas entry specifies the number of desired pods for this specific deployment. Increasing the number of pods permits scaling up the application.
Then we have a service for mongodb. Service permits to expose an application that is running as one or more pods in the cluster.
We define also the deployment and the service of the mongo express instance. Here, the service is of type LoadBalancer: this type of service behaves as an external service, and the application is available also outside the cluster.
We can apply the configuration with:
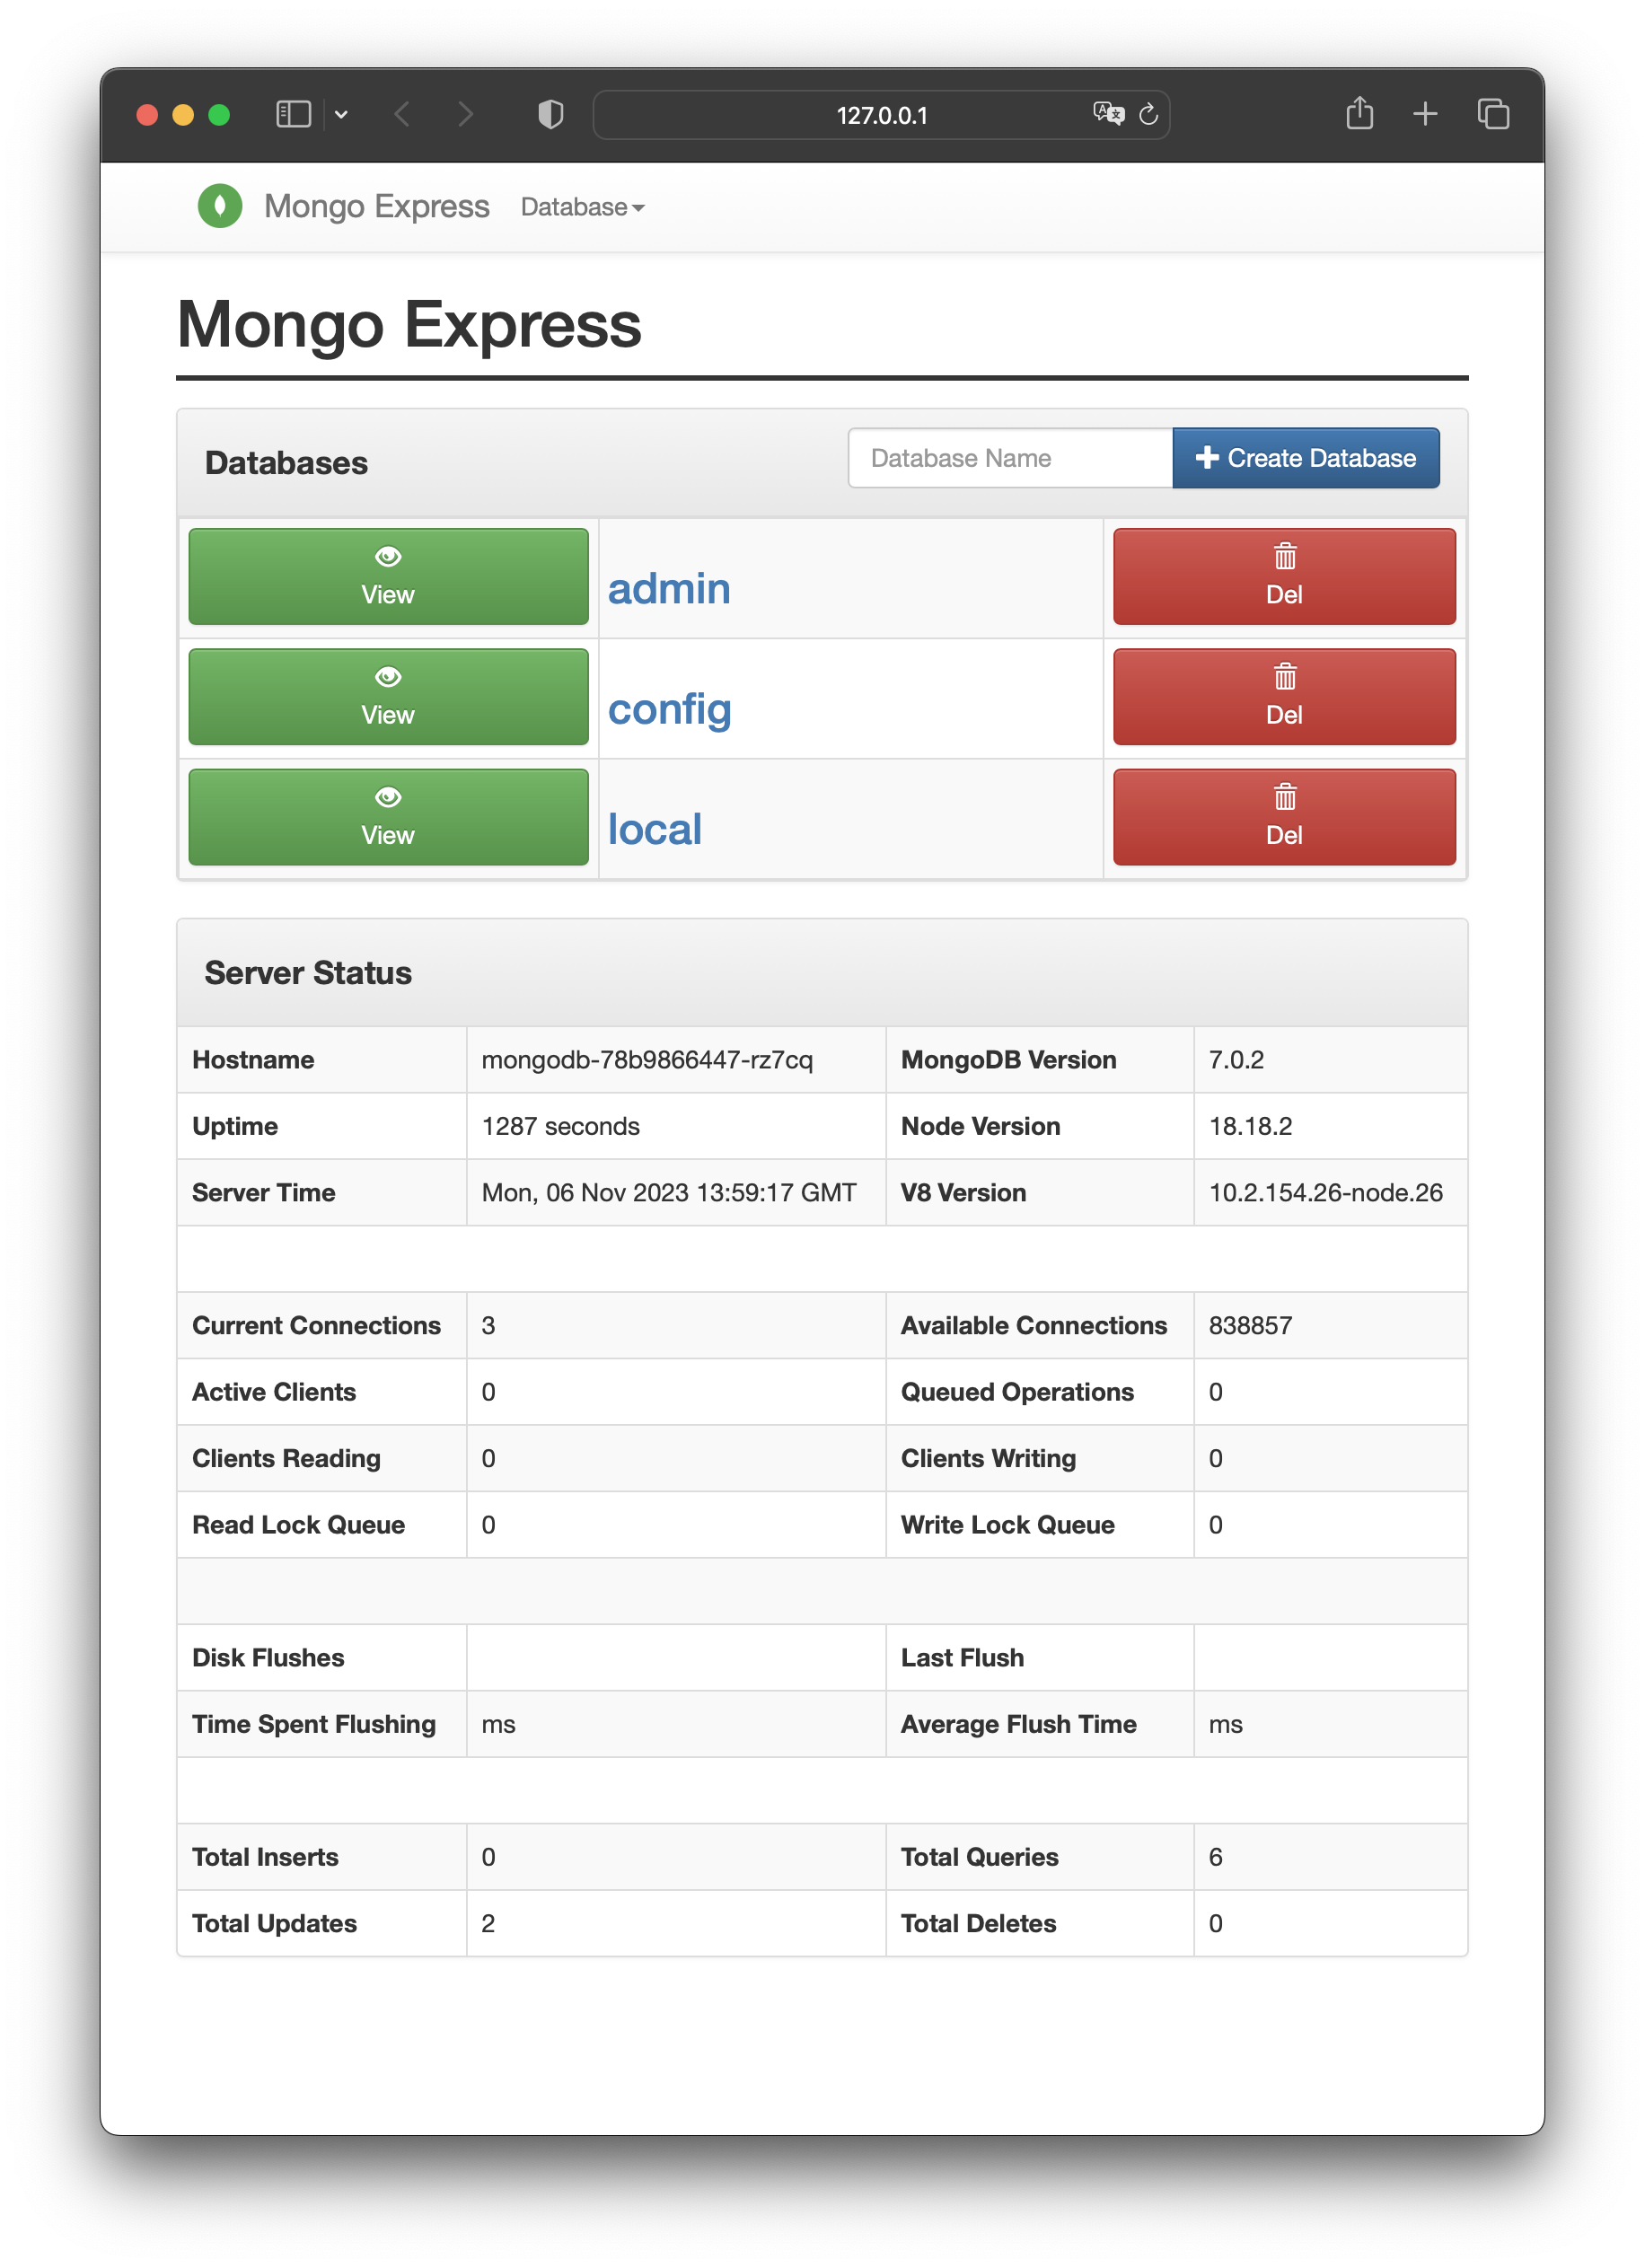
kubectl apply -f . # The .yaml file created must be in the working dirWith minikube, you can expose your application by launching:
minikube service mongo-express-serviceInsert username=admin and password=pass: