Contents
To have a better understanding of the concepts seen so far, let’s see a simple example: we want to have a simple application that manages students.
Our Spring Application
We start by creating a new Spring Project with the dependencies that we had seen in the previous lessons. Then, we need to define how to model Students. We want to provide a minimal example for now, so we can say that a Student must have:
- A Name.
- A Surname.
- A Matriculation ID. Let’s create our Student class: we want to do things well, so we use the Model View Controller (MVC) pattern. We create a Student.java inside a models package:
public class Student {
    private String name;
    private String surname;
    private String id;

    public Student(String name, String surname, String id) {
        this.name = name;
        this.surname = surname;
        this.id = id;
    }

    public String getId() {
        return id;
    }


    public String getName() {
        return name;
    }

    public void setName(String name) {
        this.name = name;
    }

    public String getSurname() {
        return surname;
    }

    public void setSurname() {
        this.surname = surname;
    }

    public String toString() {
        return "[ID: " + id + ", Name: " + name +", Surname: " + surname + "]";
    }
}
Then, we need to create a Repository, that defines the logic for accessing Students: for now, we use a simple Java Map, but we can use a database or other external systems. The StudentRepository class is easy (package com.example.studentsapp.repositories)
@Repository
public class StudentRepository {
    private Map<String, Student> students;

    public StudentRepository() {
        this.students = new HashMap<>();
    }

    public void create(Student student) {
        students.put(student.getId(), student);
    }

    public Collection<Student> getAll() {
        return students.values();
    }
    public Student fetch(String id) {
        return students.get(id);
    }

    public Collection<Student> search(String name) {
        Collection<Student> studs = new ArrayList<>();
        for (Student s : students.values()) {
            if (s.getName().equalsIgnoreCase(name))
                studs.add(s);
        }
        return studs;
    }

    public Student delete(String id) {
        Student s = students.get(id);
        this.students.remove(id);
        return s;
    }


}
Now it is time to add the Service class (package com.example.studentsapp.services):
@Service
public class StudentService {
    @Autowired
    StudentRepository studentRepository;


    public List<Student> findAll() {
        return new ArrayList<Student>(studentRepository.getAll());
    }

    public Student fetch(String id) {
        return studentRepository.fetch(id);
    }

    public void add(String name, String surname, String id) {
        studentRepository.create(new Student(name, surname, id));
    }
    public ArrayList<Student> search(String name) {
        return new ArrayList<Student>(studentRepository.search(name));
    }

    public void delete(String id) {
        studentRepository.delete(id);
    }
}
Note the @Autowired annotation. This annotation permits Spring to inject the Student repository automatically inside our service.
One could argue that the service class does the same things as the repository, and so it is an unnecessary abstraction. This is actually true for our minimal example, but we need to keep in mind that inside Service we put all the business logic: for example, for complex applications, you might not want to return the raw values obtained from a repository (e.g., you want to apply some transformations or filtering). Services should act as an API (Application Programming Interface), while a Repository’s job is to handle the access and manipulation of data in memory. What remains to do is to define our Student controller (package com.example.studentsapp.controllers):
@Service
@RestController
public class Student {
    @Autowired
    private StudentService studentService;
    @RequestMapping("/students")
    public String getStudents() {
        return studentService.findAll().toString();
    }
    @RequestMapping("/students/add")
    public String addStudent(@RequestParam String id, @RequestParam String name, @RequestParam String surname) {
        studentService.add(name, surname, id);
        return "OK";
    }
}
Note again the @Autowired annotation that permits us to “connect” our Service to this controller. Note also the @RequestParam annotation on the addStudent method: this annotation tells Spring to inject the parameters from the query string. If you are not familiar with query strings, don’t worry: we will cover it in the next lessons. For now, let’s say that the query string is a way to pass some parameters directly from the URL.
Now start the application and go to localhost:8080/students. You should see something like this:
 We don’t have any students yet, so our list is empty. We can try to add a new student: localhost:8080/students/add?name=Giacomo&surname=Zanatta&id=859156:
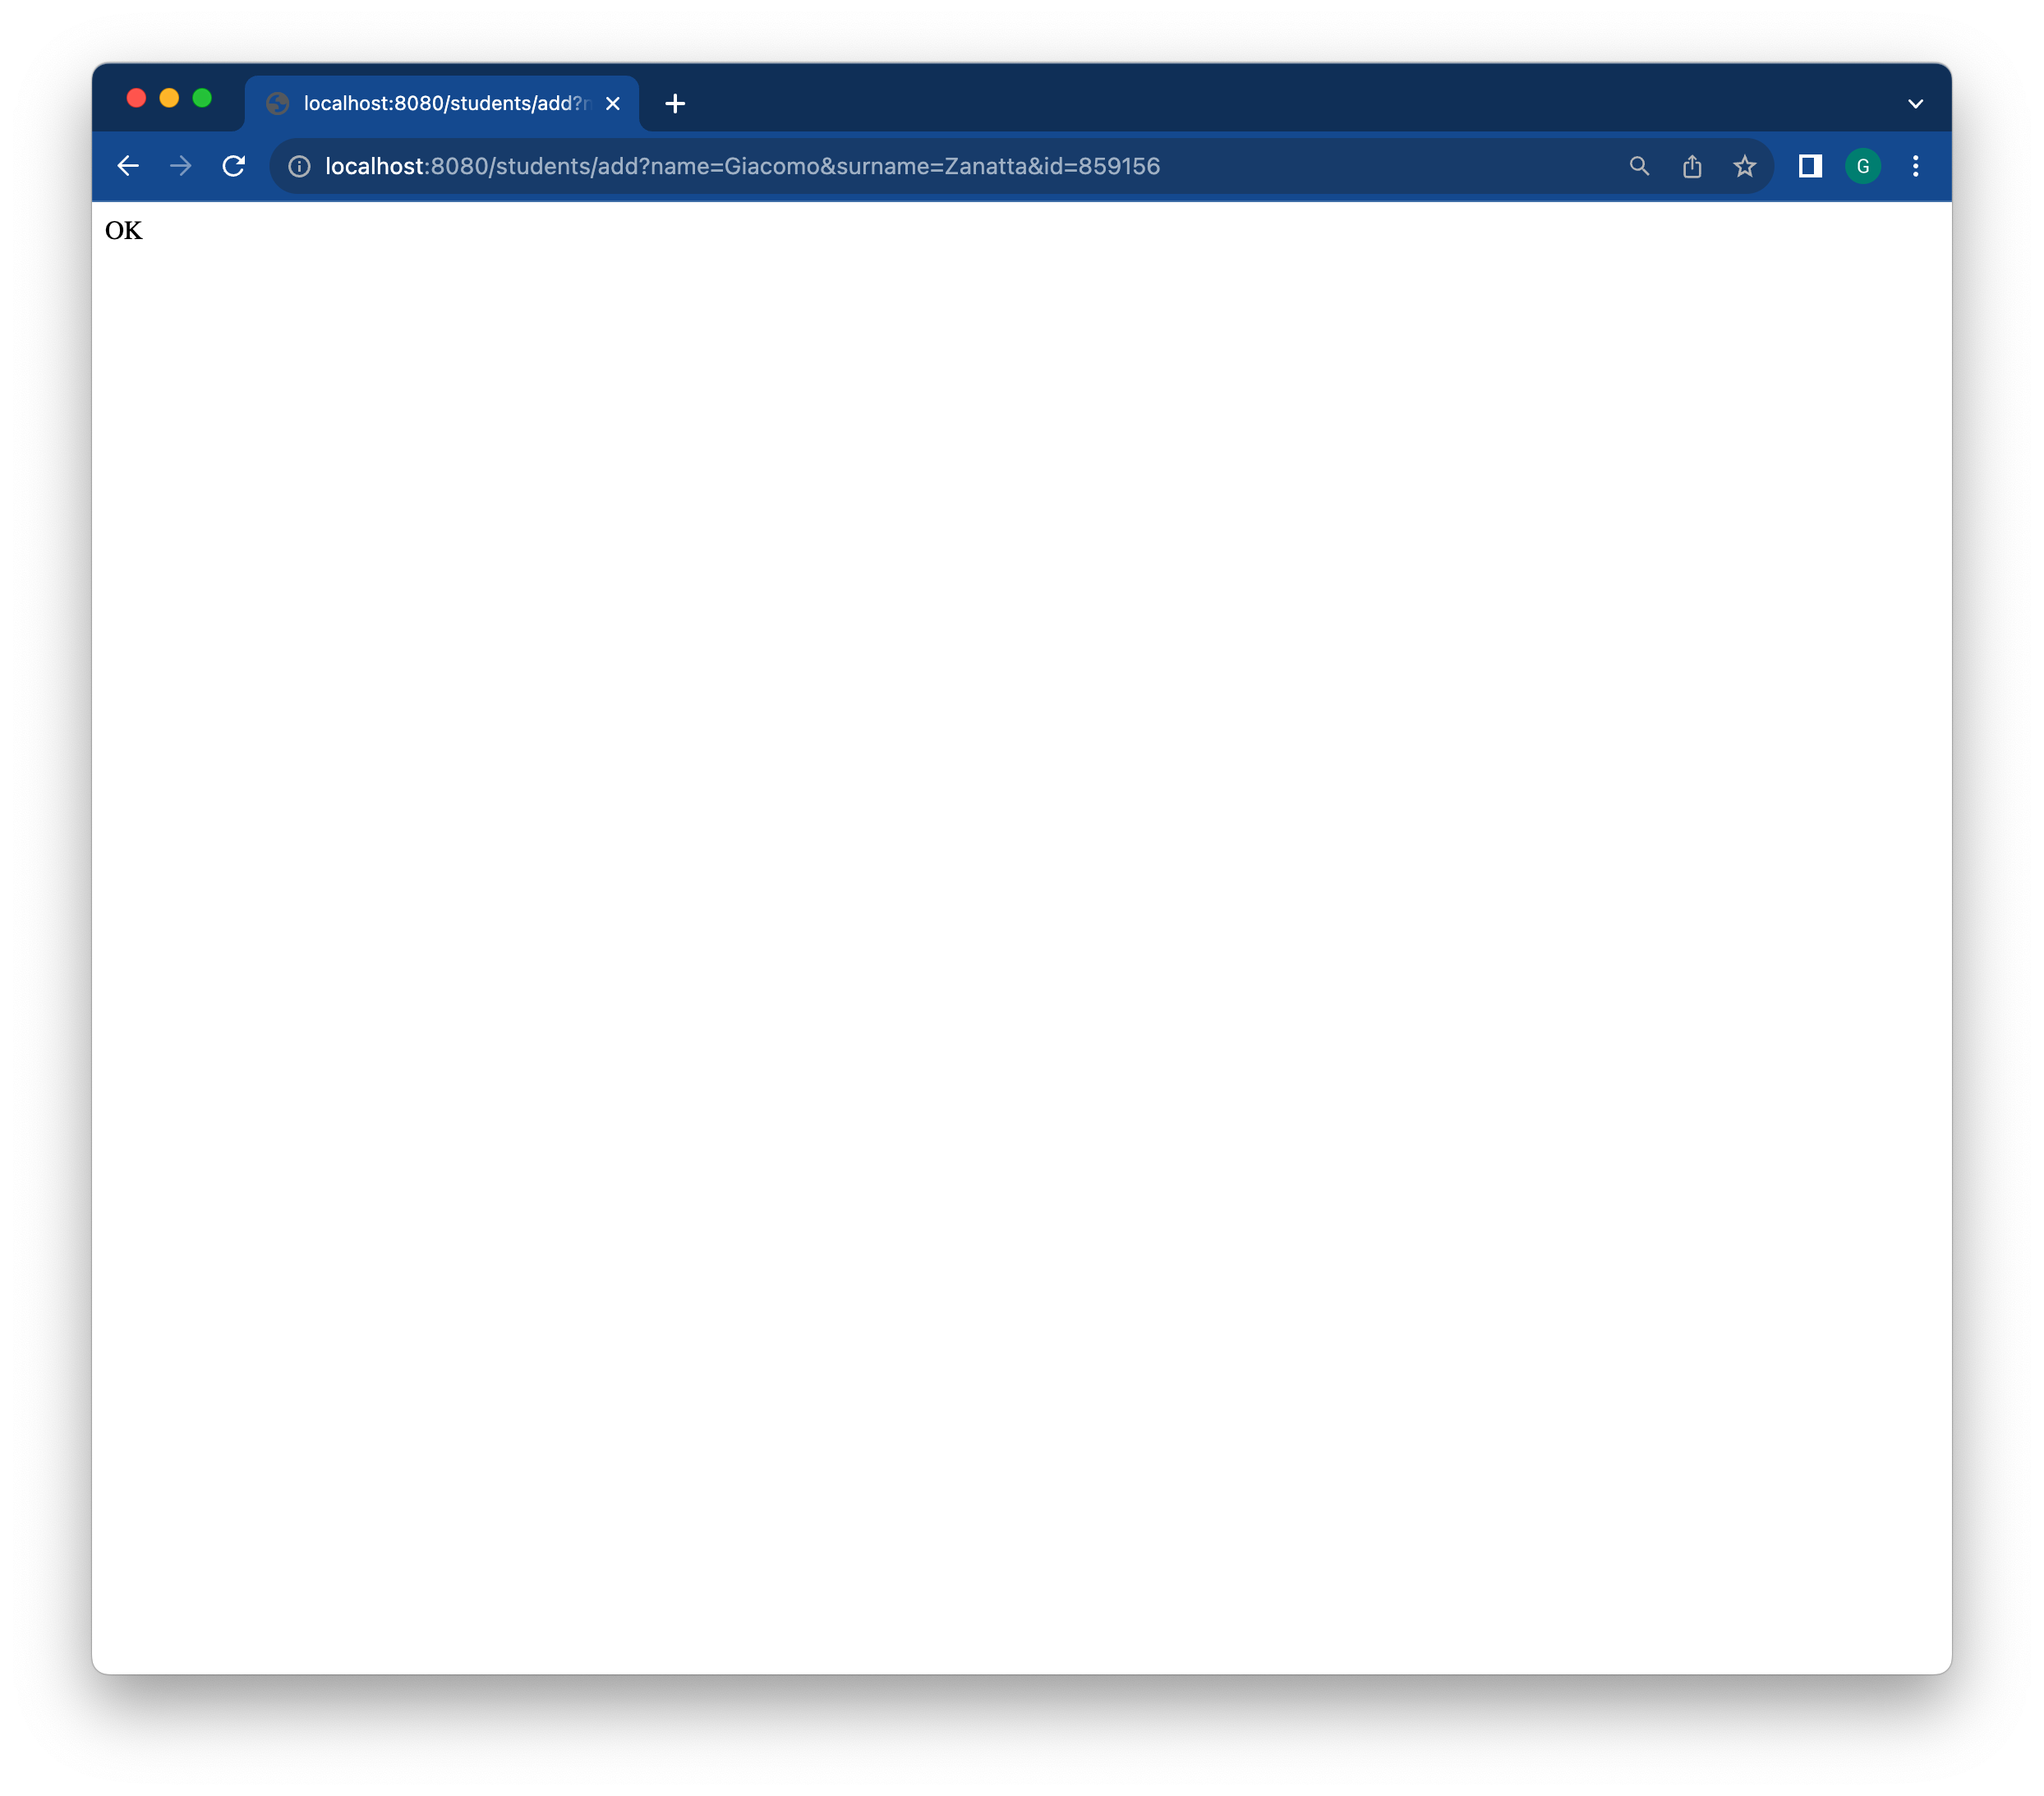 The last part of the URL, after the ‘?’, is our query string. A query string is a list of key-value pairs, separated by a &.
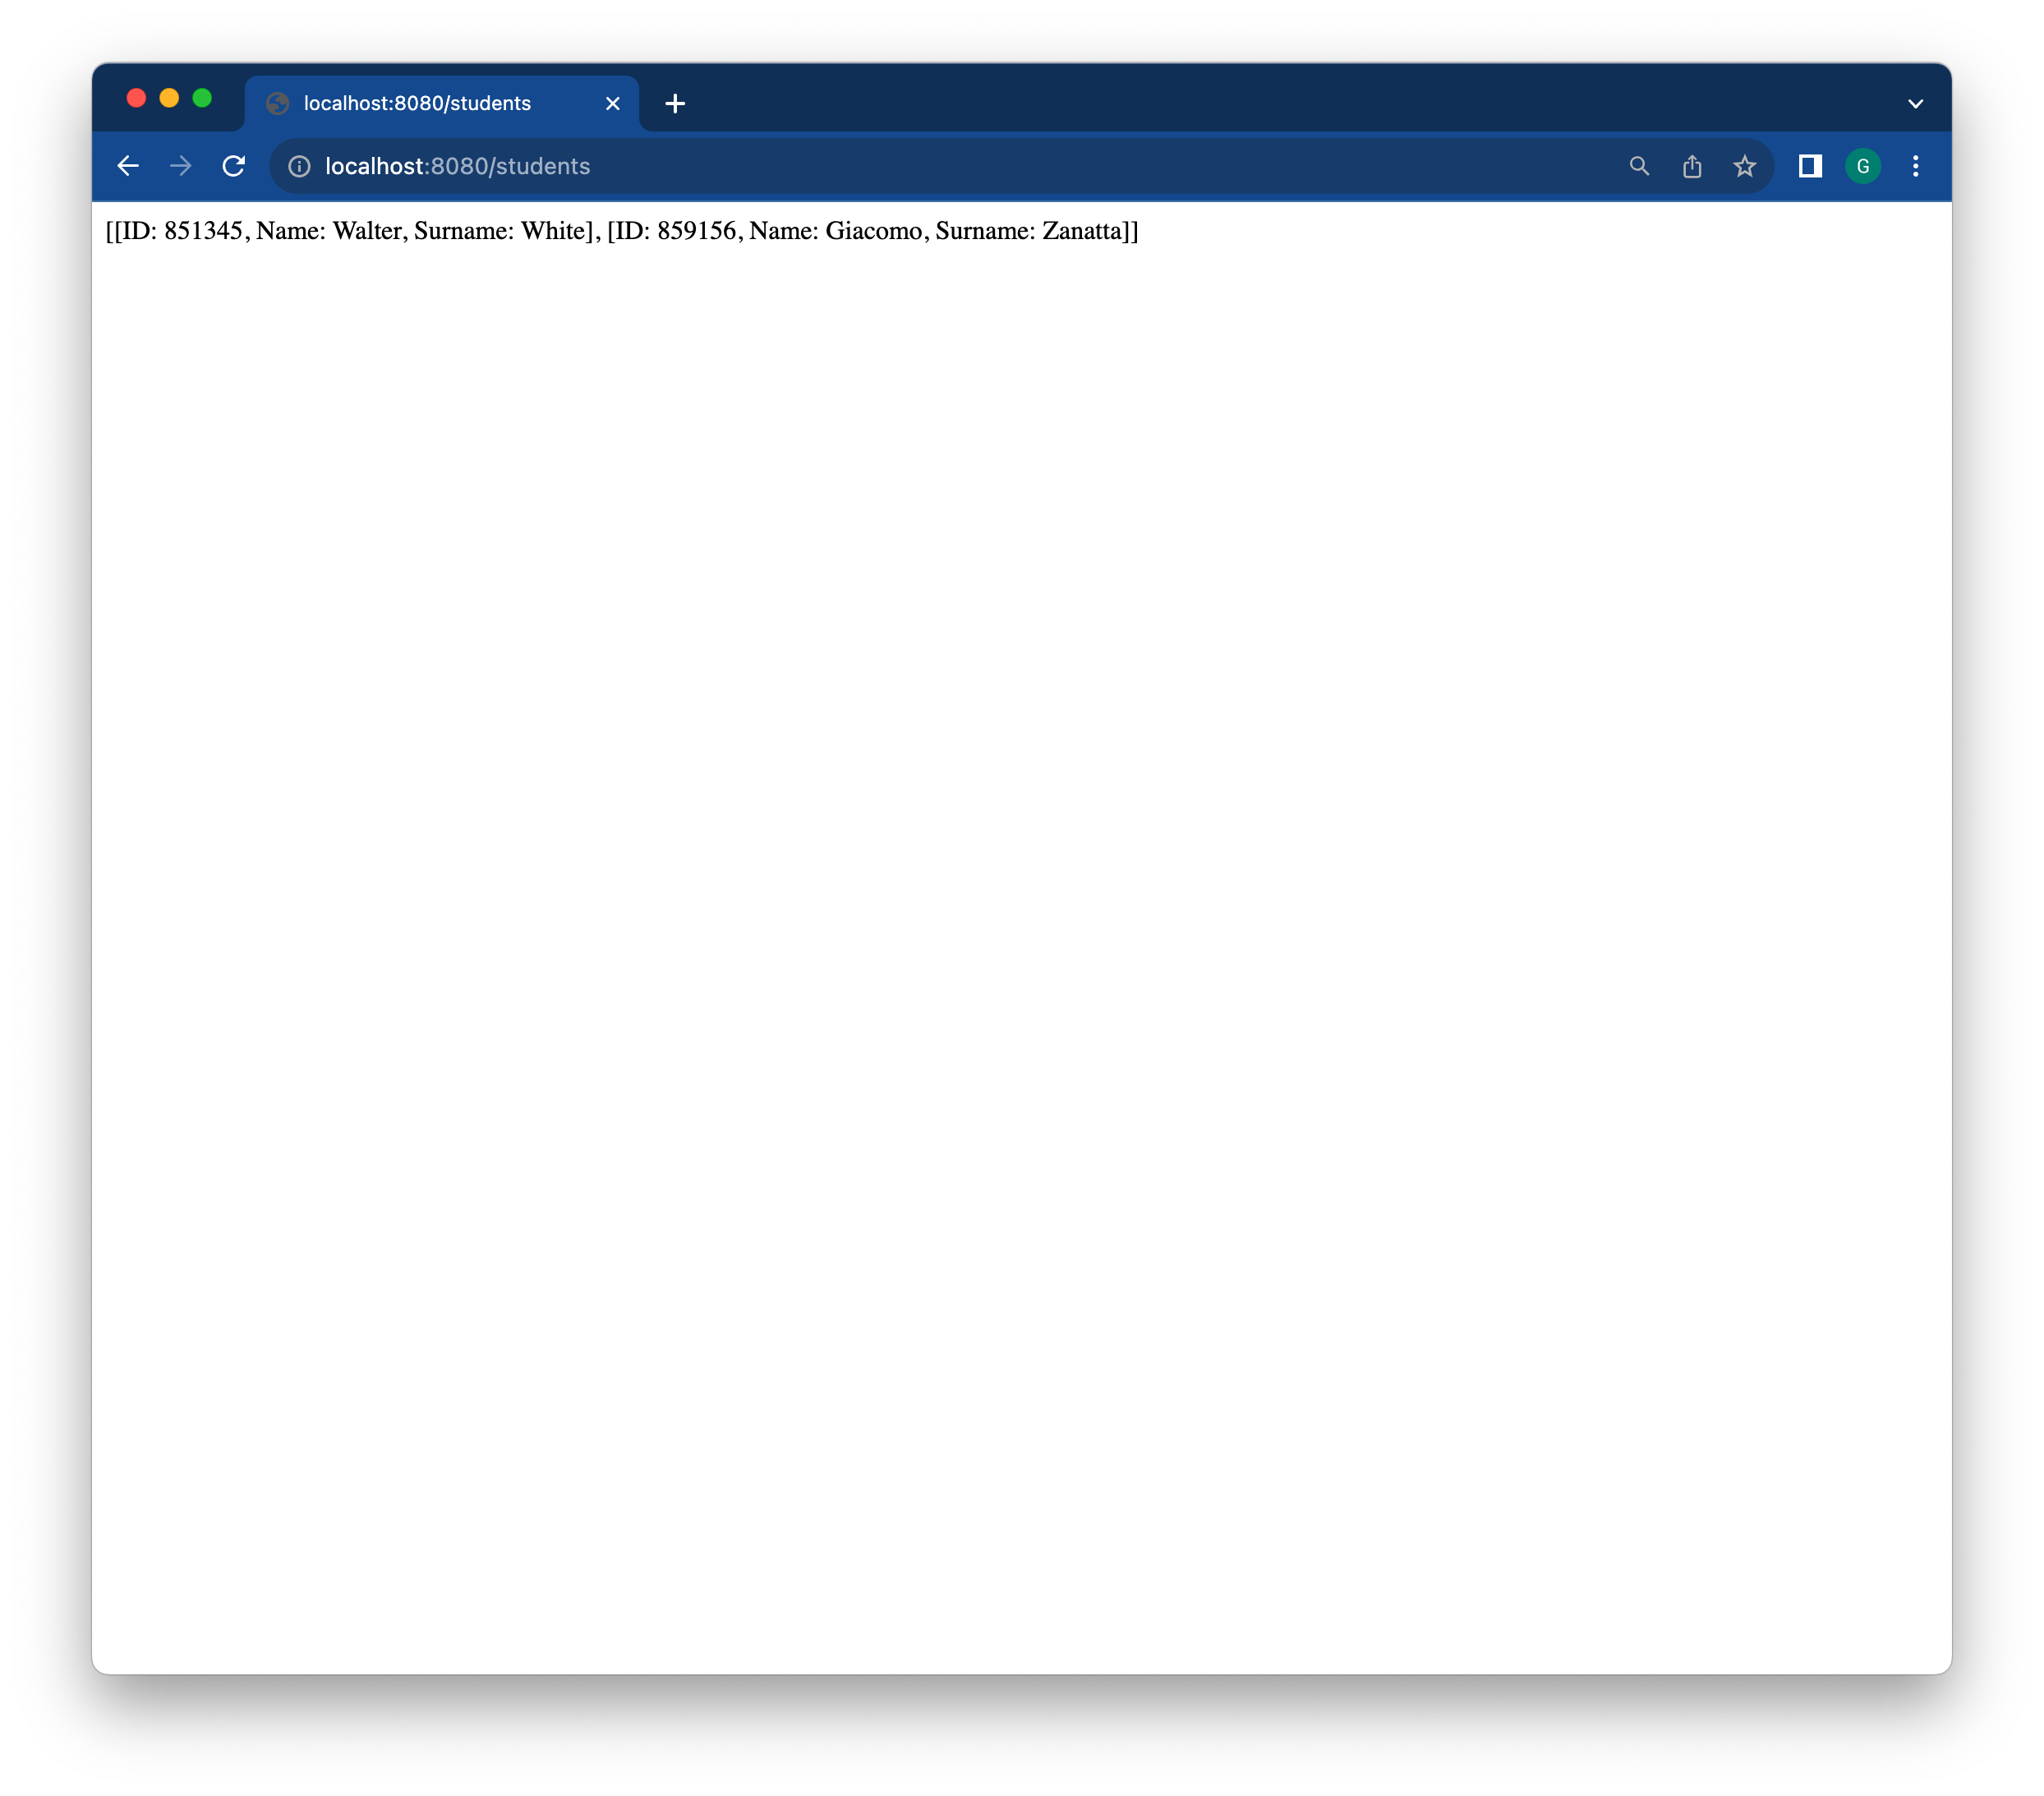
Now, if we go back to localhost:8080/students, we should see our student:
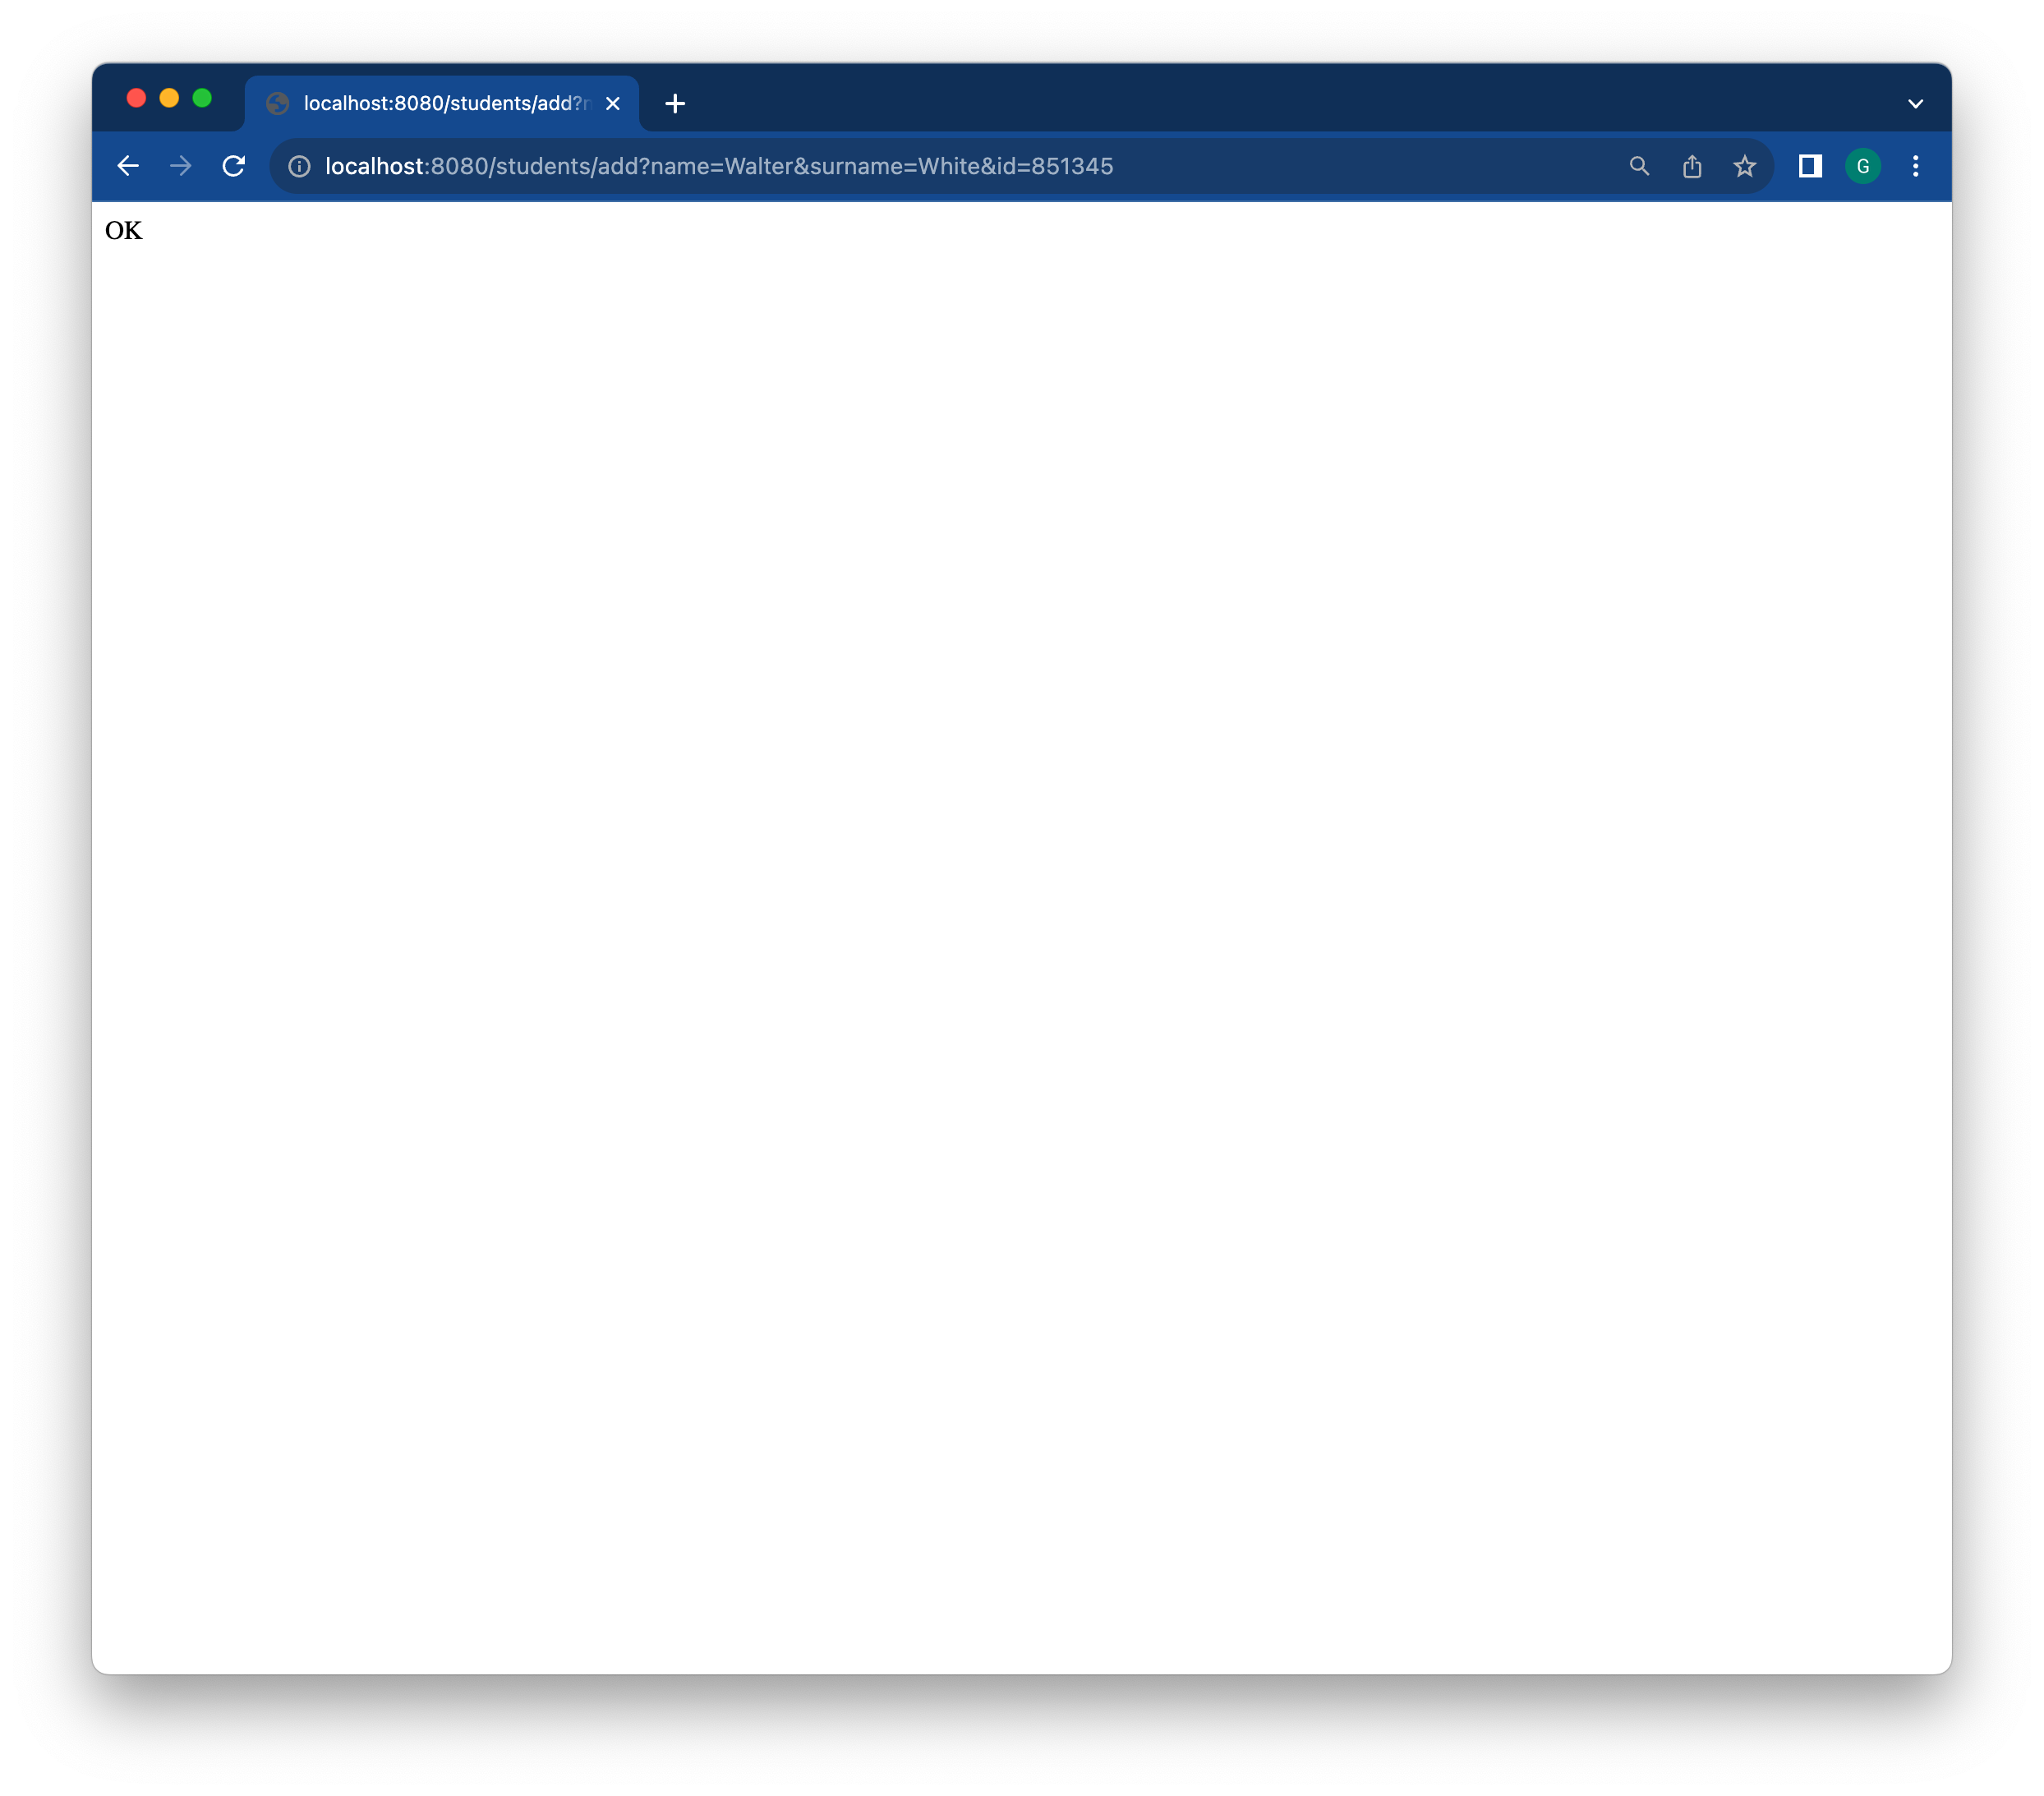
 We can add as many students as we want:
 Other operations (search, delete) are left as an exercise. Try to play around!
Conclusions
OK, this is wonderful. But we want to make our application more user-friendly, for example presenting a form to the final user that permits adding a student, and a more sophisticated view to show our students. We can do it by returning, for example, HTML instead of plain text, using a template engine like Thymeleaf. In the next lessons, we will talk about the HTTP protocol and particularly about the REST architecture, showing how we can build a RESTful application in Spring.
Exercises
- Implement the capability to search and delete users.