![]()
Contents
What we have seen so far
At this point, we know how to build a REST application and how to deploy it in a docker container. However, we don’t have persistence: if we restart the application, all the inserted students will disappear.
As we said in the docker lessons, this is not good: we want now to provide a way to add a database in which we would store all the application data.
To do this, we use Docker Compose and Hibernate, a JPA (Java Persistence API) implementation.
Docker Compose
We want to run the database server in a separate machine. This because we don’t want that our database server impact directly on the performance of our application server, and that if in the future our application demands more power, we can scale the two server independently. What we are going to see is a preliminary example of a distributed system. By the way, we have only one machine (our computer): we can simulate a distributed system by using Docker Compose. The idea is to run our database in a separated container and to link our application to the database server. Docker compose can help us to coordinate the communication and the life cycle of our containers.
Docker compose is a tool for defining and running multi-container Docker applications. What we need to do is to create this YAML file inside our student application folder with name compose.yaml:
services:
  web:
    build: .
    restart: always
    ports:
      - "8080:8080"
    depends_on:
      - students_db
  students_db:
    volumes:
      - students-db:/var/lib/mysql
    image: "mysql:5.7"
    restart: always
    ports:
      - "3306:3306"
    environment:
      - MYSQL_ROOT_PASSWORD=secret_password
volumes:
  students-db:
The semantics of this file is quite forward: we are creating 2 container: one for our app (web) and another one for our database (students_db).
The web container is exposed in port 8080, and it depends on the database. This means that the app container must be started after the database, to ensure that the database is reachable.
The database store its data in a volume (named students-db), it is based on mysql version 5.7, expose port 3306 and it has an environment variable (MYSQL_ROOT_PASSWORD): in this variable we put the root password (necessary to the creation of the container).
With the command docker compose up -d we start our multi-container application:
~/IdeaProjects/StudentsApp docker compose up -d
[+] Running 12/12
✔ mysql 11 layers [⣿⣿⣿⣿⣿⣿⣿⣿⣿⣿⣿] 0B/0B Pulled 20.9s
✔ 9ad776bc3934 Pull complete 6.7s
✔ 9e4eda42c982 Pull complete 6.8s
✔ df6d882cf587 Pull complete 6.8s
✔ 6c804e92b324 Pull complete 7.1s
✔ fd54ada0c48d Pull complete 7.1s
✔ 4ed8fb20ac8d Pull complete 7.1s
✔ eec2b1bc5454 Pull complete 7.9s
✔ 41c3423057b7 Pull complete 7.9s
✔ 122b2c7b16c0 Pull complete 18.5s
✔ 0d30e03d70e3 Pull complete 18.5s
✔ 71c43898e898 Pull complete 18.5s
[+] Building 8.6s (7/7) FINISHED docker:desktop-linux
=> [web internal] load build definition from Dockerfile 0.0s
=> => transferring dockerfile: 176B 0.0s
=> [web internal] load .dockerignore 0.0s
=> => transferring context: 2B 0.0s
=> [web internal] load metadata for docker.io/library/eclipse-temurin:17-jdk-alpine 1.8s
=> [web internal] load build context 0.3s
=> => transferring context: 21.80MB 0.2s
=> [web 1/2] FROM docker.io/library/eclipse-temurin:17-jdk-alpine@sha256:fe702d6a9b2d0855f29154512358cd5c0c866b8b16544589e254a97743304d1a 5.9s
=> => resolve docker.io/library/eclipse-temurin:17-jdk-alpine@sha256:fe702d6a9b2d0855f29154512358cd5c0c866b8b16544589e254a97743304d1a 0.0s
=> => sha256:01f50a010d8985b7bf95cb1d49fde7a7ef4dce27efeca3d1d097162a0321ac87 1.37kB / 1.37kB 0.0s
=> => sha256:5099a1e5b5ad87ae8e82901e378faaad18d1c117dce19c80a18e1bd8c54f8bab 4.64kB / 4.64kB 0.0s
=> => sha256:96526aa774ef0126ad0fe9e9a95764c5fc37f409ab9e97021e7b4775d82bf6fa 3.40MB / 3.40MB 0.2s
=> => sha256:34e4092d737c5d0c601ddadd8d075b756e55cc717065ae83683571965c2117a9 9.28MB / 9.28MB 0.4s
=> => sha256:915fe362f7834d55d0629bc87900106e436777183710296be59a773b2b923c43 144.10MB / 144.10MB 2.5s
=> => sha256:fe702d6a9b2d0855f29154512358cd5c0c866b8b16544589e254a97743304d1a 320B / 320B 0.0s
=> => extracting sha256:96526aa774ef0126ad0fe9e9a95764c5fc37f409ab9e97021e7b4775d82bf6fa 0.2s
=> => sha256:10b027806bac1630d9efcca8bfb815e52ac2229cf46533b8a8635f26c9953328 175B / 175B 0.5s
=> => sha256:ece0488f1c6ac8f5bb7dcdc54b476499c3cc3d295b17785db90dc555692fe24e 733B / 733B 0.9s
=> => extracting sha256:34e4092d737c5d0c601ddadd8d075b756e55cc717065ae83683571965c2117a9 1.2s
=> => extracting sha256:915fe362f7834d55d0629bc87900106e436777183710296be59a773b2b923c43 2.8s
=> => extracting sha256:10b027806bac1630d9efcca8bfb815e52ac2229cf46533b8a8635f26c9953328 0.0s
=> => extracting sha256:ece0488f1c6ac8f5bb7dcdc54b476499c3cc3d295b17785db90dc555692fe24e 0.0s
=> [web 2/2] COPY build/libs/*.jar app.jar 0.7s
=> [web] exporting to image 0.1s
=> => exporting layers 0.1s
=> => writing image sha256:13a19ddd42d43232cee221573fe6794dce55184c6a4f6936766ac42118d82b18 0.0s
=> => naming to docker.io/library/studentsapp-web 0.0s
[+] Running 3/3
✔ Container studentsapp-mysql-1 Started 0.5s
✔ Network studentsapp_default Created 0.1s
✔ Container studentsapp-web-1 Started 0.5s
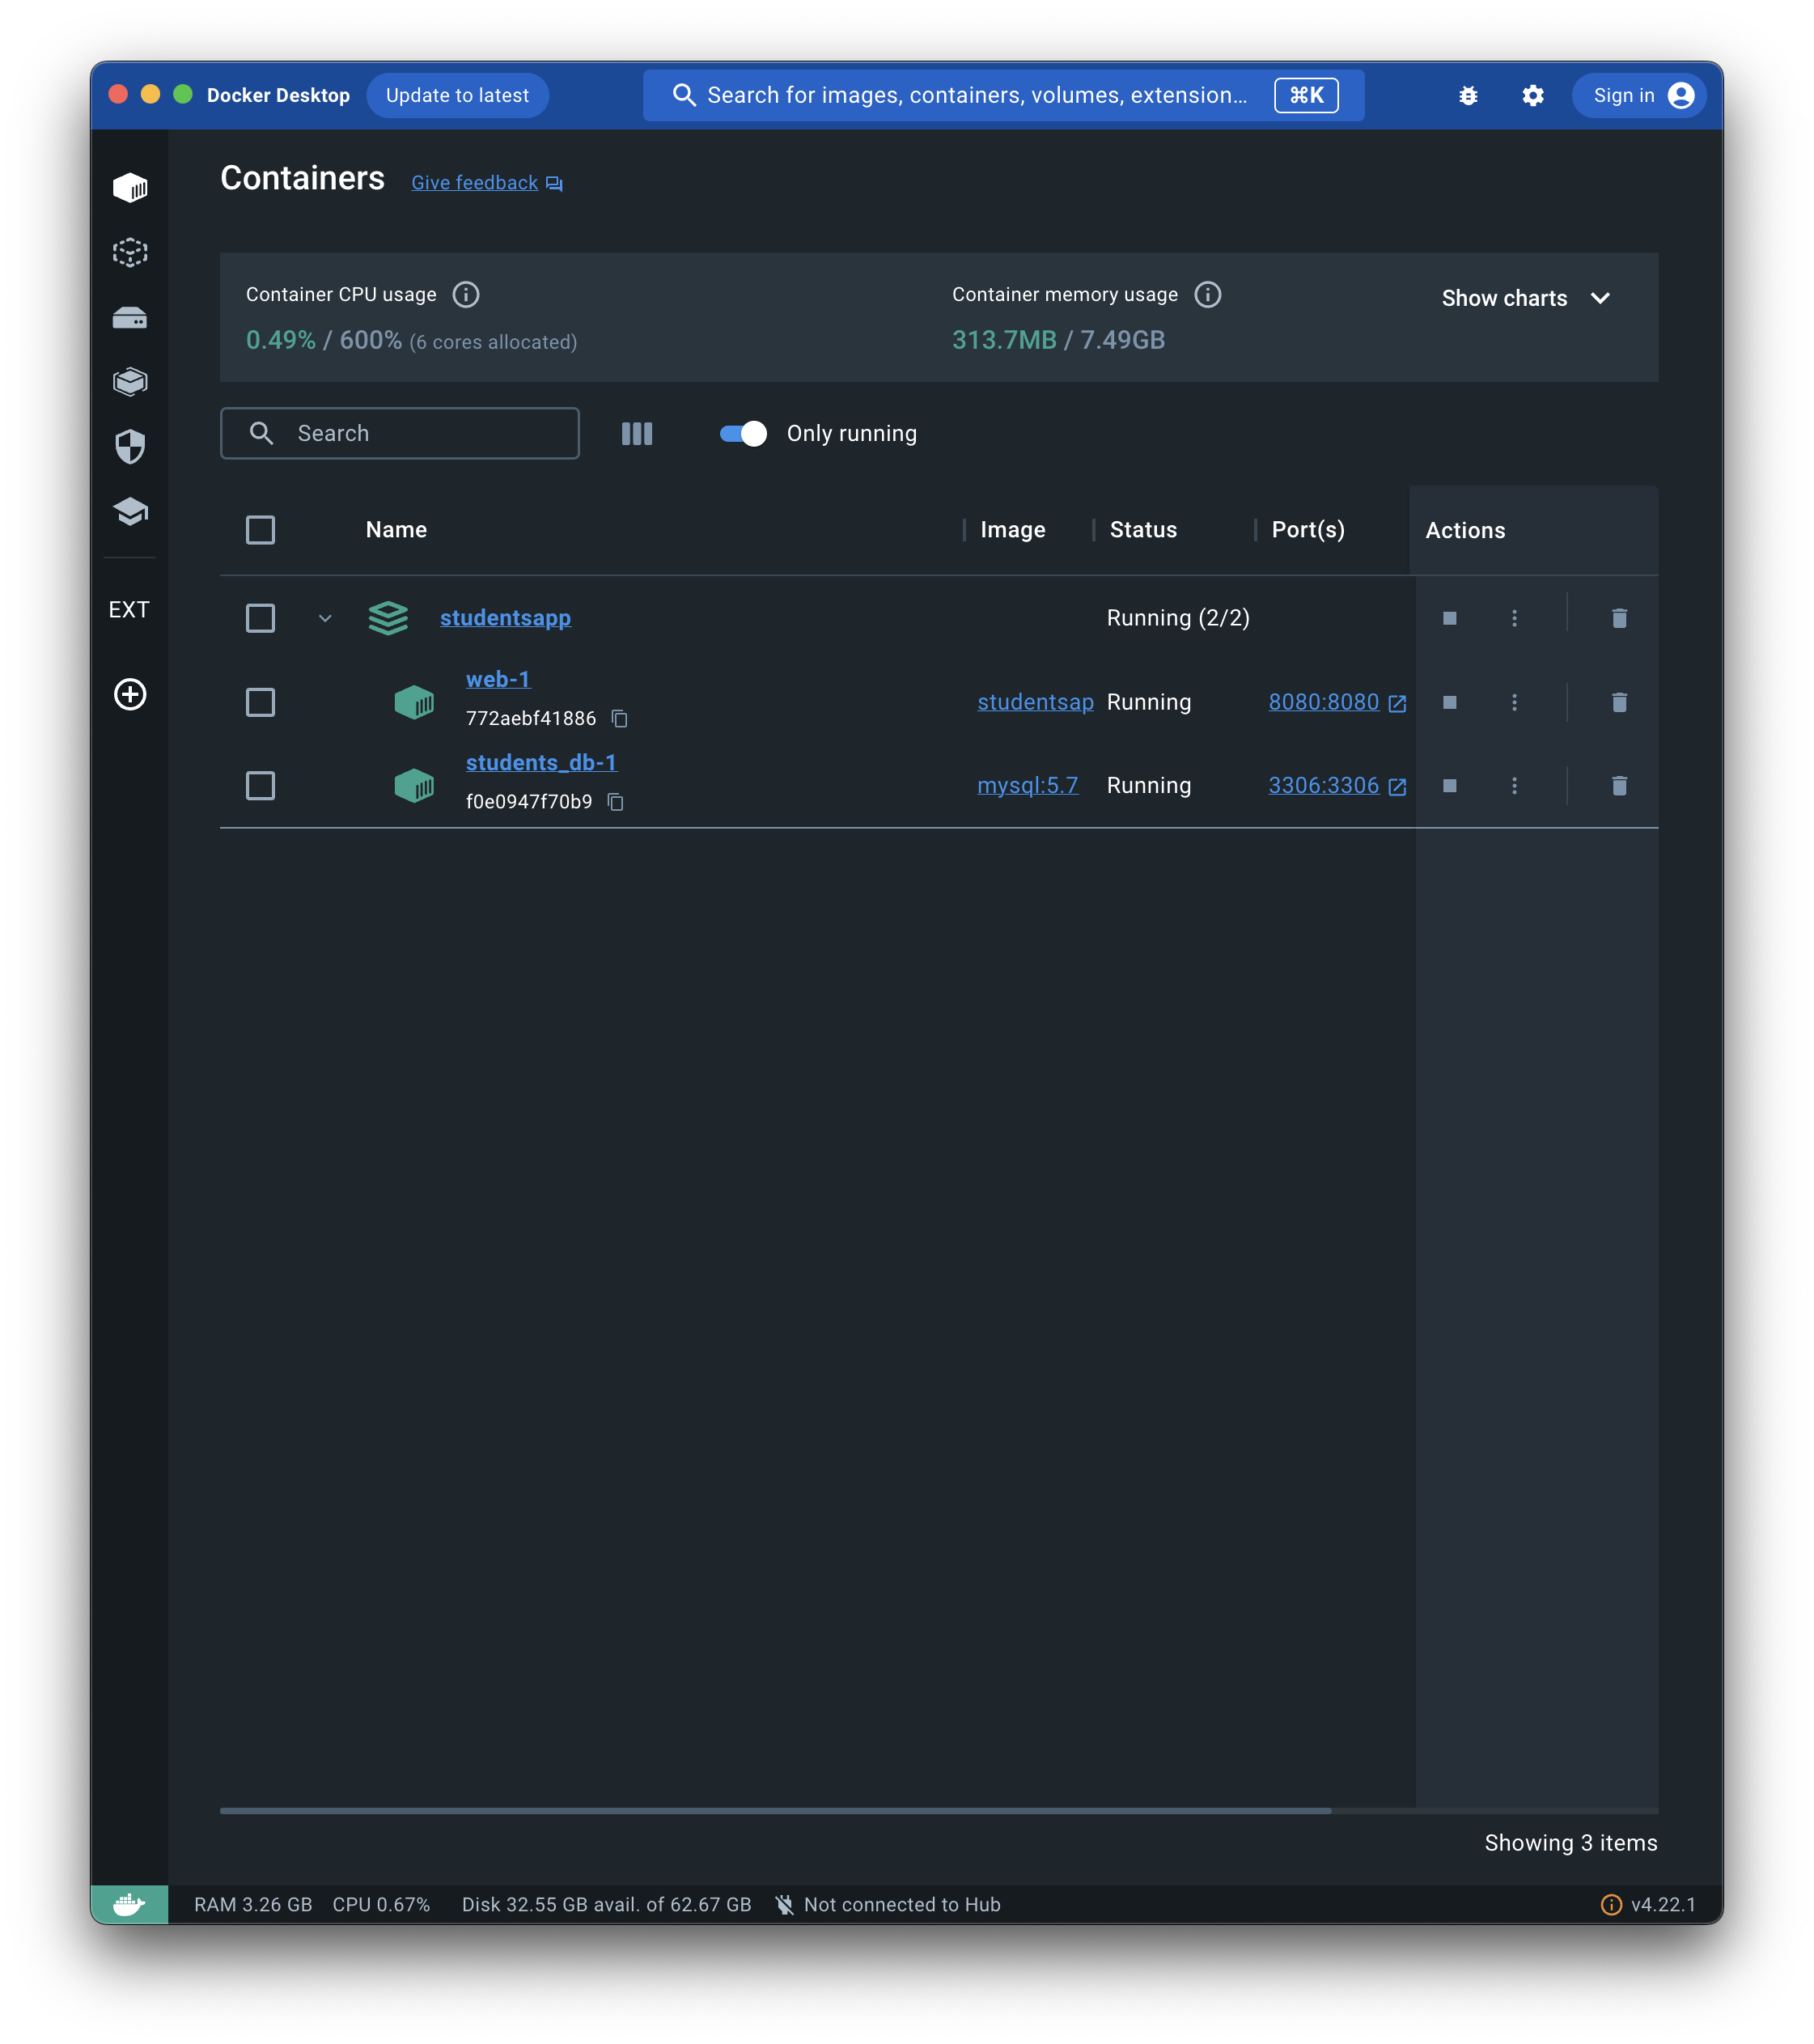
~/IdeaProjects/StudentsApp Let’s check if everything is fine:
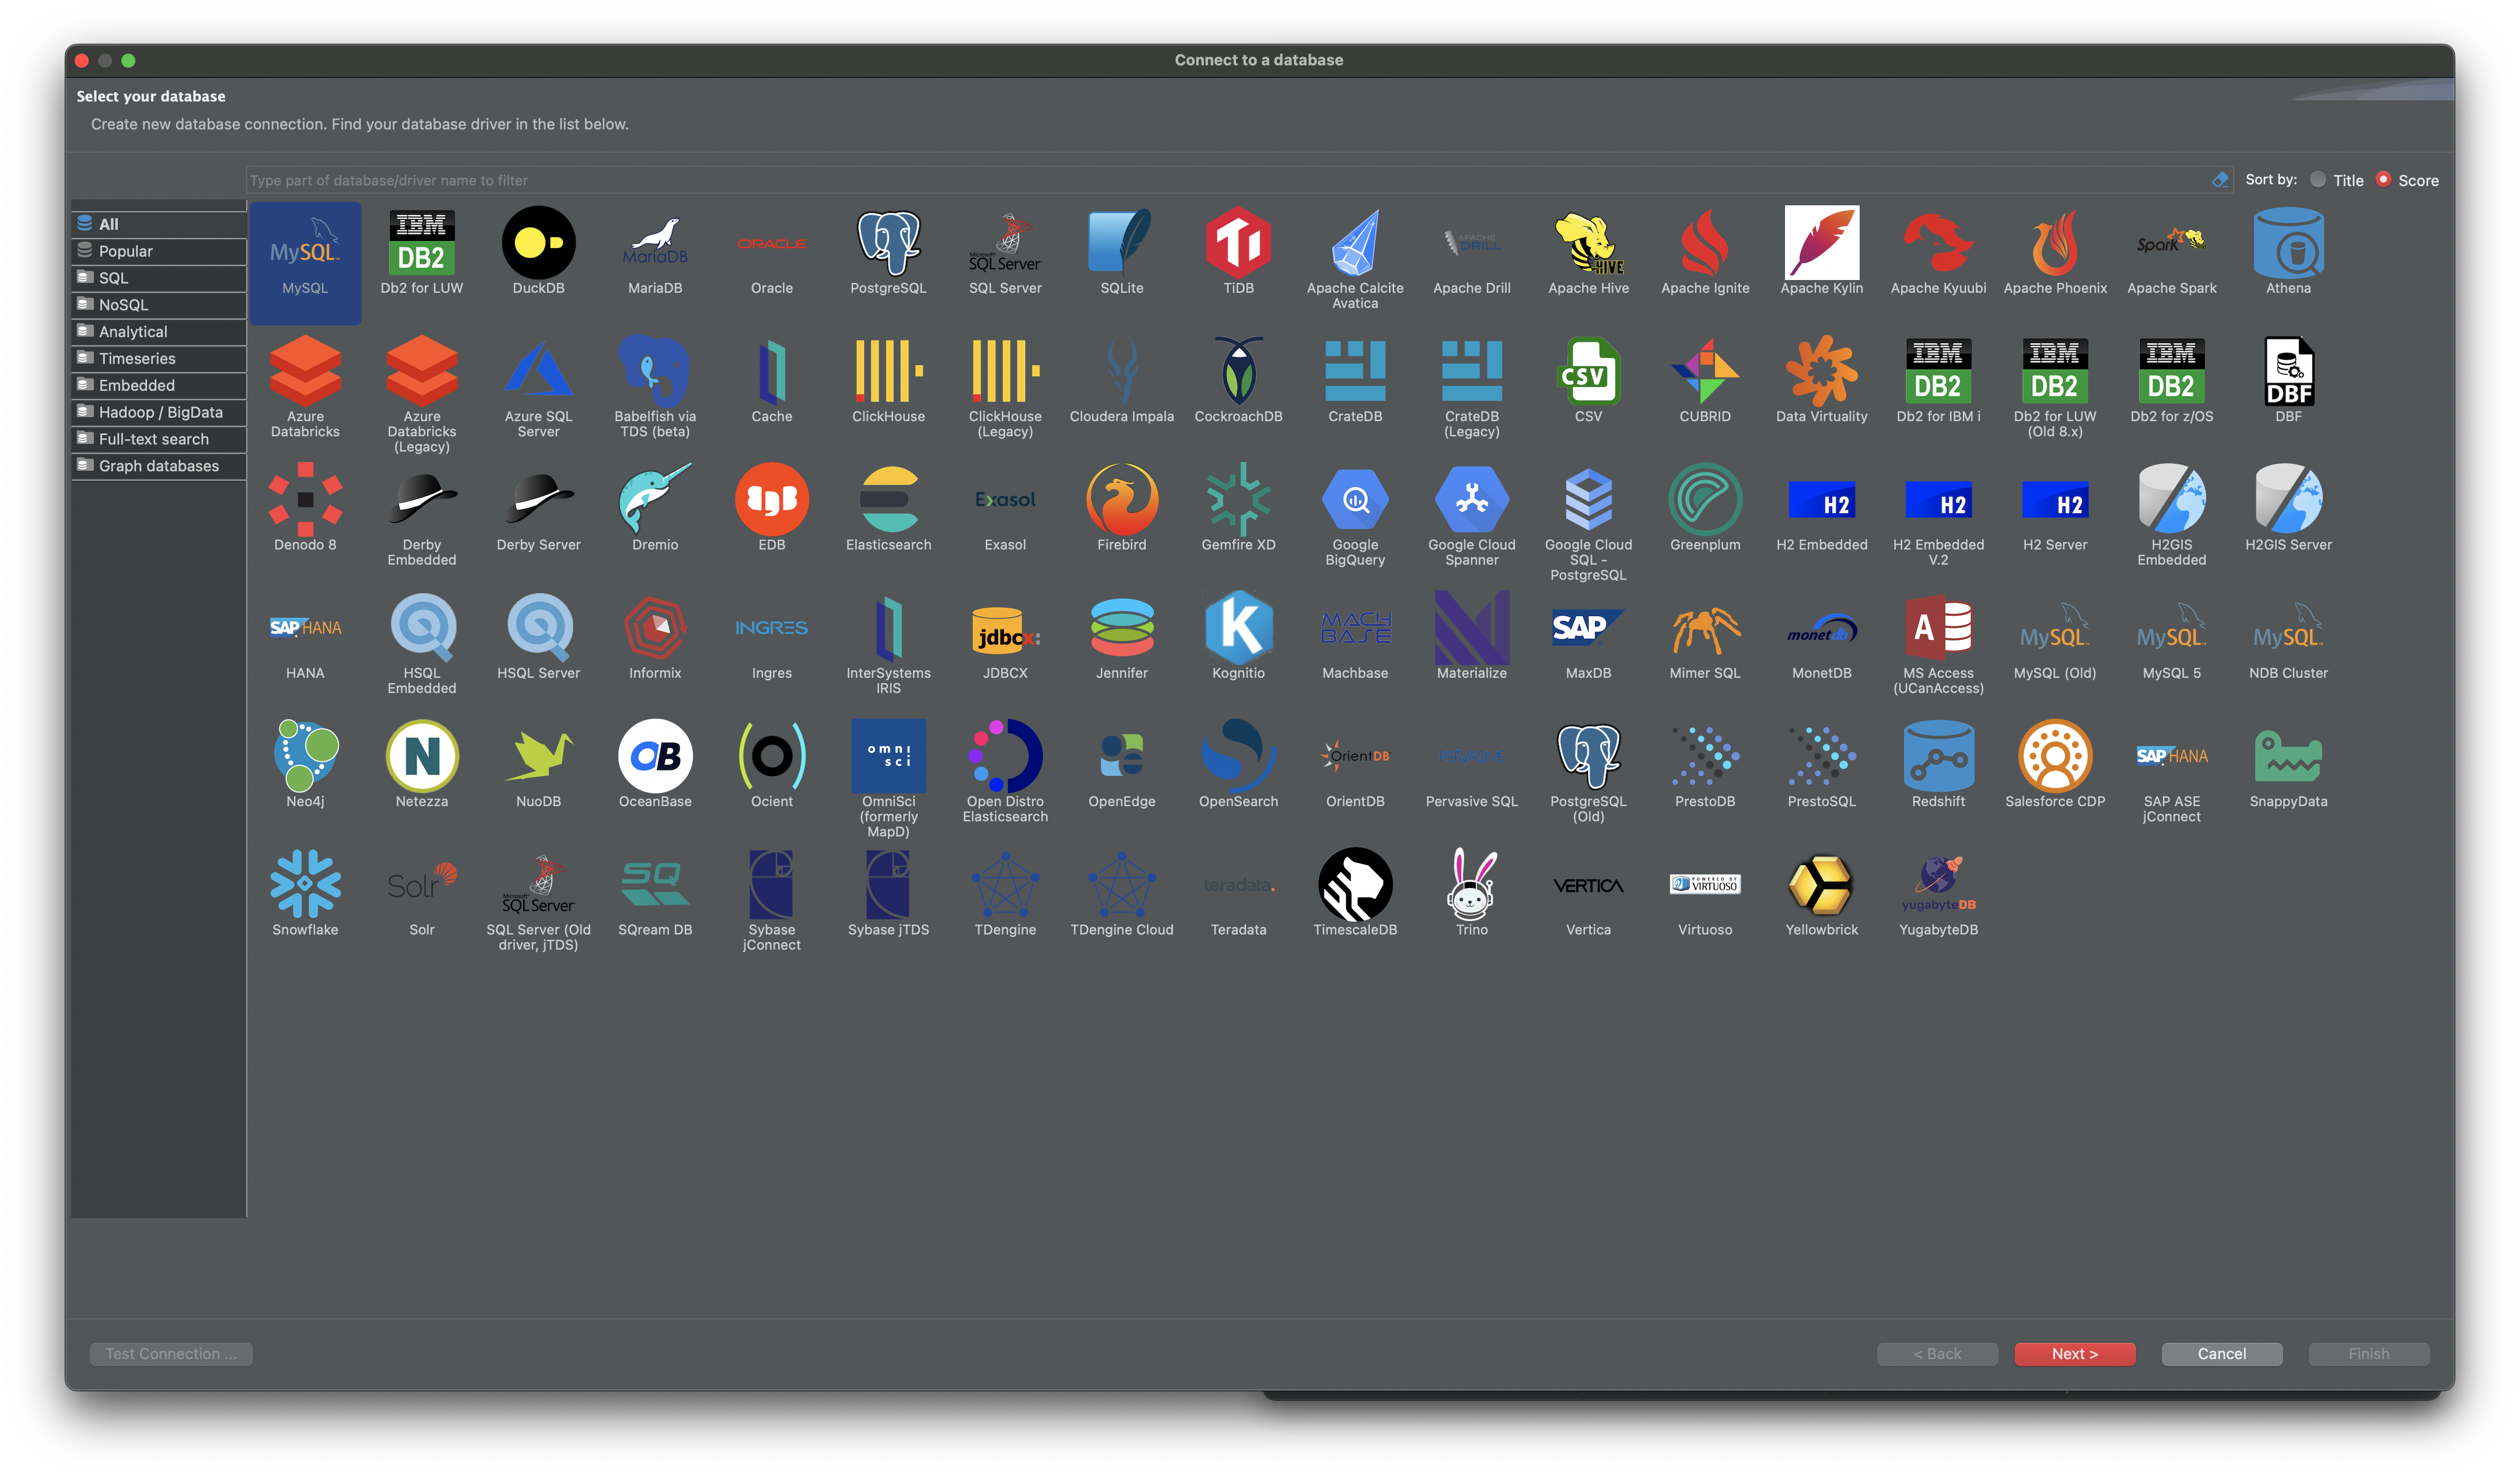
 To see our database in action, we can use a client like dbeaver and try to test the connection to the server and the creation of a database: first thing to do is to create a new connection and download the mysql extension:
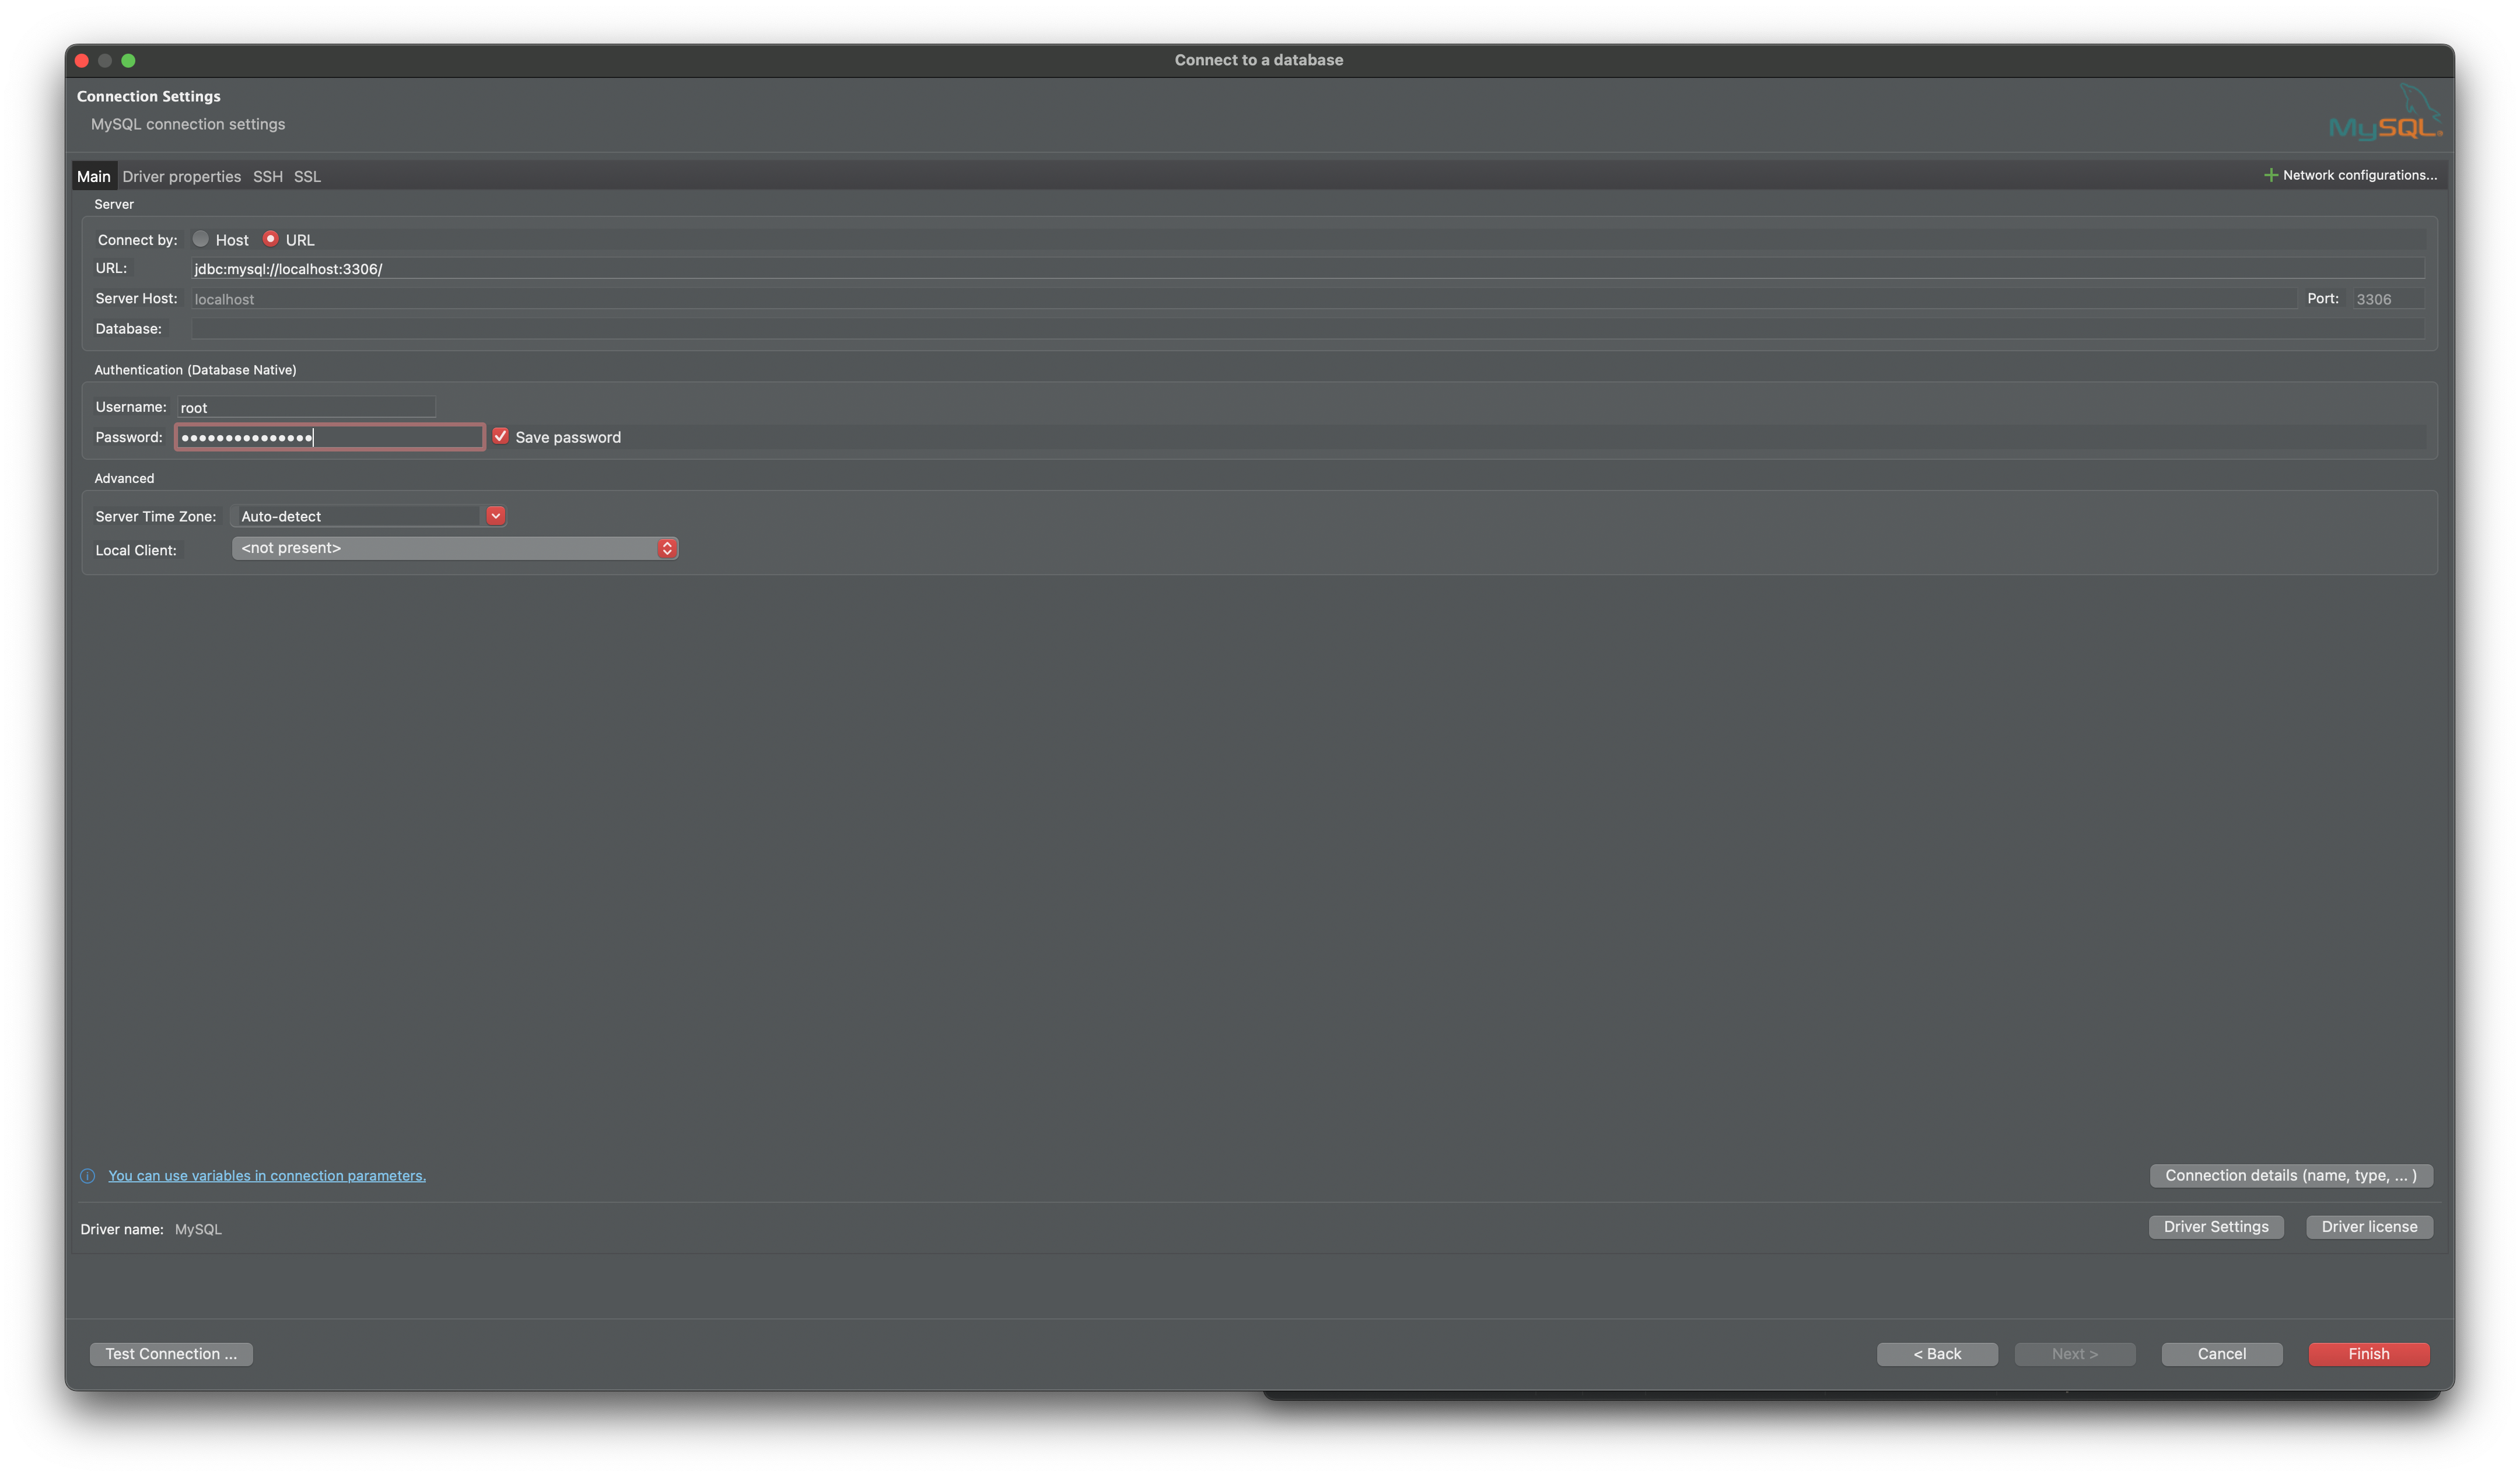
 Then, we can create a new connection:
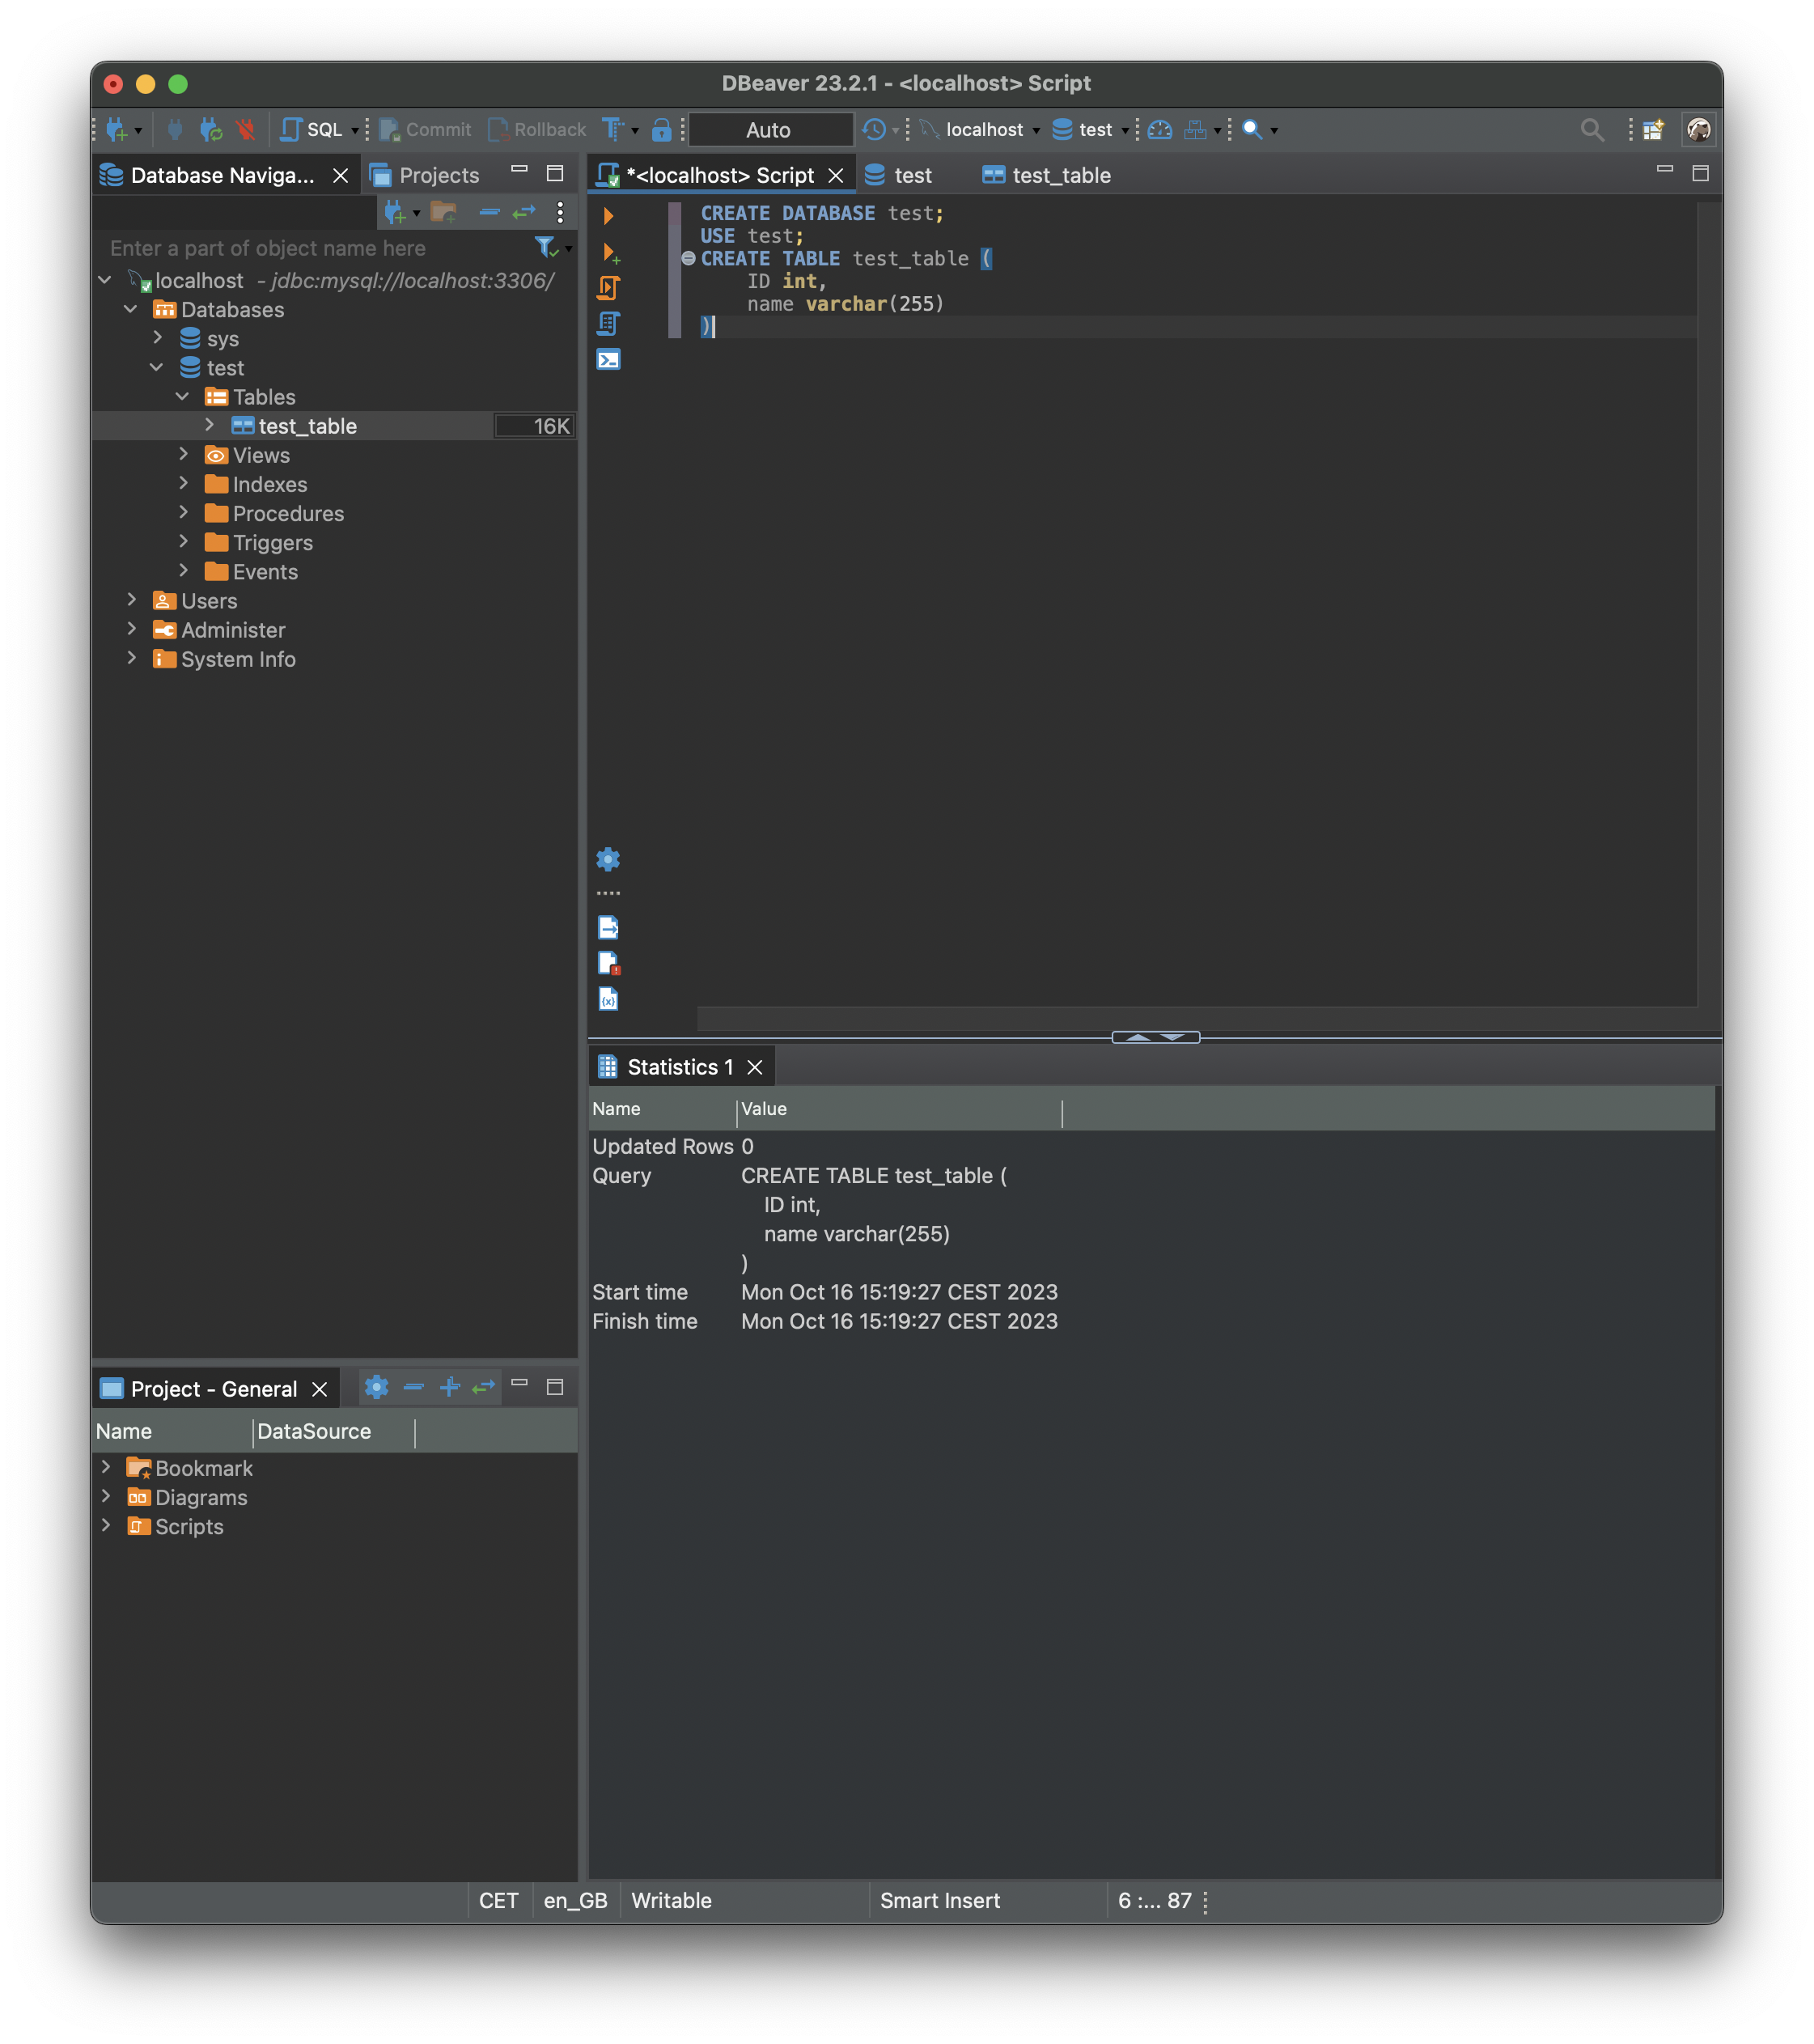
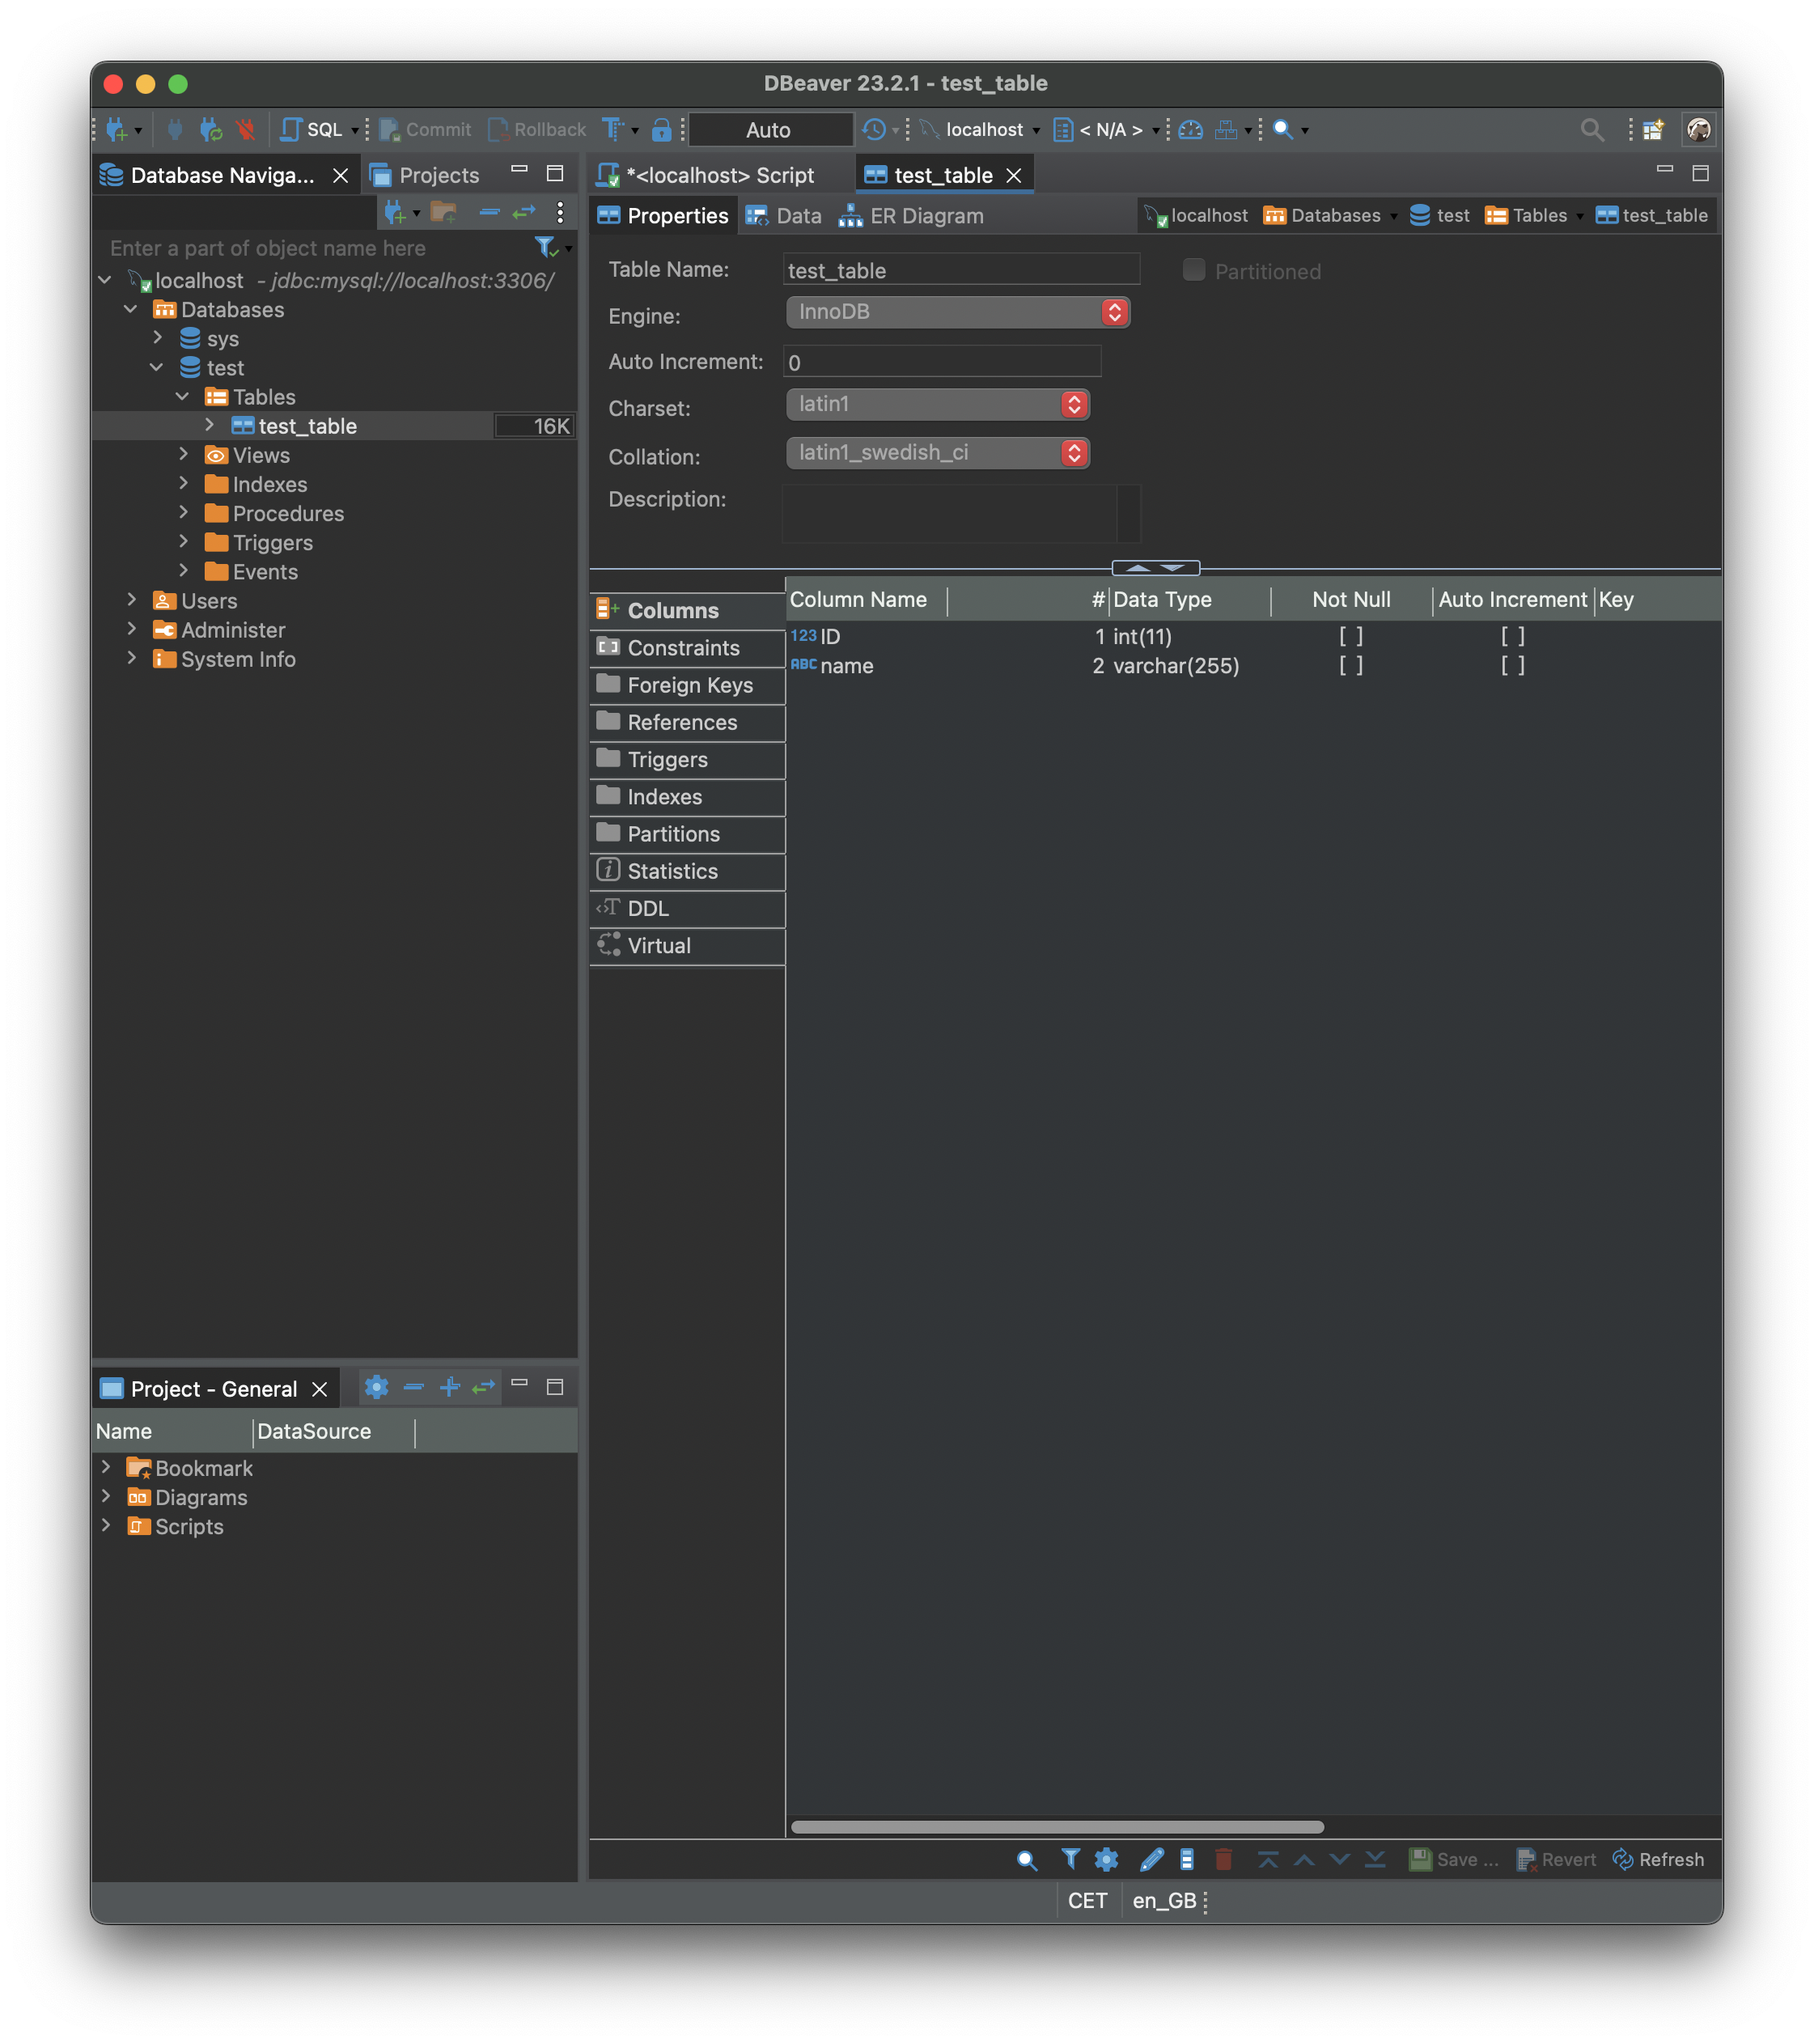
 And test (for example, adding a database and a table):
 Everything works! In the next section, we will see how to use Hibernate to connect our web application to the database.